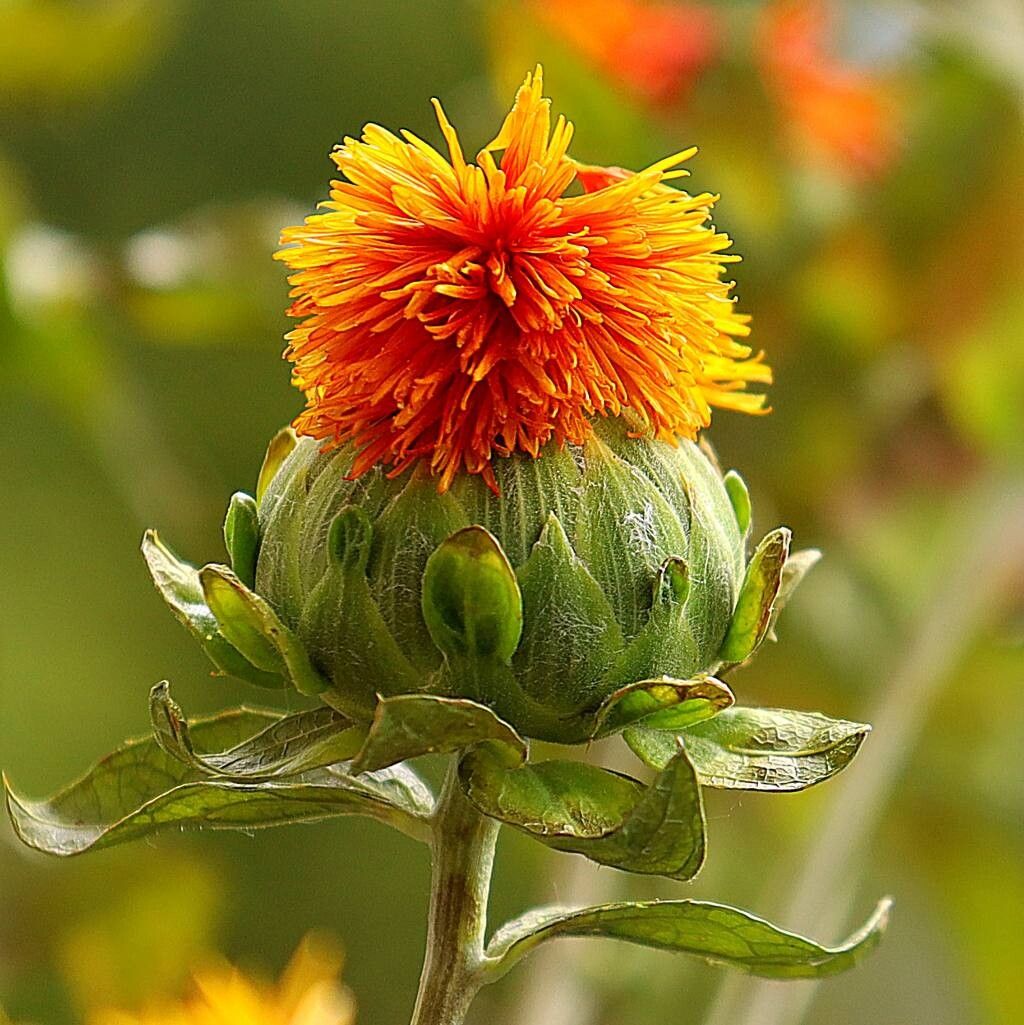
Oh, hello there! Come on in and pull up a chair. I’ve got my favorite mug warming my hands, and I’m just bubbling with excitement to talk about one of my most cherished annuals: Carthamus tinctorius, or as many of us affectionately call it, Safflower.
Growing a Splash of Sunshine: Why Propagate Safflower?
There’s something truly magical about Safflower. Its vibrant, thistle-like flowers, ranging from cheerful yellows to fiery oranges and reds, are a feast for the eyes and a magnet for pollinators. Plus, for those of us who love a bit of DIY in the garden, propagating your own Safflower is wonderfully rewarding. You get to extend this bursts of color year after year, and it’s a fantastic way to share these beauties with friends. Now, is it easy for beginners? I’d say it’s pretty manageable, especially with a few tricks up your sleeve!
The Best Time to Jump In
For Safflower, the best way to get new plants is usually from seed, but if you’re looking to strike cuttings or divide existing plants to get more of a specific variety, you’ll want to work in the peak growing season. Think late spring to early summer, when the plant is actively producing new growth and the days are getting longer and warmer. This gives cuttings the best chance to establish themselves before the cooler weather arrives.
Your Safflower Propagation Toolkit
Gathering your supplies before you start makes everything so much smoother! Here’s what I usually have on hand:
- Sharp Pruning Shears or a Craft Knife: Clean cuts are key!
- Rooting Hormone Powder or Gel: This gives your cuttings a nice little boost.
- Well-draining Potting Mix: A blend of potting soil, perlite, and a bit of vermiculite works wonders. You want to avoid anything that stays soggy.
- Small Pots or Seed Trays: Make sure they have drainage holes.
- Watering Can or Spray Bottle: Gentle watering is important.
- Labels and a Pen: To keep track of what you’ve planted!
- Plastic Bags or a Propagator: To create a humid environment for cuttings.
Getting Your Hands Dirty: Propagation Methods
While Safflower is most commonly grown from seed, if you have a particularly gorgeous specimen you want to duplicate, stem cuttings are a great option.
- Take Your Cuttings: On a healthy, non-flowering Safflower plant, look for nice, vigorous stems. Using your clean shears or knife, take cuttings that are about 4-6 inches long. Look for sections that have leaves but haven’t yet developed buds or flowers.
- Prepare the Cuttings: Gently remove the lower leaves from the cutting, leaving just the top few. You want to expose a bit of the stem where roots can emerge.
- Dip in Rooting Hormone: Lightly dip the cut end of each stem into your rooting hormone powder or gel. Tap off any excess. This step isn’t strictly essential for Safflower, as they can root fairly readily, but it certainly helps speed things up and improve success rates.
- Plant Your Cuttings: Make small holes in your prepared, moist potting mix with a pencil or your finger. Insert the cuttings, ensuring the nodes (where you removed the leaves) are buried in the soil. Gently firm the soil around the base of each cutting.
- Create a Humid Environment: Water gently to settle the soil. Then, cover your pots with a clear plastic bag or place them in a propagator. This traps moisture and prevents the cuttings from drying out. You can prop the bag up with a few sticks so it doesn’t touch the leaves.
- Provide Warmth and Light: Place your pots in a bright spot, but out of direct, intense sunlight. A little bit of warmth from below can be very beneficial, so consider placing them on a heat mat if you have one.
The “Secret Sauce” for Safflower Success
Now, for a couple of little gems I’ve picked up over the years.
- Avoid Soggy Bottoms: This is critical for almost any plant cutting. Safflower cuttings are no different. If the soil stays waterlogged, you’ll get rot instead of roots. Your well-draining mix is your first line of defense, but make sure your pots have excellent drainage holes too.
- Be Patient with the Roots: I know it’s tempting to tug at your cuttings to see if they’ve rooted, but resist the urge! You’ll disturb any delicate new root formation. Instead, look for signs of new leaf growth. This is usually a tell-tale sign that roots are forming and the cutting is establishing itself.
Aftercare and When Things Go Wrong
Once you see new growth appearing, that’s your cue! You can start to gradually remove the plastic covering over a few days to acclimate the new plants to drier air. Continue to keep the soil consistently moist but not wet.
The most common problem you’ll encounter is rot. If your cutting turns mushy, black, or just doesn’t seem to be doing anything and looks a bit…well, sad, it’s likely rotted. This is usually due to too much moisture or not enough airflow. Don’t be discouraged if a few don’t make it; it’s part of the learning process!
Happy Propagation!
Growing your own Safflower from cuttings really is a joy. It’s a small act of gardening magic, expanding those beautiful blooms that bring so much life and color to our spaces. Be patient with your new little plants, enjoy the process of nurturing them, and soon you’ll have a whole patch of sunny Safflower to admire. Happy gardening!
Resource:
https://identify.plantnet.org/k-world-flora/species/Carthamus%20tinctorius%20L./data