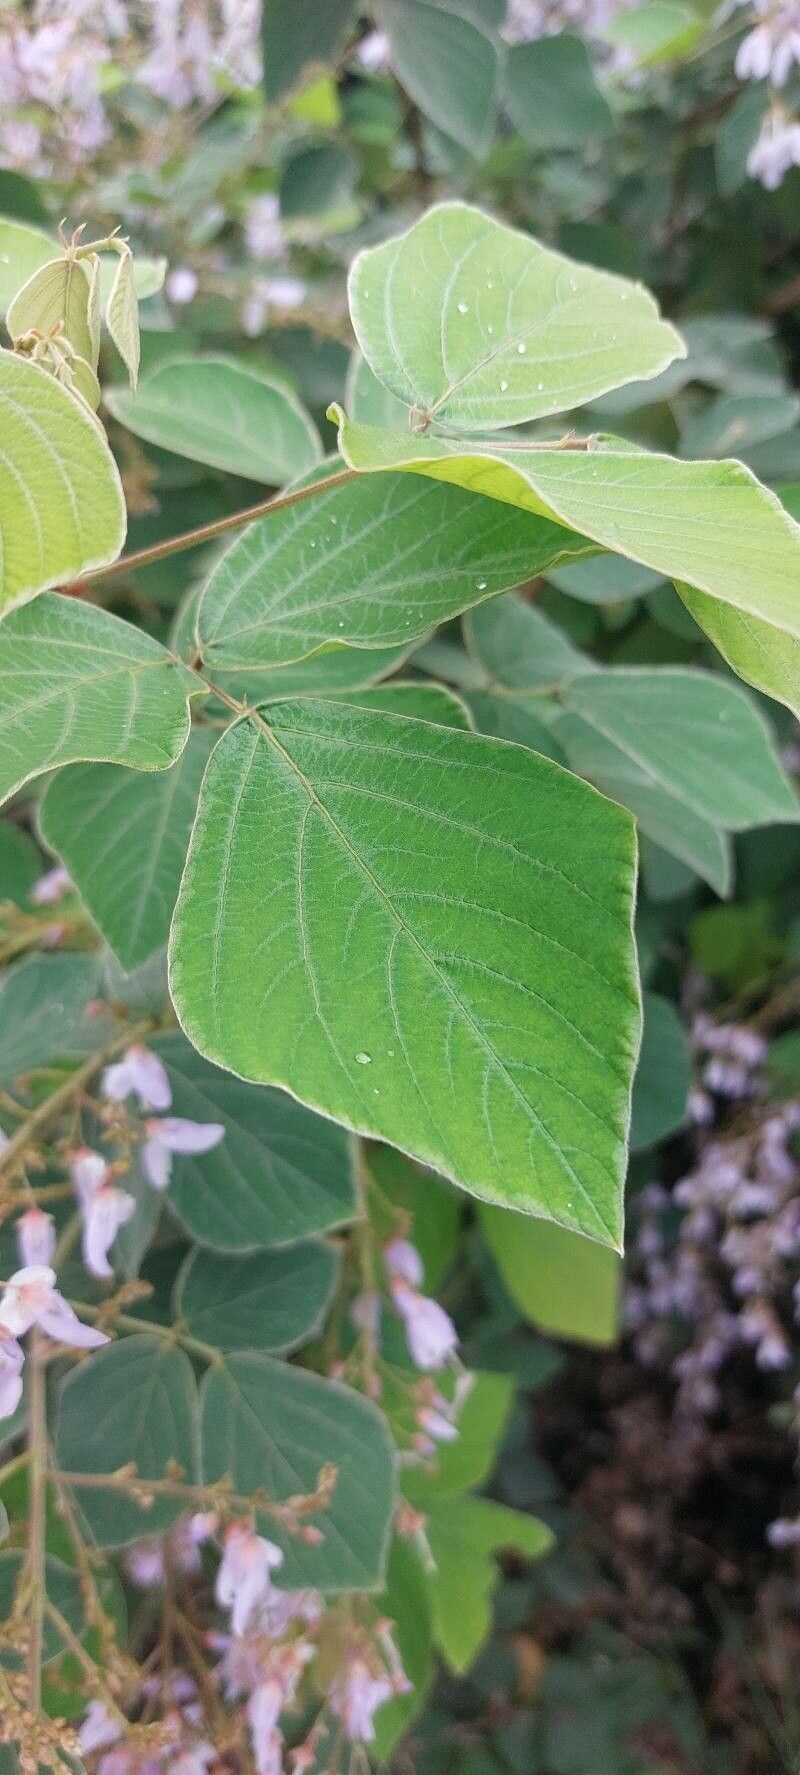
Hello, fellow garden enthusiasts! Today, we’re diving into the delightful world of Phyllodium elegans. If you’re looking for a plant that brings a touch of airy elegance and a subtle, sweet fragrance to your corner of the world, then this is it. Its delicate, almost lacy foliage and charming little flowers are truly a sight to behold. And the best part? Bringing more of this beauty into your life through propagation is incredibly rewarding. Don’t let the exotic name scare you; while it’s not as straightforward as a pothos, Phyllodium elegans is definitely a project that beginners can successfully tackle with a little guidance and patience.
The Best Time to Start
When it comes to getting those new Phyllodium elegans babies going, timing is everything. I’ve found the absolute sweet spot is during its active growing season, which generally falls in late spring or early summer. After the last frost, when the plant is bursting with energy and putting out new growth, it’s keen to share that vitality. You’ll be looking for stems that are firm but not woody – think of it as the plant being in its prime, ready to embark on new adventures.
Supplies You’ll Need
Before we get our hands dirty, let’s gather our tools. Having everything ready makes the process so much smoother.
- Sharp Pruning Shears or a Clean Knife: Essential for making clean cuts.
- Potting Mix: A well-draining mix is crucial. I like to use a blend of equal parts peat moss (or coco coir), perlite, and a bit of compost.
- Rooting Hormone (Optional but Recommended): This can give your cuttings a helpful boost. A powder or gel works well.
- Small Pots or Seedling Trays: Clean containers are a must to prevent disease.
- Watering Can with a Fine Rose: For a gentle watering.
- Plastic Bags or a Humidity Dome: To create a humid environment for your cuttings.
- Labels and a Marker: To keep track of your propagated plants!
Propagation Methods
Let’s get down to business! I find stem cuttings to be the most reliable way to propagate Phyllodium elegans.
Stem Cuttings:
- Choose Your Stems: Select healthy, non-flowering stems that are about 4-6 inches long. Look for stems that have new growth at the tip but are still a bit firm towards the base.
- Make the Cut: Using your sharp shears or knife, make a clean cut just below a leaf node (the point where a leaf attaches to the stem). This is where the magic happens, as roots often form best here.
- Prepare the Cutting: Gently remove the lower leaves, leaving just a few at the top. This prevents them from rotting in the soil and encourages the plant to focus its energy on root development.
- Apply Rooting Hormone: If you’re using rooting hormone, dip the cut end of the stem into it. Tap off any excess.
- Plant the Cutting: Fill your small pots with your prepared potting mix. Make a small hole in the center of the soil with your finger or a pencil. Insert the cut end of the Phyllodium elegans cutting into the hole and gently firm the soil around it.
- Provide Humidity: Water the soil gently until it’s moist but not soggy. Then, cover the pot with a clear plastic bag or place it in a seedling tray with a humidity dome. Make sure the leaves of the cutting don’t touch the plastic. You can use skewers or small stakes to keep the bag from collapsing onto the leaves.
- Find a Good Spot: Place the pot in a location that receives bright, indirect light. Avoid direct sunlight, which can scorch the delicate cuttings.
The “Secret Sauce” (Pro Tips)
Here are a few tricks I’ve picked up over the years that can really make a difference.
- Don’t Let the Leaves Touch the Water (If Water Propagating): While I primarily use soil for Phyllodium elegans, if you’re tempted to try water propagation, ensure only the stem is submerged. Any leaves in the water will quickly rot and can kill your cutting.
- Bottom Heat is Your Friend: For stubborn cuttings, a little warmth from below can work wonders. Placing your pots on a gentle heat mat (the kind used for seedlings) can significantly speed up root formation. It mimics the warm soil at the base of a mother plant.
- Be Patient with the Sacrifice: Sometimes, you’ll see tiny new leaves forming on your cutting before roots. This is exciting, but it also means the plant is using up energy. If the cutting feels loose, it’s not ready. Hold off on moving it until you feel some resistance when you gently tug.
Aftercare & Troubleshooting
Once you’ve potted up your cuttings, the real waiting game begins.
- Check for Roots: After 3-6 weeks, you can gently tug on the cutting. If you feel resistance, it’s a good sign roots have formed. You can also peek into the drainage holes of the pot.
- Acclimatize Gradually: Once roots are established, slowly wean your new plant off the humidity. Open the plastic bag a little more each day for a week before removing it completely.
- Watering: Water when the top inch of soil feels dry. Overwatering is the most common mistake and can lead to root rot.
- Signs of Trouble: If your cutting turns mushy, yellow, or limp, it’s likely suffering from overwatering or a lack of light. If it dries out completely and becomes brittle, it’s a sign of dehydration. Don’t be disheartened if not every single cutting takes – it’s part of the learning curve!
Enjoy the Journey!
There’s a special kind of magic in nurturing a new plant from a tiny stem. It’s a testament to nature’s resilience and beauty. Be patient with your Phyllodium elegans cuttings. Sometimes they take their sweet time, but the reward of seeing that first healthy shoot emerge is always worth it. Happy propagating, and may your gardens continue to flourish!
Resource:
https://identify.plantnet.org/k-world-flora/species/Phyllodium%20elegans%20(Lour.)%20Desv./data