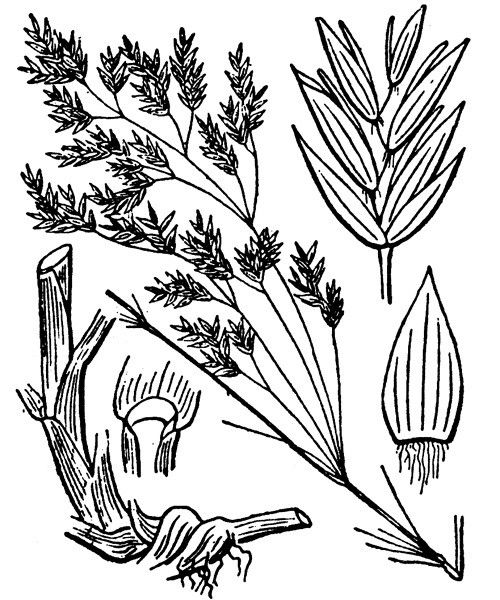
Hello there, fellow plant enthusiasts! Grab a warm mug, and let’s chat about a plant that’s brought so much joy to my garden: Poa hybrida. You might know it by other names – it’s this lovely grass with its delicate, feathery plumes that create such a soft, romantic feel. The way it dances in the breeze is just magical.
Propagating Poa hybrida is a wonderful way to fill your garden with more of this beauty without spending a fortune. It’s also incredibly satisfying to watch a tiny new plant grow from something you’ve nurtured yourself. For beginners, I’d say Poa hybrida is pretty forgiving. It’s not one of those finicky plants that throws a tantrum if you look at it wrong. With a little care, you’ll be successful.
The Best Time to Start
Honestly, spring is your golden ticket here. As soon as the last danger of frost has passed and the soil is warming up, that’s your cue. You want your little newbies to get a good head start before the heat of summer arrives. So, think of it as the plant’s own spring awakening – that’s when it’s most eager to grow.
Supplies You’ll Need
Here’s what I always have on hand when I’m propagating:
- Sharp pruning shears or a clean knife: For making clean cuts.
- A good quality seed starting mix or a blend of peat moss and perlite: This provides excellent drainage, which is crucial.
- Small pots or trays with drainage holes: You don’t need anything fancy.
- Rooting hormone (optional but helpful): Especially if you’re a little nervous.
- A watering can with a fine rose: To avoid disturbing your little cuttings.
- A spray bottle: For keeping things humid.
Propagation Methods
The easiest and most common way to go with Poa hybrida is through division. It’s like giving the plant a gentle haircut and getting a whole new plant out of it!
- Find a mature clump: Look for a well-established plant that’s showing nice growth.
- Gently dig it up: I like to carefully loosen the soil around the base with my trowel and then lift the entire clump.
- Identify natural divisions: You’ll often see where the plant naturally wants to split. You can use your hands, or if it’s a bit stubborn, a clean, sharp knife or even a spade can help you separate the root ball into smaller sections. You’re looking for sections that have roots and some healthy top growth.
- Replant immediately: Pot up your divisions into your prepared seed starting mix. Make sure they are planted at the same depth they were before.
- Water gently: Give them a good soak to settle the soil around the roots.
For those of you who like to experiment, you can also try sowing seeds, though division is usually more reliable for getting an exact replica of your parent plant.
The “Secret Sauce” (Pro Tips)
Here are a few things I’ve learned over the years that make a big difference:
- Don’t overwater! This is probably the most common mistake. The roots of new cuttings are delicate and can rot easily if they sit in soggy soil. Let the top inch of soil dry out slightly between waterings.
- Provide gentle warmth. If you’re dividing in early spring when the soil is still a bit cool, placing the pots in a warm spot – like a sunny windowsill or a greenhouse with a little bottom heat – will really encourage those roots to get going. You’ll see growth much faster.
- Acclimatize slowly. Once your new plant looks established and is showing good growth, don’t just whisk it out into the full sun. Gradually introduce it to its new environment over a week or two, especially if it’s been in a shadier spot indoors.
Aftercare & Troubleshooting
Once you see those little green shoots appearing and feel a bit of resistance when you gently tug on the plant, you know roots are forming! Now it’s all about keeping them happy. Continue to water them regularly, but remember that “slightly dry” is the goal.
The biggest thing to watch for is rot. If your cutting looks limp, mushy, or has a blackish base, it’s likely suffering from too much moisture. If you catch it early, you might be able to salvage it by letting the soil dry out completely and removing any rotten parts. Don’t be discouraged if a few don’t make it – it happens to all of us!
A Encouraging Closing
So there you have it! Propagating Poa hybrida is a rewarding journey, and it’s all about patience and observation. Enjoy watching these new plants take hold and grow. You’ve got this! Happy gardening!
Resource:
https://identify.plantnet.org/k-world-flora/species/Poa%20hybrida%20Gaudin/data