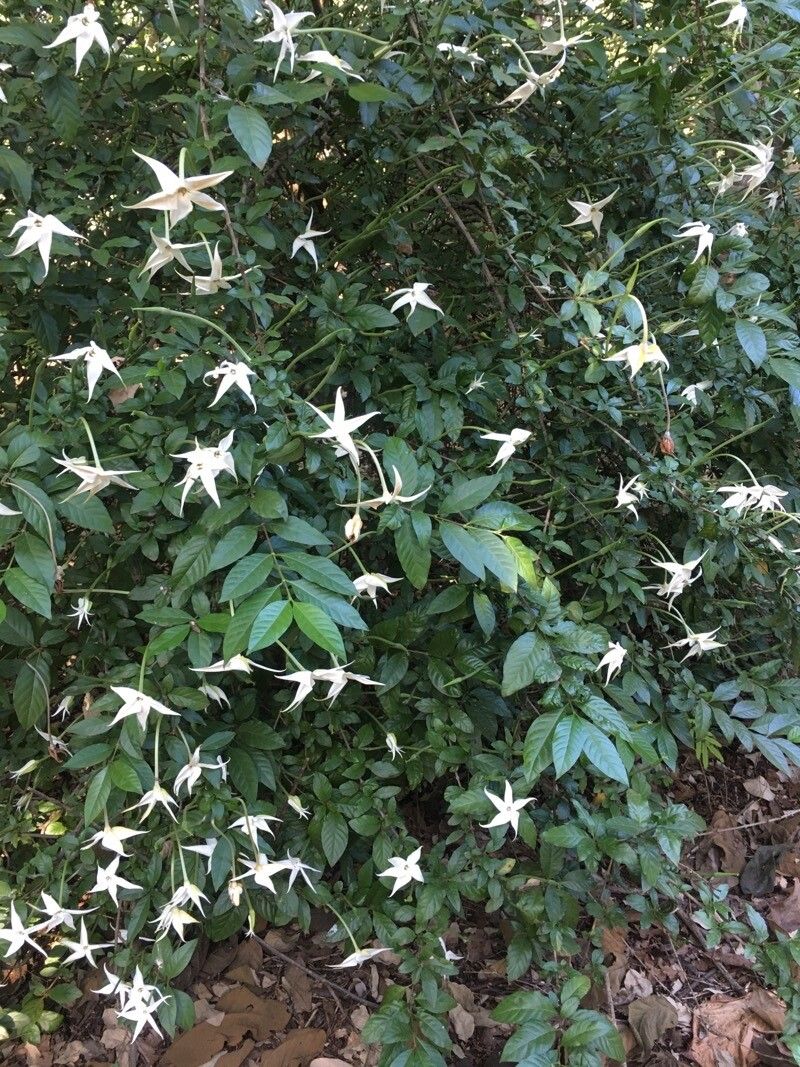
Oh, the Rosenbergiodendron formosum! What a beauty. Its glossy, dark green leaves and the promise of those striking, trumpet-shaped flowers make it a real treasure in the garden or on the patio. And the best part? Bringing another one of these stunners into existence yourself. It feels like magic, doesn’t it?
Now, I’ll be honest, Rosenbergiodendron formosum isn’t exactly a walk in the park for an absolute beginner, but it’s certainly not an insurmountable challenge either. With a little patience and these tips, you’ll be well on your way to success. Think of it as a rewarding project that will teach you a lot.
The Best Time to Start
For the highest success rate, I always recommend starting your propagation efforts during the active growing season. That usually means late spring through to mid-summer. This is when the plant has plenty of energy to put into new growth and root development. You’re looking for semi-hardwood cuttings, which are stems that are no longer brand new and soft but haven’t become totally woody and mature yet. They should feel firm but still have a bit of flexibility.
Supplies You’ll Need
Gathering your tools beforehand makes the whole process so much smoother. Here’s what you’ll want to have on hand:
- Sharp, clean pruning shears or a sharp knife: For taking clean cuts on your parent plant.
- Rooting hormone: A powder or gel formulation will do. This really helps encourage root formation.
- Well-draining potting mix: I like a blend of equal parts perlite and peat moss or coco coir. For a more robust mix, you can add a bit of good quality potting soil.
- Small pots or seed trays: Make sure they have drainage holes!
- Plastic bags or a propagation dome: To create a humid environment.
- Water: For keeping your cuttings hydrated.
- Optional: Bottom heat mat: This can significantly speed up the rooting process.
Propagation Methods: Stem Cuttings
This is hands-down my favorite and the most reliable method for Rosenbergiodendron formosum.
- Select Your Cuttings: Find a healthy stem on your parent plant. Look for one that is about 4-6 inches long and has several sets of leaves. Using your clean pruners, make a clean cut just below a leaf node (where a leaf attaches to the stem). Remove the lower leaves, leaving just two or three at the top. If the leaves are very large, you can even cut them in half to reduce water loss.
- Apply Rooting Hormone: Dip the cut end of the stem into water, then gently shake off any excess. Dip the wet end into your rooting hormone. Tap off any excess so you have a light coating. This step is crucial!
- Plant Your Cuttings: Fill your small pots or trays with your prepared potting mix. Make a dibble hole with a pencil or your finger in the center. Gently insert the calloused end of your cutting into the hole, ensuring the leaf nodes are below the surface of the soil. Firm the soil gently around the stem.
- Create Humidity: Water the soil thoroughly until it drains from the bottom. Then, cover the pots with a clear plastic bag, propping it up with stakes so it doesn’t touch the leaves. Alternatively, use a propagation dome. Place your pots in a bright spot that receives indirect sunlight.
The “Secret Sauce” (Pro Tips)
After years of tinkering in the greenhouse, I’ve learned a few tricks that can make all the difference:
- Don’t let those beautiful leaves touch the water in the pot! This sounds obvious, but it’s easy for moisture to collect, and then rot sets in. If a leaf is getting too close to the soil surface, trim it a bit more.
- Bottom heat is your best friend. If you can, place your pots on a gentle heat mat. This will keep the soil temperature consistently warm, around 70-75°F (21-24°C), which signals to the plant that it’s time to start growing roots. It’s a real game-changer, especially in cooler conditions.
- Be patient with watering. The goal is to keep the soil consistently moist but never waterlogged. Check the soil moisture by sticking your finger in about an inch deep. If it feels dry, it’s time to water. Overwatering is one of the quickest ways to lose a cutting.
Aftercare & Troubleshooting
Once your cuttings have been in their humid environment for a few weeks, start giving them a gentle tug. If you feel resistance, it means roots are forming! At this point, you can gradually acclimatize them to lower humidity by opening the plastic bag a little each day, or lifting the dome for longer periods.
Keep them in bright, indirect light and continue to water as needed. You’ll know they’re truly established when you see new leaf growth.
The most common sign of failure is damping off, where the stem rots at the soil line. This is usually due to overwatering or poor air circulation. If you see this, unfortunately, that cutting is likely lost. Wilting without any signs of rot could mean the cutting is simply too dry, or it hasn’t rooted yet and is struggling to take up water. Just ensure the soil stays consistently moist.
A Encouraging Closing
Propagating plants is a journey of observation and learning. Some cuttings will root quickly, others will take their sweet time, and some, well, they might not make it. Don’t get discouraged! Every attempt is a learning experience. Enjoy the process, celebrate every new root, and soon enough, you’ll have a whole collection of your own beautiful Rosenbergiodendron formosum. Happy propagating!
Resource: