Hey there, fellow plant lovers!
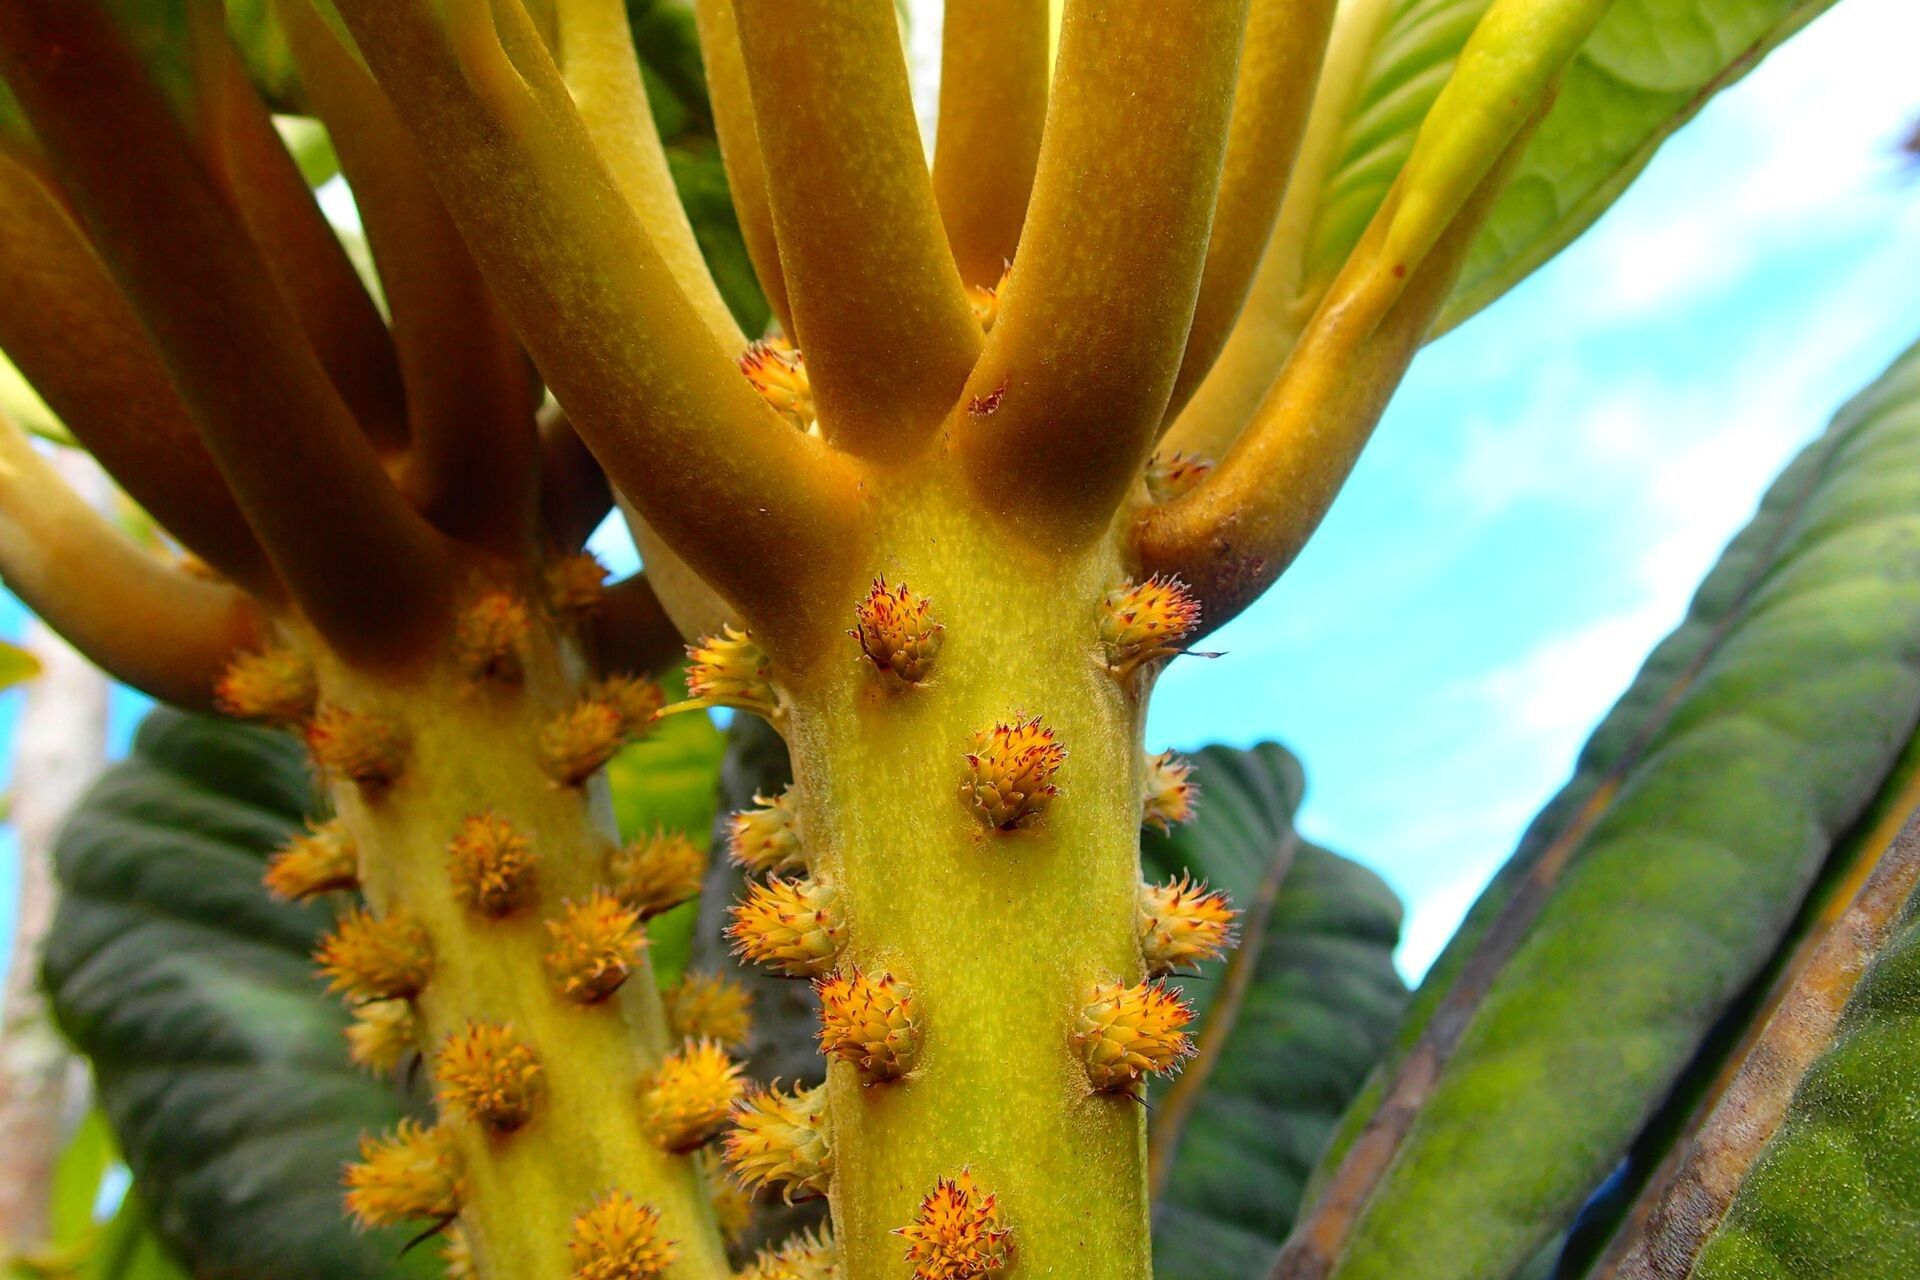
I’ve always been drawn to the unusual, and Balanops pancheri certainly fits that bill. With its unique architectural form and intriguing foliage, it’s a real statement piece in any garden or indoor jungle. If you’ve ever admired this beauty and thought about adding more to your collection, or sharing a piece of it with a friend, you’re in the right place. Propagating Balanops pancheri is a wonderfully satisfying endeavor, and while it might have a bit of a reputation for being a touch fussy, I’m here to help you navigate it with confidence. Think of this as a friendly chat over a cuppa, where I share what I’ve learned over the years.
The Best Time to Start
For the highest success rate with Balanops pancheri, I always find late spring to early summer to be the sweet spot. This is when the plant is actively growing and has the most energy to put into new root development. You’re essentially tapping into its peak vitality.
Supplies You’ll Need
Here’s what you’ll want to have on hand before you get started:
- Sharp, clean pruning shears or a sharp knife: Clean tools are essential to prevent introducing diseases to your cuttings.
- Rooting hormone (optional but recommended): This can give your cuttings a significant boost. Look for one with a good concentration of IBA.
- Well-draining potting mix: A blend of perlite, coarse sand, and peat moss (or coco coir) in equal parts works wonders. You can also find pre-made succulent or cactus mixes that will do the job.
- Small pots or propagation trays: Choose ones with drainage holes!
- Plastic bags or a propagation dome: To create a humid environment.
- Watering can with a fine rose: Gentle watering is key.
- Labels or plant tags: To keep track of your projects!
Propagation Methods
Balanops pancheri is best propagated through stem cuttings. It’s straightforward once you get the hang of it.
- Take Your Cuttings: Using your clean pruning shears or knife, select a healthy, non-flowering stem. Cut about 4-6 inches from the tip of a vigorous stem. Aim for a cutting that has at least two sets of leaves.
- Prepare the Cutting: Gently remove the lower leaves from your cutting, exposing about an inch or two of the stem. You can pinch these off with your fingers or snip them. If you’re using rooting hormone, dip the cut end into it, tapping off any excess.
- Plant Your Cuttings: Fill your small pots or trays with your well-draining potting mix. Make a small hole in the center of the mix with your finger or a pencil. Carefully insert the cut end of the stem into the hole. Gently firm the soil around the base of the cutting to ensure good contact.
- Create Humidity: Water the soil lightly but thoroughly until you see water draining from the bottom. Then, cover the pots loosely with a plastic bag or place them under a propagation dome. This will trap humidity, which is crucial for root development. Make sure the leaves don’t touch the plastic.
- Provide Light and Warmth: Place your cuttings in a bright location with indirect sunlight. Avoid direct sun, as it can scorch the delicate cuttings. Bottom heat is incredibly beneficial for Balanops pancheri; if you have a heat mat, place your pots on it. This encourages faster root growth.
The “Secret Sauce” (Pro Tips)
Don’t tell everyone about these!
- The “Wound” Trick: After taking your cutting, some gardeners swear by letting the cut end callous over for a day or two before planting, especially in very humid environments. This can help prevent rot. I’ve had success both ways, but it’s a good trick to have in your back pocket if you’re finding rot a persistent problem.
- Bottom Watering is Your Friend: Once your cuttings are planted and covered, resist the urge to water from the top too much. Instead, let the pot sit in a shallow tray of water for about 15-20 minutes. This allows the soil to wick up moisture evenly and prevents disturbing the delicate root formation that’s just starting.
- Patience with Leaves: If your cutting has large leaves, you can consider trimming them in half diagonally. This reduces water loss through transpiration without sacrificing too much of the plant’s ability to photosynthesize.
Aftercare & Troubleshooting
Once you see new leaf growth appearing, that’s a great sign that roots have formed!
- Gradual Acclimation: Slowly begin to acclimate your new plant to drier air by gradually opening the plastic bag or ventilation on your dome over a week or two.
- Watering: Continue to water sparingly, allowing the soil to dry out slightly between waterings. The goal is consistently moist, not soggy, soil.
- Troubleshooting Rot: The most common issue is rot. If you notice your cutting looking mushy, discolored, or simply wilting without any visible root growth, it’s likely experiencing rot. This is usually due to overwatering and poor drainage. If you catch it early, you can try cutting away the rotted parts and replanting the healthy section in fresh, dry potting mix. Sometimes, unfortunately, it’s too late. Don’t get discouraged; it happens to the best of us!
Gardening is a journey, and propagating plants is a fantastic way to deepen your connection with nature. Be patient with your Balanops pancheri cuttings, keep an eye on them, and enjoy the process of nurturing new life. Happy propagating!
Resource:
https://identify.plantnet.org/k-world-flora/species/Balanops%20pancheri%20Baill./data