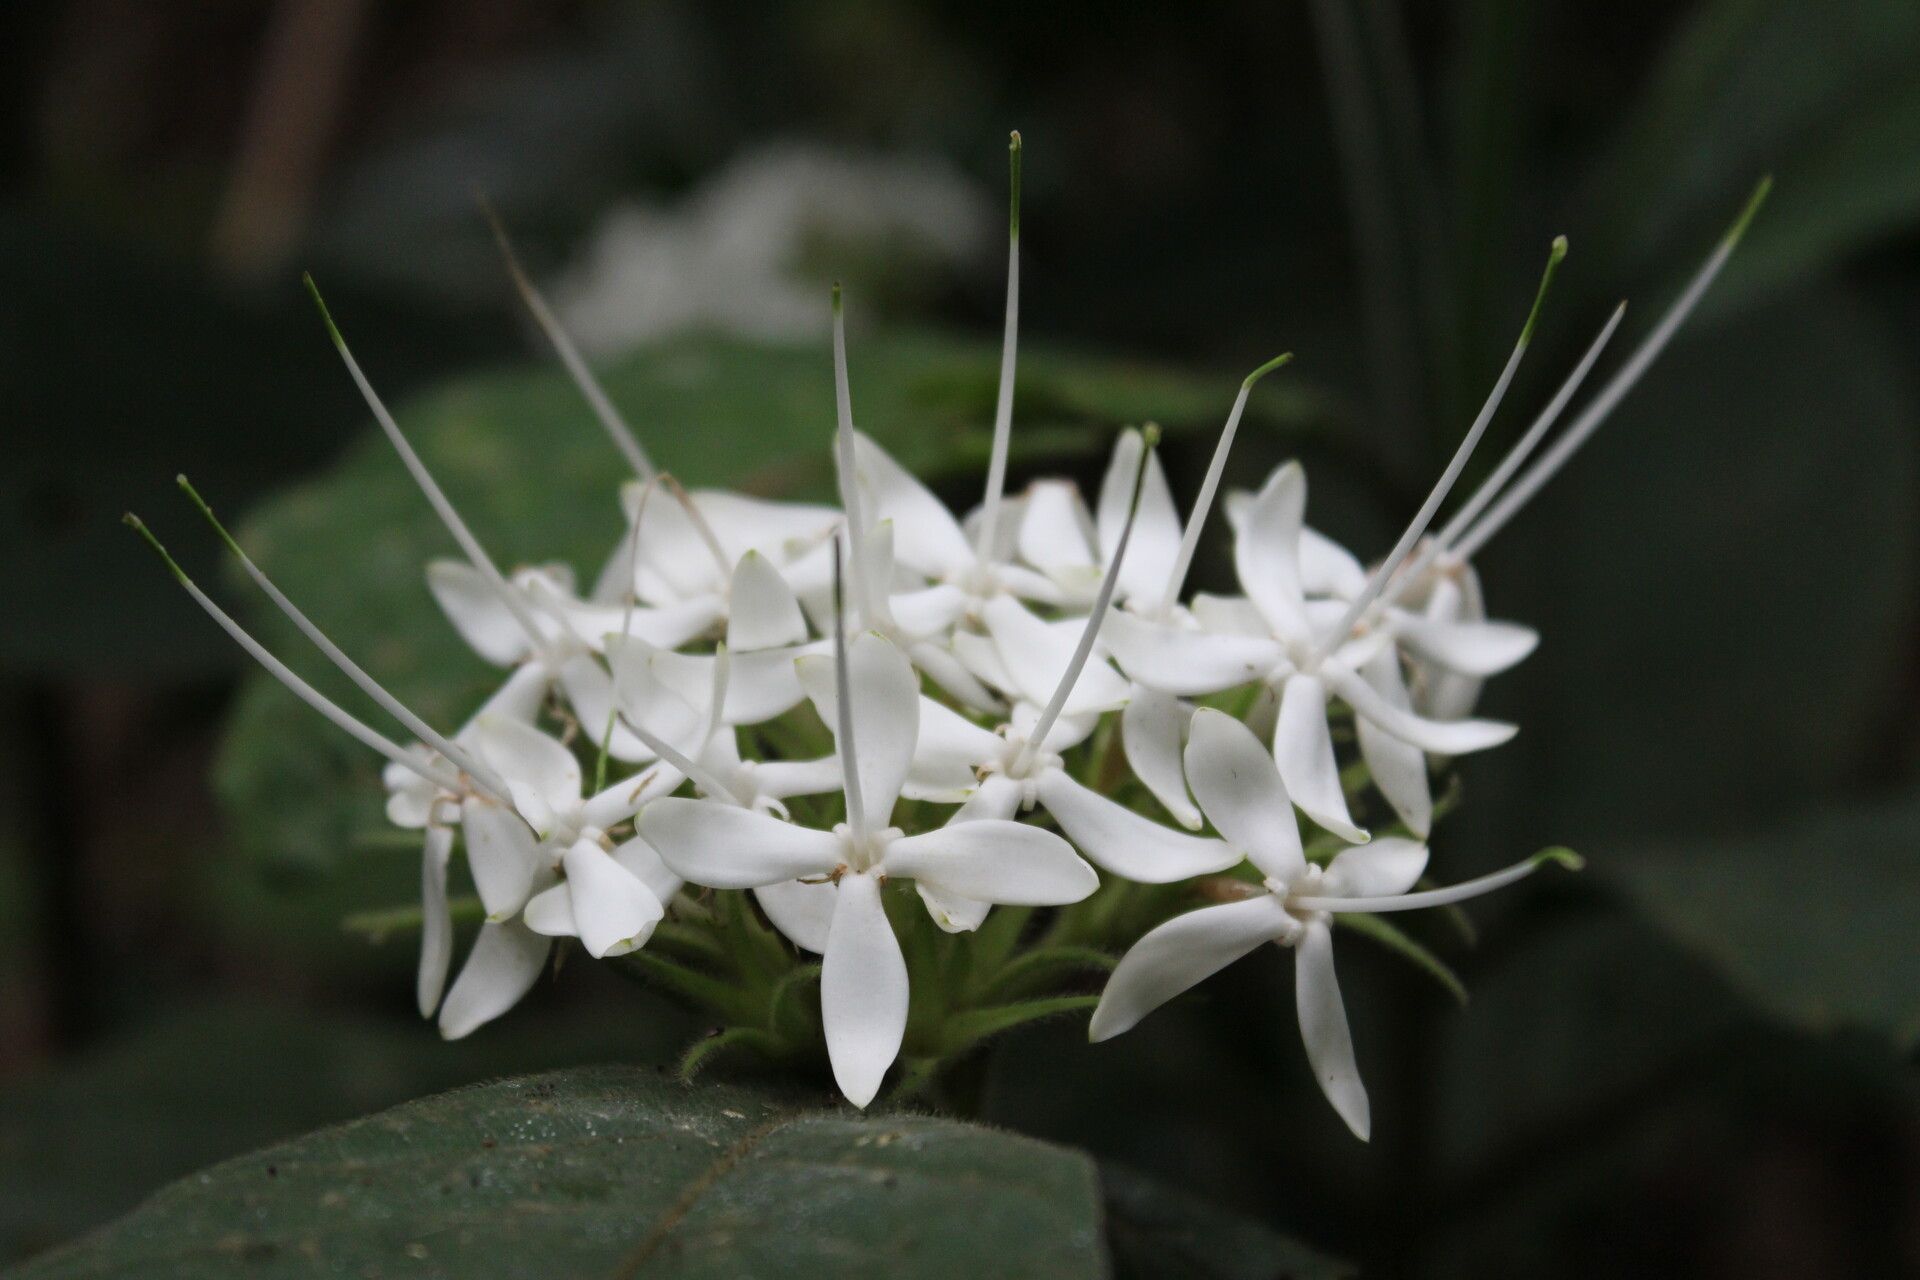
Hello there, fellow plant enthusiasts! Today, I want to chat about a real gem in the plant world: Pavetta hispida. You know, that lovely shrub with its delicate, star-shaped white flowers that just beg to be admired. It’s a plant that brings a touch of understated elegance to any garden or home. And the joy of coaxing a new life from an existing one? That’s truly one of gardening’s greatest rewards. Now, about Pavetta hispida – it’s not the absolute easiest plant to start from scratch, especially for those just dipping their toes into propagation. But with a little patience and a few key steps, we can absolutely work some magic together.
The Best Time to Start
My experience tells me that the late spring to early summer is your golden window for propagating Pavetta hispida. This is when the plant is actively growing, pushing out new shoots, and has the energy to spare. You’re looking for those semi-hardwood cuttings – stems that are no longer super floppy and green, but haven’t completely turned woody. They have a bit of give when you bend them.
Supplies You’ll Need
Before we get our hands dirty, let’s gather our arsenal. Having everything ready makes the whole process so much smoother:
- Sharp Pruning Shears or a Clean Knife: For making clean cuts.
- Rooting Hormone: A good quality powder or gel will significantly boost your success rate.
- Well-Draining Potting Mix: I like a mix of equal parts perlite, peat moss, and a good quality potting soil. For Pavetta, we want excellent drainage, so don’t shy away from extra perlite.
- Small Pots or Seedling Trays: Clean pots are a must to prevent disease.
- Plastic Bags or a Clear Dome Propagator: To create a humid environment.
- Watering Can with a Fine Rose: For gentle watering.
- Labels and a Marker: To keep track of what’s what and when you started it.
Propagation Methods
Let’s talk about the most reliable way to get new Pavetta hispida plants going – stem cuttings. It’s straightforward and usually yields the best results.
- Select Your Cuttings: Head out to your healthy parent plant. Look for those semi-hardwood stems we talked about. You want cuttings that are about 4-6 inches long.
- Make the Cut: Using your sharp shears or knife, make a clean cut just below a leaf node. A leaf node is where a leaf attaches to the stem; this is where the magic for rooting happens.
- Prepare the Cuttings: Gently remove the leaves from the lower half of the cutting. You only want to leave a couple of leaves at the very top. This reduces moisture loss and directs the plant’s energy towards root development. If the remaining leaves are very large, I’ll often cut them in half. This further reduces water loss.
- Apply Rooting Hormone: Dip the cut end of the stem into your rooting hormone. Tap off any excess. You want a good coating, but not a big clump.
- Plant Your Cuttings: Fill your small pots with your prepared, slightly moist potting mix. Make a little hole in the center with your finger or a pencil. Insert the treated end of the cutting into the hole, ensuring the leaves aren’t buried. Gently firm the soil around the base of the cutting. Make sure the soil makes good contact with the cutting.
- Create a Humid Environment: Water the soil gently. Then, cover the pot with a clear plastic bag, securing it around the rim with a rubber band, or place it in a propagator. This creates a mini-greenhouse effect, keeping things moist and encouraging root growth.
The “Secret Sauce” (Pro Tips)
Here are a few little tricks that I’ve found make a big difference:
- Bottom Heat is Your Friend: If you have access to a heat mat designed for propagation, use it! Placing your pots on a gentle heat source encourages root formation from the bottom up. Pavetta really thrives with a bit of warmth from below.
- Don’t Drench, Just Dampen: Overwatering is the quickest way to lose your cuttings to rot. The soil should feel consistently moist, but never soggy. I often check by gently poking my finger into the soil. If it feels dry an inch down, it’s time for a light watering.
- Location, Location, Location: Place your cuttings in a bright spot but out of direct sunlight. Too much sun will scorch the delicate leaves and can overheat the plastic covering, essentially cooking your cuttings. A bright window that gets gentle morning or late afternoon sun is perfect.
Aftercare & Troubleshooting
Once you start seeing signs of life – new leaves unfurling or, if you’re lucky enough to peek, tiny white root nubs – that’s fantastic! Gradually introduce your new Pavetta to more normal humidity by slowly opening the plastic bag or propagator over a week or so. Continue to water gently when the top inch of soil feels dry.
Now, what if things go wrong? The most common culprit is rot. If your cuttings turn mushy, black, or develop fuzzy mold, it’s a sign of too much moisture and not enough air circulation. Sadly, rotten cuttings usually can’t be saved. Another sign that things aren’t quite right is if the cuttings simply refuse to root and remain limp and unresponsive after several weeks. This could be due to a lack of rooting hormone, the wrong kind of cutting, or unfavorable environmental conditions. Don’t get discouraged! It happens to everyone.
Your Green Garden Awaits!
Propagating plants like Pavetta hispida is a journey, and like any good journey, it requires a little patience. Don’t be afraid to try, learn from each attempt, and celebrate every success, no matter how small. Watching that tiny cutting transform into a thriving plant is one of the most satisfying experiences in gardening. So go forth, gather your supplies, and happy propagating!
Resource:
https://identify.plantnet.org/k-world-flora/species/Pavetta%20hispida%20Hiern/data