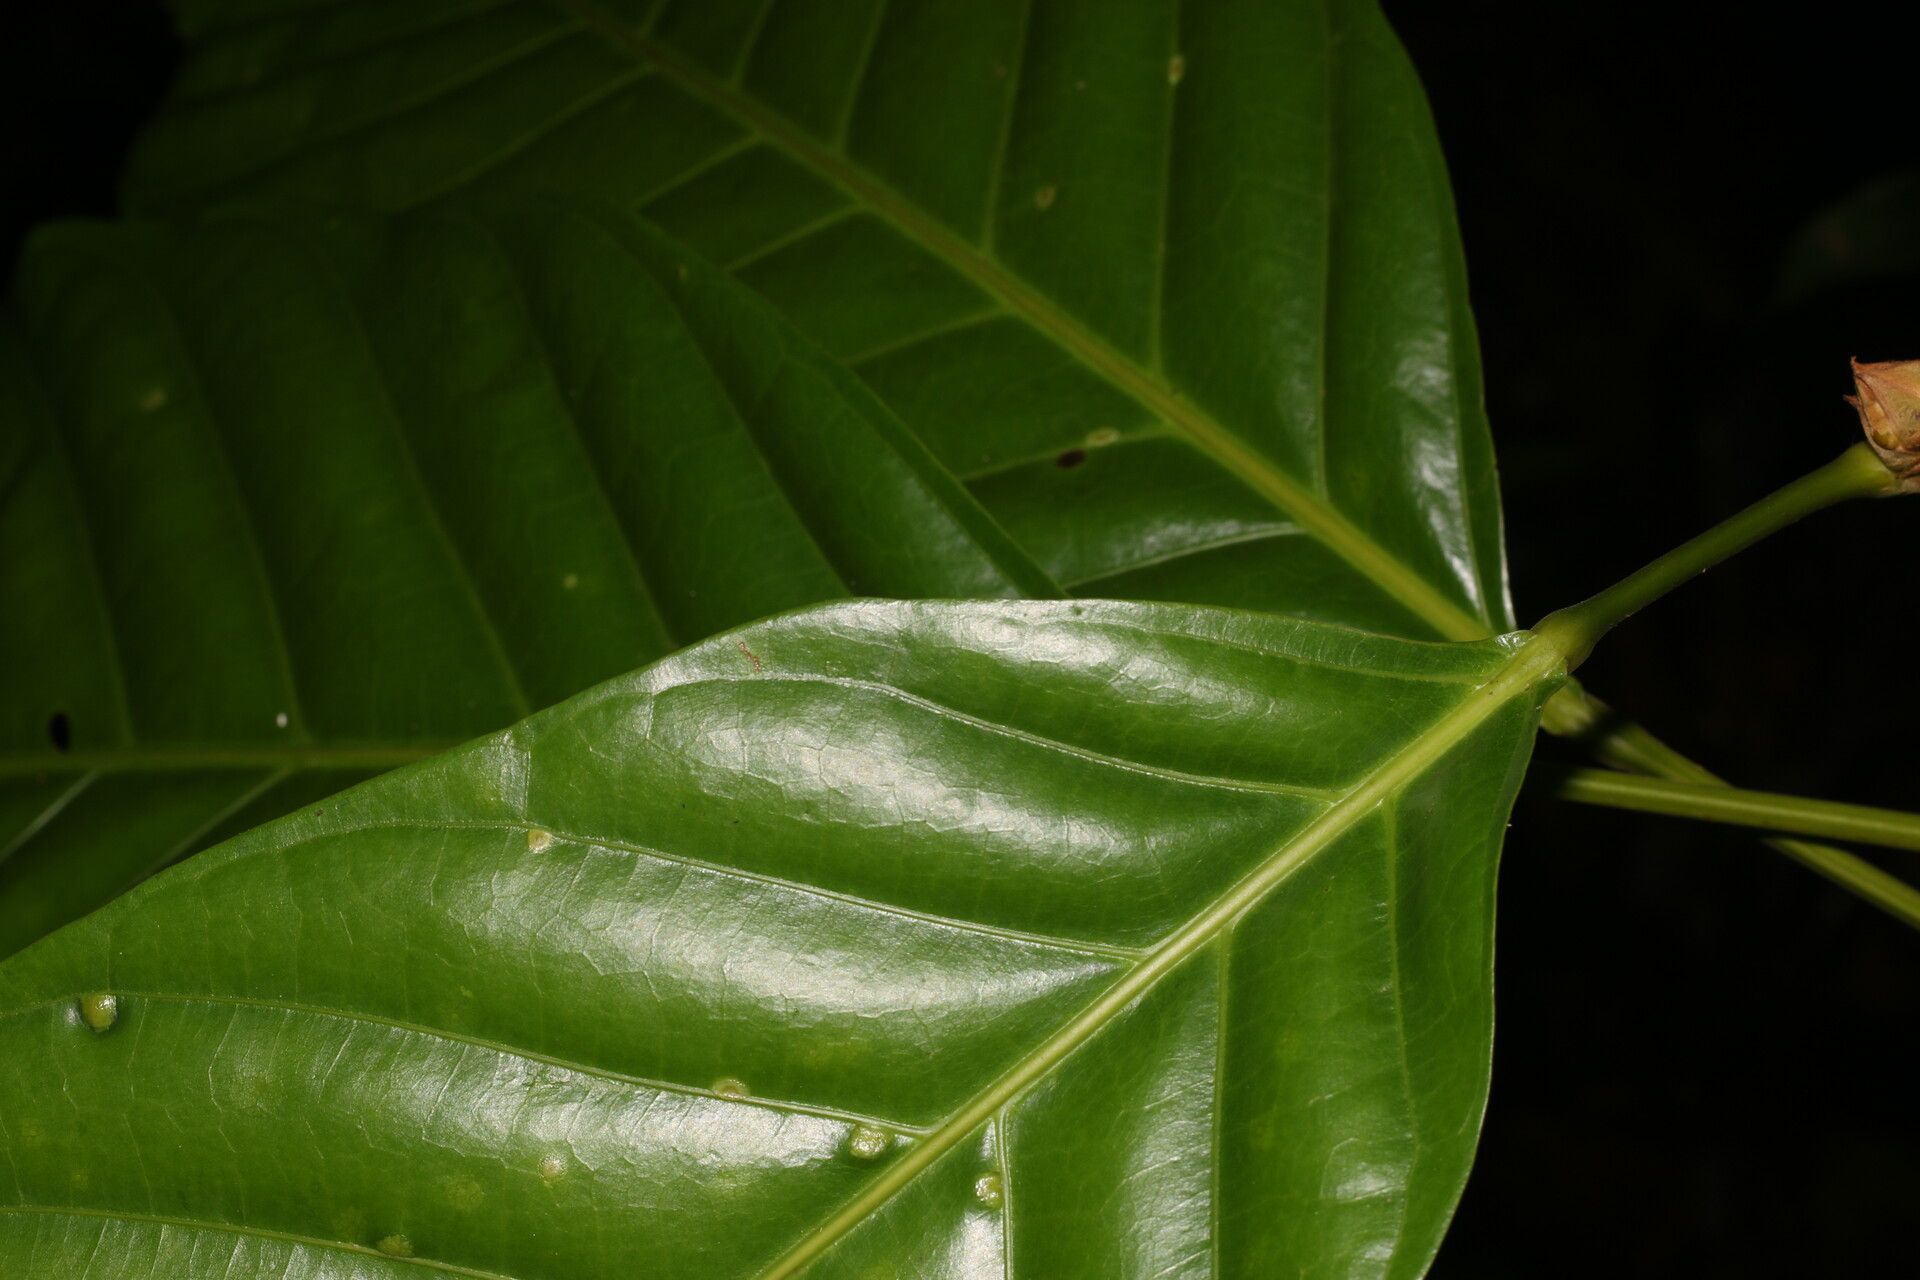
Ah, Sloanea laevigata! Isn’t she a beauty? I’ve always admired those glossy leaves and the way this tree just adds a touch of lushness to any garden. If you’re like me and get a thrill from coaxing new life from a parent plant, then propagating Sloanea is a truly satisfying endeavor. It’s one of those plants that, with a little know-how, you can share its gorgeousness with friends (or just fill up your own garden!).
For beginners, I’d say propagating Sloanea laevigata falls into the “moderately achievable” category. It’s not quite as foolproof as a pothos, but definitely within reach if you’re paying attention to a few key details.
The Best Time to Start
My favorite time to take cuttings, and when I’ve seen the most success, is late spring or early summer. This is when the plant is actively growing, usually producing plenty of soft, new growth. This vibrant energy is exactly what we want to tap into for propagation. You’re looking for stems that are flexible but not completely woody. They should snap cleanly when bent, rather than just becoming limp.
Supplies You’ll Need
Gathering your tools before you begin makes the whole process smoother. Here’s what I typically have on hand:
- Sharp pruning shears or a clean, sharp knife: Essential for making clean cuts.
- Rooting hormone: While not always strictly necessary, it gives your cuttings a significant boost. I prefer a powder form.
- Small pots or trays: Clean ones, please! About 4-6 inches deep are good.
- Well-draining potting mix: I like to mix equal parts peat moss (or coir), perlite, and a bit of coarse sand. This mimics the drainage Sloanea loves.
- Plastic bags or a propagator: To create a humid environment.
- Dibber or pencil: To make holes for your cuttings.
- Watering can with a fine rose: For gentle watering.
Propagation Methods
We’ll focus on the most reliable method for Sloanea laevigata: stem cuttings.
- Select Your Cuttings: During our prime propagation window (late spring/early summer), look for healthy, non-flowering stems. You want sections that are about 4-6 inches long. Gently remove any lower leaves, leaving 2-3 sets of leaves at the top. This reduces water loss.
- Prepare the Cuttings: Dip the cut end of each stem into rooting hormone. Tap off any excess. This part is crucial!
- Plant Your Cuttings: Fill your small pots with your prepared potting mix. Use a dibber or pencil to make a hole in the soil. Insert the despring end of your cutting into the hole, making sure the rooting hormone stays in contact with the soil. Gently firm the soil around the cutting.
- Provide Initial Watering: Water thoroughly but gently. You want the soil to be moist, not waterlogged.
- Create a Humid Environment: Now, we need to keep our cuttings happy and moist. You can do this by placing the pots inside a clear plastic bag, then sealing it loosely. Alternatively, a propagator with a lid works wonderfully. This traps humidity around the leaves, preventing them from drying out before they can root.
- Placement is Key: Place your pots in a bright location, but out of direct sunlight. Too much sun will scorch those young leaves.
The “Secret Sauce” (Pro Tips)
Here are a couple of tricks that have worked wonders for me over the years.
- Bottom Heat is Your Friend: If you have access to a seedling heat mat, using one can make a huge difference. Providing a gentle warmth from below encourages root development much more effectively than just relying on ambient room temperature.
- Don’t Overcrowd Your Pots: While it’s tempting to cram as many cuttings into a pot as possible, give them a little breathing room. This reduces the risk of fungal diseases spreading if one cutting has an issue. Plus, it makes it easier to check on individual cuttings.
- Air Circulation is Still Important: Even though we’re creating a humid environment, don’t seal those plastic bags or propagator lids completely airtight. A little bit of airflow will help prevent mold and mildew from taking hold. Just leave a small gap.
Aftercare & Troubleshooting
Once your cuttings have been planted, check the moisture levels regularly. You don’t want them to dry out, but overwatering is a fast track to root rot. Gently tugging on a cutting after a few weeks is how I check for rooting. If you feel resistance, you’ve got roots!
Signs of failure usually appear as wilting, yellowing leaves, or a mushy, black stem at the soil line. This often indicates overwatering or a lack of proper drainage. If you see this, sadly, that cutting is likely lost. Don’t despair, though – just try again with a fresh cutting and perhaps adjust your watering routine.
A Encouraging Closing
Propagating plants is an act of faith and patience. There will be times when cuttings don’t take, and that’s perfectly okay! Each attempt is a learning opportunity. So, gather your supplies, find those healthy stems, and give it a go. Enjoy the journey of watching new life emerge – there’s truly nothing quite like it! Happy propagating!
Resource:
https://identify.plantnet.org/k-world-flora/species/Sloanea%20laevigata%20Dam.A.Sm./data