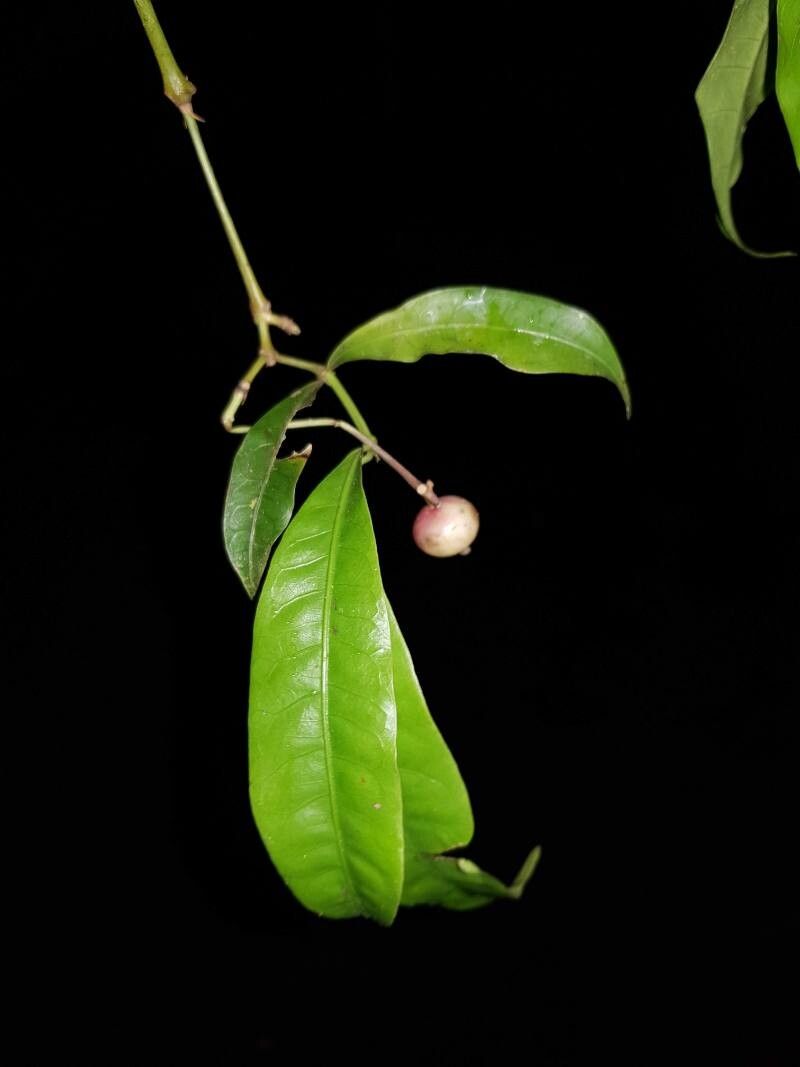
Hello fellow garden lovers! Let’s talk about a truly special plant today: Faramea occidentalis, or as many of us know it, the Brazilian Fiddle Leaf Fig’s tropical cousin. With its elegant, glossy leaves and sweet-scented white flowers that bloom sporadically, it brings a touch of the tropics right into our homes. Bringing more of these beauties into your life through propagation isn’t just rewarding; it’s like having a secret garden whispered into existence. For those of you just starting out, I’d say Faramea occidentalis is moderately challenging, but with a little know-how, you’ll be a pro in no time.
The Best Time to Start
When it comes to propagating Faramea occidentalis, spring and early summer are your golden ticket. This is when the plant is actively growing and has plenty of energy to put into developing new roots. Look for stems that are firm and green, not woody and old, but also not brand new and super soft. A good rule of thumb is to find a stem that bends slightly without snapping.
Supplies You’ll Need
Gathering your tools before you start is the first step to a smooth propagation journey. Here’s what I like to have on hand:
- Sharp pruning shears or a clean, sharp knife: For taking clean cuts.
- Rooting hormone (powder or gel): This really gives cuttings a boost.
- A well-draining potting mix: A blend of perlite, peat moss, and regular potting soil works wonders. You can also try a mix specifically for houseplants.
- Small pots or propagation trays: Clean ones are essential to prevent disease.
- A clear plastic bag or propagation dome: To create a humid environment.
- Water: For cleaning tools and, potentially, for water propagation.
- Optional: A heat mat: This can significantly speed up root development.
Propagation Methods
Let’s get our hands dirty! The most successful method for Faramea occidentalis, in my experience, is through stem cuttings.
Stem Cuttings:
- Select your cutting: As mentioned, choose a healthy, semi-firm stem. Look for a length of about 4-6 inches.
- Make the cut: Using your clean shears or knife, take a clean, angled cut just below a leaf node. A leaf node is where a leaf emerges from the stem; this is where roots will likely form.
- Prepare the cutting: Gently remove the lower leaves, leaving just 2-3 leaves at the top. This prevents them from rotting in the soil and focusing the plant’s energy on rooting. If the remaining leaves are very large, you can cut them in half horizontally.
- Apply rooting hormone: Dip the cut end into your rooting hormone, making sure to coat the node where you made the cut. Tap off any excess.
- Plant your cutting: Fill your small pot or tray with your prepared potting mix. Make a small hole in the center with your finger or a pencil. Gently insert the cutting into the hole, ensuring the node is buried.
- Firm the soil: Lightly firm the soil around the cutting to ensure good contact.
- Water gently: Water the soil thoroughly but gently so you don’t dislodge the cutting.
- Create humidity: Place the pot into a clear plastic bag or cover it with a propagation dome. This will keep the humidity high, which is crucial for stem cuttings. Make sure the plastic doesn’t touch the leaves too much.
- Provide light and warmth: Place your potted cutting in a warm spot with bright, indirect light. Avoid direct sunlight, which can scorch the delicate cutting. If you have a heat mat, this is the time to use it!
The “Secret Sauce” (Pro Tips)
Here are a few little tricks I’ve learned over the years that can really give your propagations a leg up:
- Don’t let the leaves touch the water (if trying water propagation): While stem cuttings in soil are my preferred method for Faramea, some folks like to try water propagation. If you do, it’s vital that no leaves are submerged in the water. Roots that form underwater can struggle to adapt to soil.
- Bottom heat is a game-changer: Seriously, if you can get your hands on a heat mat, it makes a world of difference. Consistent warmth at the base of the cutting encourages root development much faster and more reliably. Your little cuttings will thank you for it!
- Mist regularly (but don’t saturate): Even with a dome, a daily misting of water onto the leaves can be beneficial, especially in drier environments. Just aim for a light spray, not a soaking.
Aftercare & Troubleshooting
Once you see new growth on your cutting, that’s a fantastic sign that roots are forming! You can gently tug on the cutting; if it resists, it has roots. At this point, you can gradually acclimate your new plant to lower humidity. Start by opening the plastic bag a little each day, and eventually remove it entirely. Continue to keep it in bright, indirect light and water when the top inch of soil feels dry.
The most common problem you might encounter is rot. If your cutting turns mushy, black, or starts to disintegrate, it’s likely due to too much moisture and not enough air circulation, or contaminated tools. If you catch it early, you might be able to cut away the rotted part and try again, but often, it’s best to start fresh.
A Little Patience Goes a Long Way
Propagating Faramea occidentalis takes a bit of patience, my friends. Don’t be discouraged if your first attempt doesn’t quite take. Gardening is all about learning and experimenting, and every new shoot and root is a victory. Enjoy the process of nurturing these new lives, and soon you’ll have double the Faramea to enjoy! Happy gardening!
Resource:
https://identify.plantnet.org/k-world-flora/species/Faramea%20occidentalis%20(L.)%20A.Rich./data