Hello fellow plant lovers! Today, we’re diving into the delightful world of Rhipsalis grandiflora. If you’ve ever admired those cascading, ethereal stems of this jungle cactus, you know its charm. It’s like a living work of art, bringing a touch of the tropics indoors. And the best part? You can easily multiply this beauty yourself! Propagating Rhipsalis grandiflora is a genuinely rewarding experience, and I’m happy to report it’s quite beginner-friendly. You’ll be sharing these lovely plants with friends in no time.
The Best Time to Start
The sweet spot for propagating Rhipsalis grandiflora is during its active growing season. Think spring and early summer. This is when the plant is actively pushing out new growth, meaning cuttings will have the oomph they need to establish roots quickly. Waiting until the plant has recovered from its winter dormancy is key.
Supplies You’ll Need
Getting your workspace ready is half the fun! Here’s what you’ll want to have on hand:
- Sterilized sharp scissors or pruners: Clean tools prevent disease.
- Well-draining potting mix: A special cactus or succulent mix works wonders. You can also create your own with equal parts perlite, peat moss, and coarse sand.
- Small pots or seedling trays: Enough to get your cuttings started.
- Rooting hormone (optional but recommended): This can give your cuttings a nice boost.
- Spray bottle: For gentle misting.
- A small trowel or dibber: For making planting holes.
Propagation Methods
Rhipsalis grandiflora is wonderfully versatile. My favorite methods are stem cuttings and water propagation.
1. Stem Cuttings: This is my go-to for multiplying these beauties.
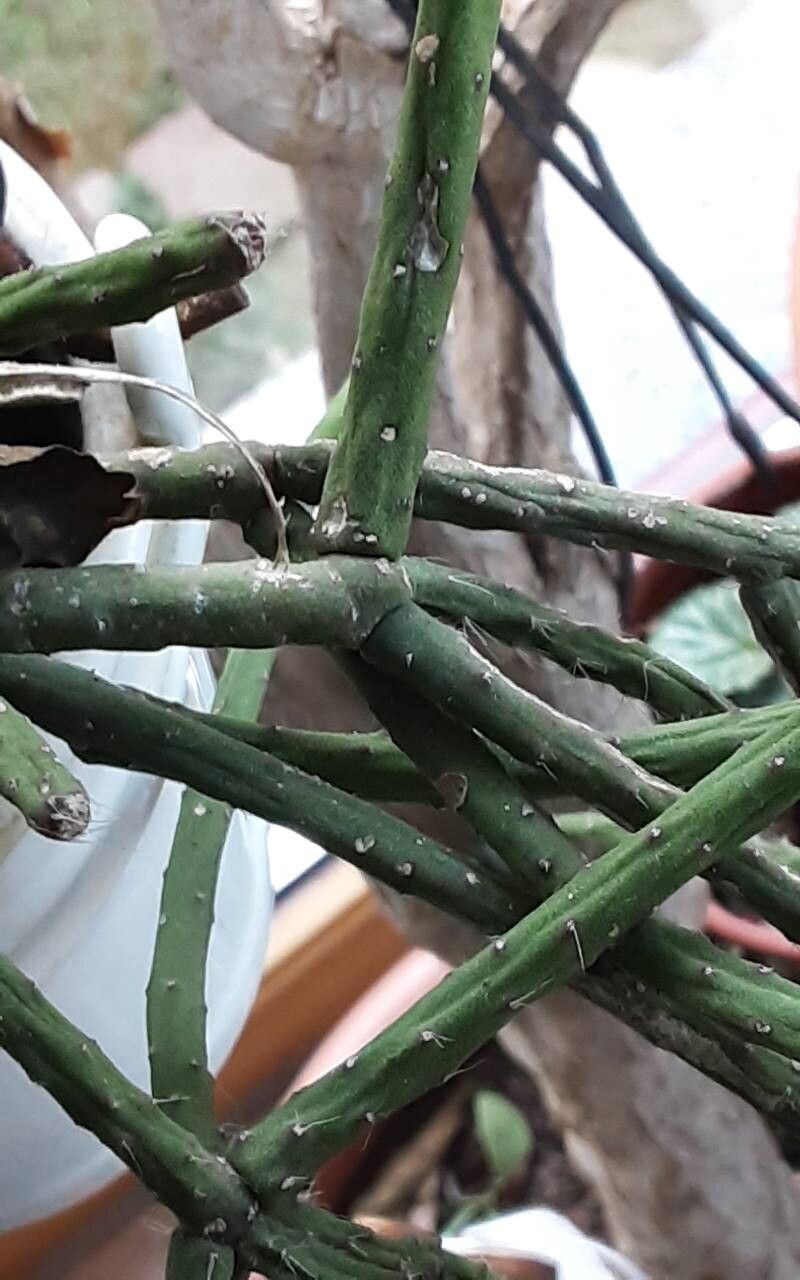
- Take a cutting: Gently twist or snip a healthy stem segment that’s at least 3-4 inches long. Look for segments that have a few nodes (the little bumps where new growth emerges).
- Let it callus: This is crucial! Place your cuttings in a dry spot out of direct sunlight for a day or two, or even up to a week. You want the cut end to form a dry scab, or callus. This prevents rot.
- Dip in rooting hormone (optional): If you’re using it, lightly dip the callused end into the rooting hormone powder. Tap off any excess.
- Plant your cutting: Fill your small pots with your well-draining mix. Use a trowel or your finger to make a small hole in the center. Carefully insert the callused end of the cutting into the soil, burying a node or two. Gently firm the soil around it.
- Water lightly: Give the soil a gentle misting. You want it to be slightly moist, not soggy.
2. Water Propagation: Perfect if you want to watch the magic happen!
- Take a cutting: Just like with stem cuttings, select a healthy stem segment that’s 3-4 inches long. Make sure it has at least one or two nodes.
- Remove lower leaves: If your cutting has any smaller leaves near the cut end, gently remove them.
- Place in water: Find a clean jar or glass and fill it with fresh water. Submerge the cut end of the stem in the water. Crucially, make sure no leaves are touching the water. Leaves submerged will rot and can ruin your efforts.
- Find a bright spot: Place the jar in a location with bright, indirect light.
- Change water regularly: Change the water every few days to keep it fresh and prevent bacterial growth.
The “Secret Sauce” (Pro Tips)
After years of gardening, you pick up a few tricks!
- Don’t rush the callus: Seriously, this is the biggest mistake beginners make. Allowing that cut end to dry and form a callus is the best defense against rot. Be patient!
- Bottom heat is your friend: If you’re struggling with cuttings in cooler weather, a gentle heating mat placed under your pots can significantly speed up root development. It mimics the warmth of the jungle floor.
- Observe subtly: Look at your cuttings daily. Are they plump and firm? That’s a good sign. Shriveling or mushiness? That’s a sign to reassess.
Aftercare & Troubleshooting
Once you see roots emerging (you can gently tug on a cutting to feel resistance, or look for roots peeking out of the drainage holes in pots), you’re on your way!
- For cuttings in soil: Continue to water sparingly. Let the top inch or so of soil dry out between waterings. Gradually introduce more light.
- For cuttings in water: Once you have a good network of roots (about an inch or two long), it’s time to transplant them into soil. Follow the steps for planting stem cuttings.
- Common problems: The most common issue is rot. This usually happens if the cuttings are too wet or if the cut end wasn’t allowed to callus. If you see mushy stems or blackening, it’s usually a sign of rot, and unfortunately, it’s often too late to save that particular cutting. Keep your propagating environment airy and avoid overwatering.
A Gentle Encouragement
Propagating plants is a journey, and every garden experiment offers a lesson. Don’t be discouraged if not every cutting takes. Observe your plants, adjust your methods, and most importantly, enjoy the process! Watching a new little Rhipsalis emerge from a tiny cutting is truly one of gardening’s simple, yet profound, joys. Happy propagating!
Resource:
https://identify.plantnet.org/k-world-flora/species/Rhipsalis%20grandiflora%20Haw./data