Hello fellow plant lovers! Today, we’re diving into the wonderful world of propagating Bursaria spinosa. If you’ve ever admired this tough, elegant native with its clusters of fragrant, creamy-white flowers, you’re in for a treat. Not only is it a magnet for beneficial insects, but it’s also remarkably resilient and brings a touch of wild beauty to any garden. Propagating it yourself is incredibly satisfying, giving you more of these beauties for free! For beginners, it’s a solid choice – not too tricky, and the rewards are well worth the effort.
The Best Time to Start
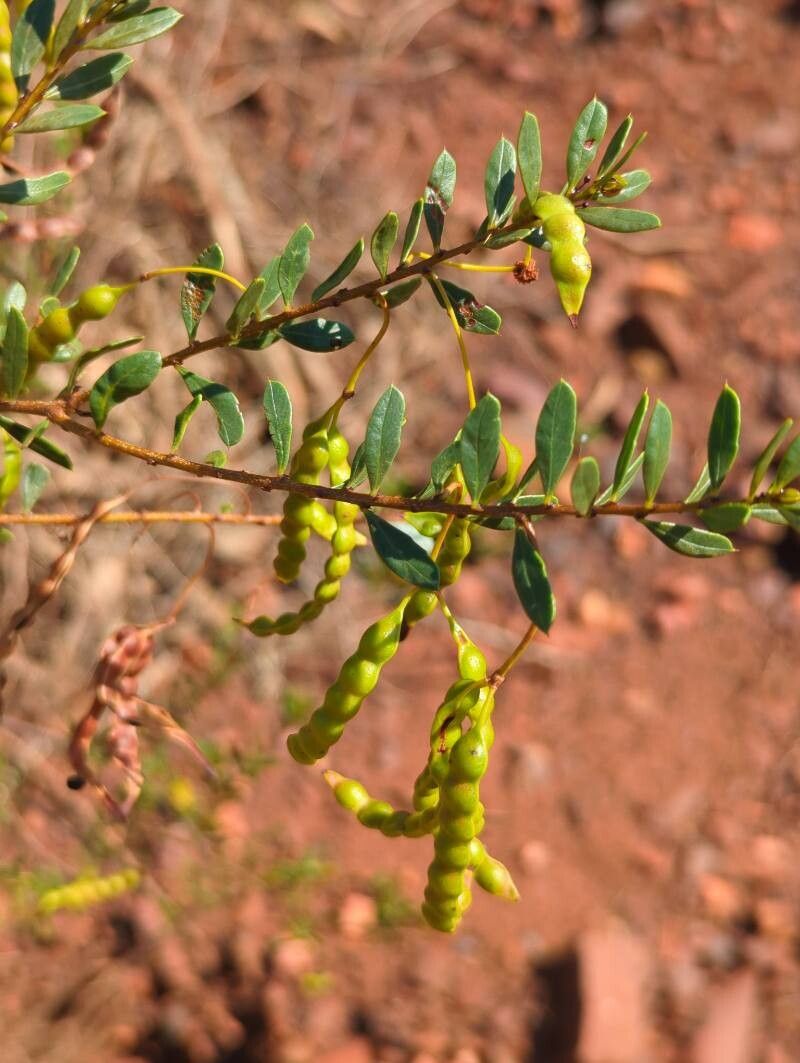
When it comes to Bursaria spinosa, spring is your best friend. Aim for when the plant is actively growing, but before it gets too hot. This usually means late spring or early summer here in my garden. You’re looking for new, semi-hardwood growth – that perfectly pliable stage that snaps cleanly when bent, rather than tearing.
Supplies You’ll Need
- Sharp pruning shears or a clean knife: For taking cuttings. Make sure they’re clean!
- Potting mix: A blend of good quality potting soil with perlite or coarse sand works brilliantly. I like a ratio of about 2:1.
- Small pots or trays: Clean ones are a must to prevent disease.
- Rooting hormone (optional but recommended): Especially for those trickier propagations. Look for a powder or gel.
- Plastic bags or a propagator: To create a humid environment.
- Watering can or spray bottle: For gentle watering.
- Labels: So you don’t forget what you’ve planted where!
Propagation Methods
Let’s get our hands dirty! For Bursaria spinosa, I’ve found the stem cutting method to be the most reliable and rewarding.
- Gather Your Cuttings: Head out to your Bursaria spinosa in late spring/early summer. Look for those vigorous, healthy shoots. You want sections that are about 10-15 cm long. Make your cut just below a leaf node – that’s the little bump where a leaf emerges.
- Prepare the Cuttings: Gently strip off the lower leaves, leaving just the top few. If you have larger leaves, I like to even snip them in half to reduce water loss through transpiration (fancy word for “sweating”).
- Dip in Rooting Hormone (Optional): If you’re using rooting hormone, dip the cut end of each stem into the powder or gel. Tap off any excess.
- Plant Them Up: Fill your clean pots with your prepared potting mix. Make a small hole with your finger or a pencil, then carefully insert the cutting, ensuring the leaf nodes you bared are below the soil surface. Gently firm the soil around the stem.
- Water and Cover: Give the pots a gentle watering until the soil is moist but not waterlogged. Then, cover the pots with a plastic bag or place them in a propagator. This creates that essential humid microclimate.
The “Secret Sauce” (Pro Tips)
- Don’t let the leaves touch the water! If you’re trying water propagation (though I find cuttings in soil more successful for Bursaria), make sure only the very base of the stem is submerged. Any leaves in the water will rot and send that rot right down to your potential roots.
- Think about bottom heat. While not strictly necessary, placing your pots on a heated propagator mat can really speed things up. It encourages root development from the base of the cutting.
- Be patient with drainage. Bursaria spinosa can be prone to root rot if conditions are too wet. Ensure your pots have drainage holes, and don’t overwater. That slightly gritty mix I mentioned? It really helps give those roots room to breathe.
Aftercare & Troubleshooting
Once your cuttings are potted up, find them a bright spot, but out of direct, scorching sun. Keep an eye on that humidity cover – you want it misty, not dripping wet.
You’ll know your cuttings are happy when you see new leaf growth appearing. This often takes anywhere from 4 weeks to a couple of months. Gently tugging on a cutting is not a good idea – you could dislodge it!
If your cuttings look limp and sad, and you find mushy bases or blackening stems, that’s usually a sign of rot. This often happens due to overwatering or poor air circulation. Unfortunately, these are usually lost causes. Don’t beat yourself up – it’s part of the learning process! Just clean out the pot and try again with fresh cuttings and slightly drier soil.
A Encouraging Closing
Propagating plants is a journey, and every gardener has their share of triumphs and a few little disasters. The key is patience and observation. Keep experimenting, keep learning from your plants, and most importantly, enjoy the process of bringing more of these wonderful Bursaria spinosa into your garden. Happy propagating!
Resource:
https://identify.plantnet.org/k-world-flora/species/Bursaria%20spinosa%20Cav./data