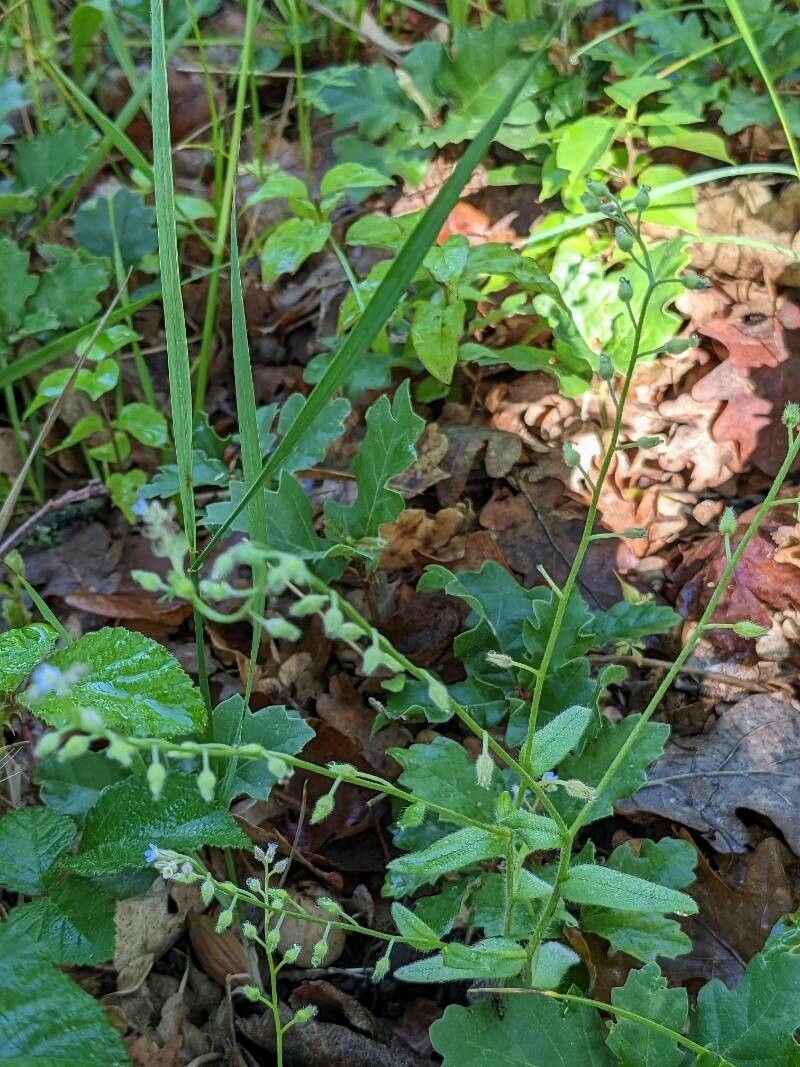
Hello, fellow garden enthusiasts! Today, we’re diving into the delightful world of Myosotis macrosperma, commonly known as large-leaved forget-me-nots. These beauties, with their sky-blue blooms, have a way of bringing a little piece of heaven right into our gardens. If you’ve ever admired their delicate charm and wished you had more of them scattered amongst your other plants, you’re in luck! Propagating them is a truly rewarding experience, and I’m happy to report that Myosotis macrosperma is quite forgiving, making it an excellent choice for even those new to the propagation game.
The Best Time to Start
For the highest success rate with our forget-me-nots, I find the late spring or early summer to be the sweet spot. This is typically after they’ve finished their main flush of blooms. Starting around this time gives the cuttings enough time to establish themselves before the cooler weather sets in. You can also try this in early autumn, giving them a head start before the next growing season.
Supplies You’ll Need
Here’s what you should gather before you begin:
- Sharp pruning shears or a clean knife: For taking cuttings.
- Small pots or seed trays: Make sure they have drainage holes.
- A well-draining potting mix: A blend of peat moss or coco coir with perlite or coarse sand works wonders. I often use a 50/50 mix.
- Rooting hormone powder or gel (optional but recommended): This can give your cuttings a significant boost.
- A spray bottle: For misting.
- Plastic bags or a propagation dome: To create a humid environment.
- Labels and a marker: To keep track of your efforts!
Propagation Methods
Forget-me-nots are wonderfully versatile, and I’ve had success with a few different methods. Let’s walk through the easiest ones:
Stem Cuttings
This is my go-to method for multiplying my forget-me-not collection.
- Select a healthy stem: Look for a piece that isn’t flowering anymore. Aim for a stem that’s about 4 to 6 inches long.
- Make a clean cut: Just below a leaf node (where a leaf attaches to the stem), use your sharp shears or knife to make a clean cut.
- Prepare the cutting: Gently remove the lower leaves, leaving just a couple of leaves at the top. This prevents them from rotting when buried.
- Dip in rooting hormone (optional): If you’re using rooting hormone, lightly dip the cut end into the powder or gel.
- Plant the cutting: Make a small hole in your prepared potting mix and insert the cutting, ensuring the leaf nodes are buried. Gently firm the soil around it.
- Water gently: Water the soil thoroughly but avoid waterlogging.
- Create humidity: Cover the pot with a clear plastic bag or a propagation dome. You can secure the bag with a rubber band. Make sure the leaves aren’t touching the plastic if possible.
Division
If you have an established clump of Myosotis macrosperma, division is a breeze!
- Dig up the clump: In the appropriate season (late spring or early autumn), gently dig up the entire plant.
- Gently tease apart the roots: With clean hands, carefully separate the root ball into smaller sections. Each section should have at least a few healthy shoots and a good portion of roots.
- Replant immediately: Pot up the divisions in suitable containers or replant them directly into your garden beds.
Water Propagation
This is a fun, visual method, and forget-me-nots often respond well.
- Take cuttings as described above, removing lower leaves.
- Place the cuttings in a jar or glass of water, ensuring the leaf nodes are submerged.
- Keep out of direct sunlight, and change the water every few days to keep it fresh.
- Wait for roots to appear: This can take a few weeks. Once you see 1-2 inch long roots, you can pot them up into your well-draining soil mix.
The “Secret Sauce” (Pro Tips)
Here are a couple of things I’ve learned over the years that really make a difference:
- Don’t let those leaves touch the water! In any propagation method, whether it’s water propagation or cuttings in soil, if the leaves are submerged, they tend to rot before they can form roots. Keep them above the waterline or out of constant contact with damp soil.
- Bottom heat is your friend! If you’re working indoors, especially if your house tends to be a bit cooler, placing your pots on a seedling heat mat can dramatically speed up root development. It mimics the warmth of spring soil and gives those roots the encouragement they need.
Aftercare & Troubleshooting
Once you see signs of new growth or well-developed roots (you can gently tug on the cutting – a bit of resistance means roots are forming!), it’s time to transition.
- Gradually acclimate: If you’ve been using a plastic bag or dome, slowly remove it over a few days to get your new plants used to normal humidity levels.
- Water consistently: Keep the soil evenly moist, but not soggy. Overwatering is the most common culprit for failure.
- Provide bright, indirect light: Avoid direct, scorching sun for your fragile new plants.
The main issue you might encounter is rot. This usually happens from overwatering or poor drainage. If you see wilting leaves, a mushy stem base, or mold on the soil surface, it’s a sign something is wrong. Unfortunately, if a cutting has fully rotted, it’s hard to save. However, you can often cut away the rotted part and try again with a fresh cutting, paying close attention to your watering and drainage.
A Little Patience Goes a Long Way
Propagating plants is a journey, and sometimes it takes a few tries to get it just right. Don’t be discouraged if your first attempt doesn’t yield heaps of new forget-me-nots. The process itself is incredibly rewarding, and watching those tiny cuttings transform into established plants is pure gardening joy. So grab your tools, get your hands dirty, and enjoy bringing more of that delightful blue into your garden! Happy planting!
Resource:
https://identify.plantnet.org/k-world-flora/species/Myosotis%20macrosperma%20Engelm./data