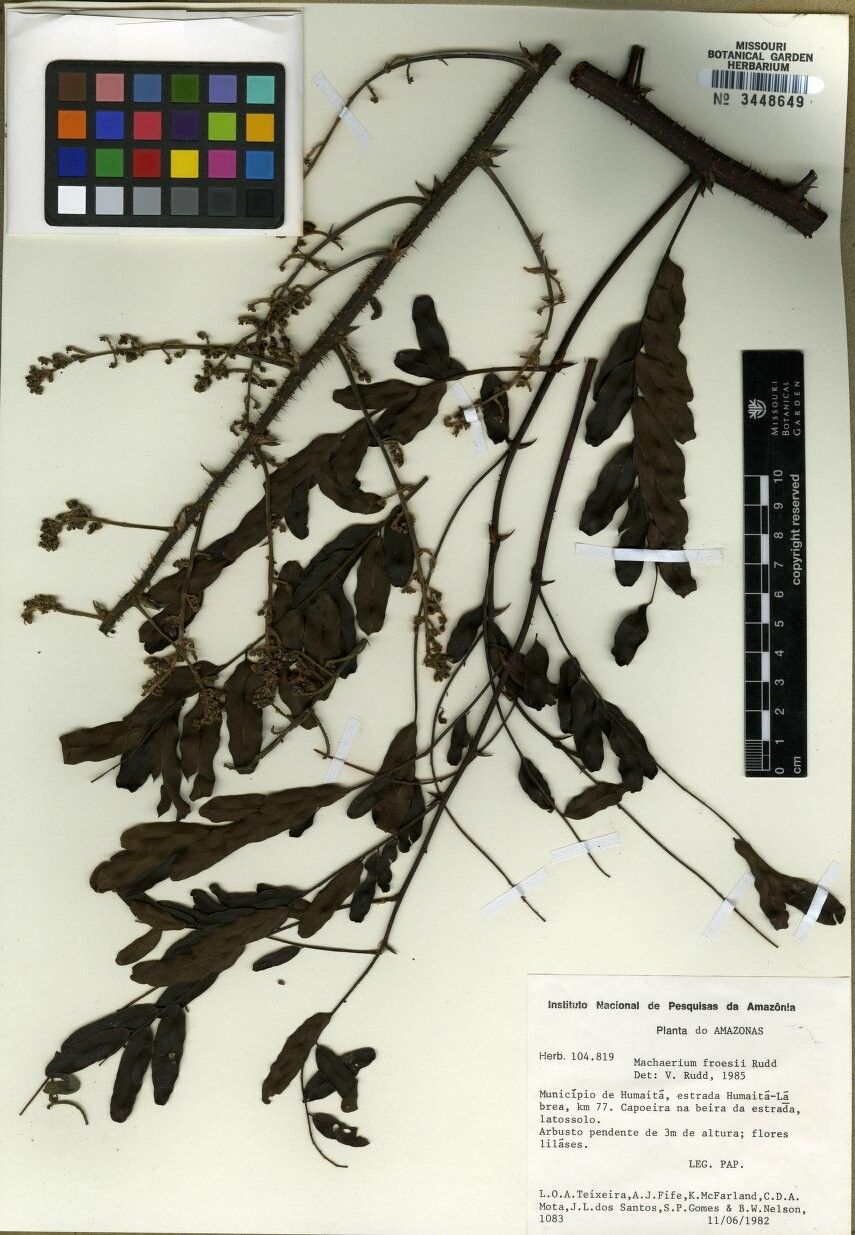
Oh, hello there! Pull up a chair and let’s talk about Machaerium froesii. You know, that gorgeous vine with the delicate, pea-like flowers? It’s truly a showstopper in the garden, and there’s something incredibly satisfying about coaxing a new life from a parent plant. It can be a little bit of a diva, I won’t lie. It’s not quite a beginner’s “set it and forget it” kind of plant, but with a few tricks up your sleeve, you absolutely can succeed.
The Best Time to Start
My absolute favorite time to take cuttings is in late spring or early summer. This is when the plant is in its most vigorous growth phase. The new wood is flexible enough to root easily but has also hardened off a bit. You want to look for stems that are semi-hardwood – they’ll snap cleanly when bent, rather than just flopping over. Avoid brand new, bright green, floppy growth, and definitely skip anything that’s completely woody and old.
Supplies You’ll Need
Here’s what I like to have on hand before I start:
- Sharp Pruning Shears or a Clean Knife: For clean cuts, which are crucial.
- Rooting Hormone: I prefer a powder, but gel works too. It really gives those cuttings a leg up.
- Small Pots or Seedling Trays: Make sure they have good drainage.
- Well-Draining Potting Mix: A good starting point is a mix of equal parts peat moss or coco coir and perlite or coarse sand. I often add a little bit of compost too, for a touch of nutrients.
- Clear Plastic Bags or a Propagator: To create a humid environment.
- Labels and a Marker: So you don’t forget what you planted where!
Propagation Methods: Stem Cuttings
This is the method I’ve had the most luck with for Machaerium froesii.
- Take Your Cuttings: Find those semi-hardwood stems. You’re looking for cuttings that are about 4-6 inches long. Using your clean pruners, make a clean, angled cut just below a leaf node. A leaf node is where a leaf attaches to the stem – that’s where the magic happens, where roots are most likely to form.
- Prepare the Cuttings: Gently remove the leaves from the bottom half of the cutting. If the remaining leaves are very large, you can cut them in half horizontally. This reduces water loss through transpiration.
- Dip in Rooting Hormone: Dip the cut end of each cutting into your rooting hormone, tapping off any excess.
- Plant the Cuttings: Fill your small pots with your prepared potting mix. Make a small hole in the center of the soil with your finger or a pencil. Insert the prepared cutting into the hole, making sure the nodes that had leaves removed are buried. Gently firm the soil around the base of the cutting.
- Water Gently: Water the soil thoroughly until it’s evenly moist.
- Create Humidity: This is vital! Place the pot inside a clear plastic bag, creating a mini-greenhouse. You can use a few skewer sticks to keep the bag from touching the leaves. Alternatively, use a propagator with a lid. Place the pots in a bright spot, but out of direct sunlight.
The “Secret Sauce” (Pro Tips)
Now, for a couple of little things that I’ve learned over the years that can really make a difference:
- Bottom Heat is Your Friend: If you can, pop your potted cuttings onto a heat mat designed for seedlings. This gentle warmth from below encourages root development much faster. It mimics the soil temperature when plants are happy outside.
- Don’t Drown Your Cuttings (Literally): When you water, you want the soil moist, not waterlogged. Soggy soil is a fast track to rot. If you’re using a plastic bag, check the soil moisture every few days by gently poking it. You can also lift the bag to allow for a bit of air circulation if it looks overly steamy.
- Patience is Key (and a Clean Knife!): I know it’s tempting to keep digging, but resist! Let those cuttings sit undisturbed for at least 4-6 weeks. The cleaner your cut, the less chance of disease, so keep those pruners sharp and clean.
Aftercare & Troubleshooting
Once you start seeing new leaf growth or feel a gentle tug when you very lightly pull on a cutting, that’s a good sign roots are forming! At this point, you can slowly start to acclimate them to normal humidity by opening up the plastic bag for longer periods each day. Keep the soil consistently moist but not soggy.
The biggest culprit for failure is usually rot. If your cuttings turn black and mushy, or if you see mold developing, it’s likely too wet, or the cutting wasn’t healthy to begin with. Don’t be discouraged if some don’t make it. It’s all part of the learning process!
A Gentle Encouragement
Propagating plants, especially those a little trickier ones like Machaerium froesii, is a journey. There will be successes and, yes, a few failures. But the joy of nurturing a tiny cutting into a thriving plant is truly one of gardening’s greatest rewards. Be patient with yourself and your new plant babies, and enjoy every step of the process! Happy growing!
Resource:
https://identify.plantnet.org/k-world-flora/species/Machaerium%20froesii%20Rudd/data