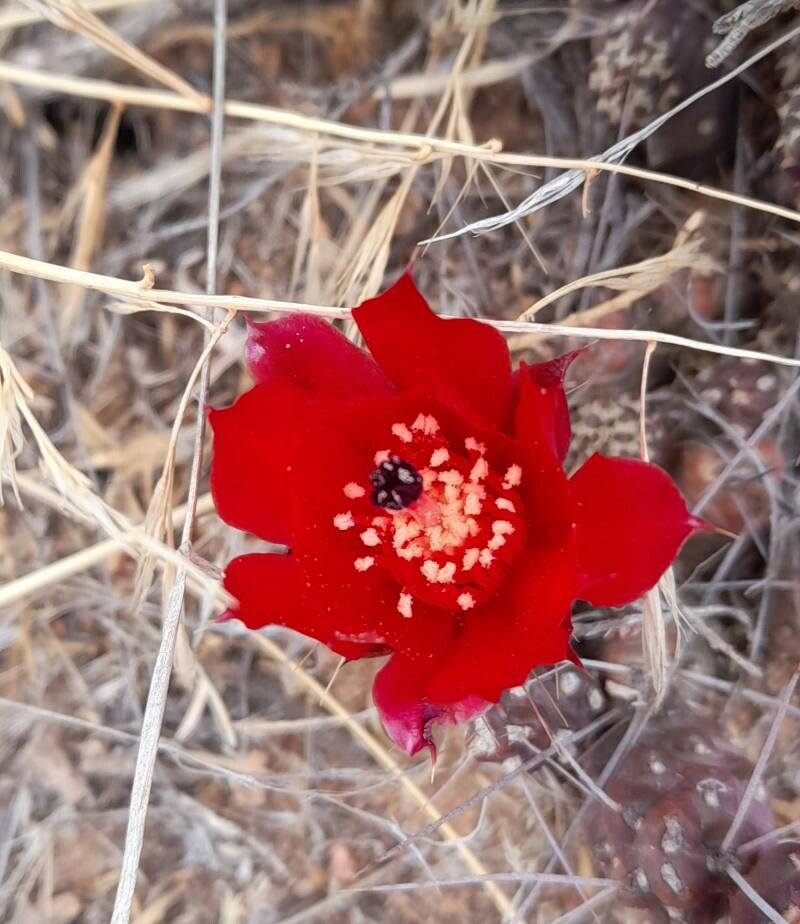
Hello fellow plant enthusiasts! Today, we’re diving into the wonderfully quirky world of Tephrocactus nigrispinus. If you’re a fan of cacti with character, this one’s for you. Its segmented bodies, often with those striking black spines, give it a prehistoric charm that’s just captivating. And the best part? Growing more of these beauties from your existing plants is surprisingly achievable and incredibly rewarding. Don’t let the spiky exterior fool you; while it requires a little finesse, propagating Tephrocactus nigrispinus is a delightful project even for those of you just dipping your toes into the world of cactus propagation.
The Best Time to Start
My personal sweet spot for propagating these guys is late spring to early summer. This is when the plant is actively growing, and those segments are just bursting with energy. You’ll find they root much more readily during this warm, sunny period. Trying to propagate them when they’re dormant in the cooler months is like asking them to run a marathon – they just won’t have the gusto.
Supplies You’ll Need
Gathering your tools beforehand makes the whole process smoother. Here’s what I always have on hand:
- Well-draining cactus and succulent soil mix: You can buy this premixed or make your own by combining equal parts potting soil, perlite, and coarse sand. Good drainage is non-negotiable for these desert dwellers.
- Clean, sharp pruning shears or a sharp knife: For making clean cuts. Sterilize them with rubbing alcohol to prevent disease.
- Rooting hormone (optional but recommended): This can give your cuttings a significant boost.
- Terra cotta pots or propagation trays: I prefer terra cotta because it breathes well and helps prevent waterlogging.
- Gravel or small stones: For a top dressing to help support the cuttings.
- Watering can with a fine rose or a spray bottle: For gentle watering.
- Gloves (optional): Those black spines can be a bit persistent!
Propagation Methods
For Tephrocactus nigrispinus, the most straightforward and successful method is stem cuttings, essentially taking a segment from your existing plant.
- Harvesting the Segment: Gently twist or use your clean shears to carefully detach a healthy segment from your mature plant. Look for segments that appear plump and firm, not dried out or soft.
- Allowing the Wound to Callus: This is crucial! Place the detached segment in a dry, well-ventilated spot away from direct sunlight for several days, or even a week. You want the cut end to dry and form a callus. This protective layer prevents rot when you plant it. Think of it like a scab forming over a cut – it’s nature’s way of sealing the deal.
- Applying Rooting Hormone (Optional): Once the cut end is completely dry and callused, you can dip the cut end into rooting hormone. A little goes a long way.
- Planting the Cutting: Fill your pot or tray with your well-draining soil mix. Make a small hole in the center, just deep enough to support the callused end of the segment. Gently place the segment into the hole. You can add a small amount of gravel around the base for extra support.
- Initial Watering (or Lack Thereof): Resist the urge to water immediately. I usually wait about a week before the first light watering. This gives the callus a chance to really set in. When you do water, do so sparingly. The goal is to let the soil dry out completely between waterings.
The “Secret Sauce” (Pro Tips)
Here are a couple of things I’ve learned over the years that make a real difference:
- The Bare Minimum Water Rule: When you do water, aim for just enough to moisten the soil beneath the cutting, not to soak it. Overwatering is the quickest way to invite rot. I often find a light misting from a spray bottle is all it takes initially.
- Embrace the Warmth (But Not the Burn): While these cacti love warmth, keep your newly planted cuttings out of intense, direct midday sun for the first few weeks. Bright, indirect light is perfect. If you’re in a cooler climate, a heat mat on a very low setting can work wonders to encourage root development, but be very watchful so it doesn’t dry out the soil too quickly.
Aftercare & Troubleshooting
Once you see signs of new growth – which might be a slight plumpness at the base or even a tiny new segment emerging – you know the roots are taking hold! Continue with the sparing treatment you’ve been giving. Let the soil dry out completely between waterings. Gradually introduce it to more light as it matures.
The most common issue you’ll encounter is rot. If a segment starts to look soft, mushy, or brown and develops a foul odor, it’s likely rotted. Unfortunately, this is usually the end for that particular piece. The best course of action is to disinfect your tools and remove the infected plant material immediately to prevent it from spreading. Ensure your soil is as well-draining as possible and adjust your watering habits.
A Little Patience Goes a Long Way
Propagating Tephrocactus nigrispinus is a journey, not a race. Some segments will root with remarkable speed, while others may take their sweet time. Be patient, observe your little cuttings, and enjoy the process of nurturing new life. Soon, you’ll have a whole collection of these spiky wonders to admire! Happy propagating!
Resource: