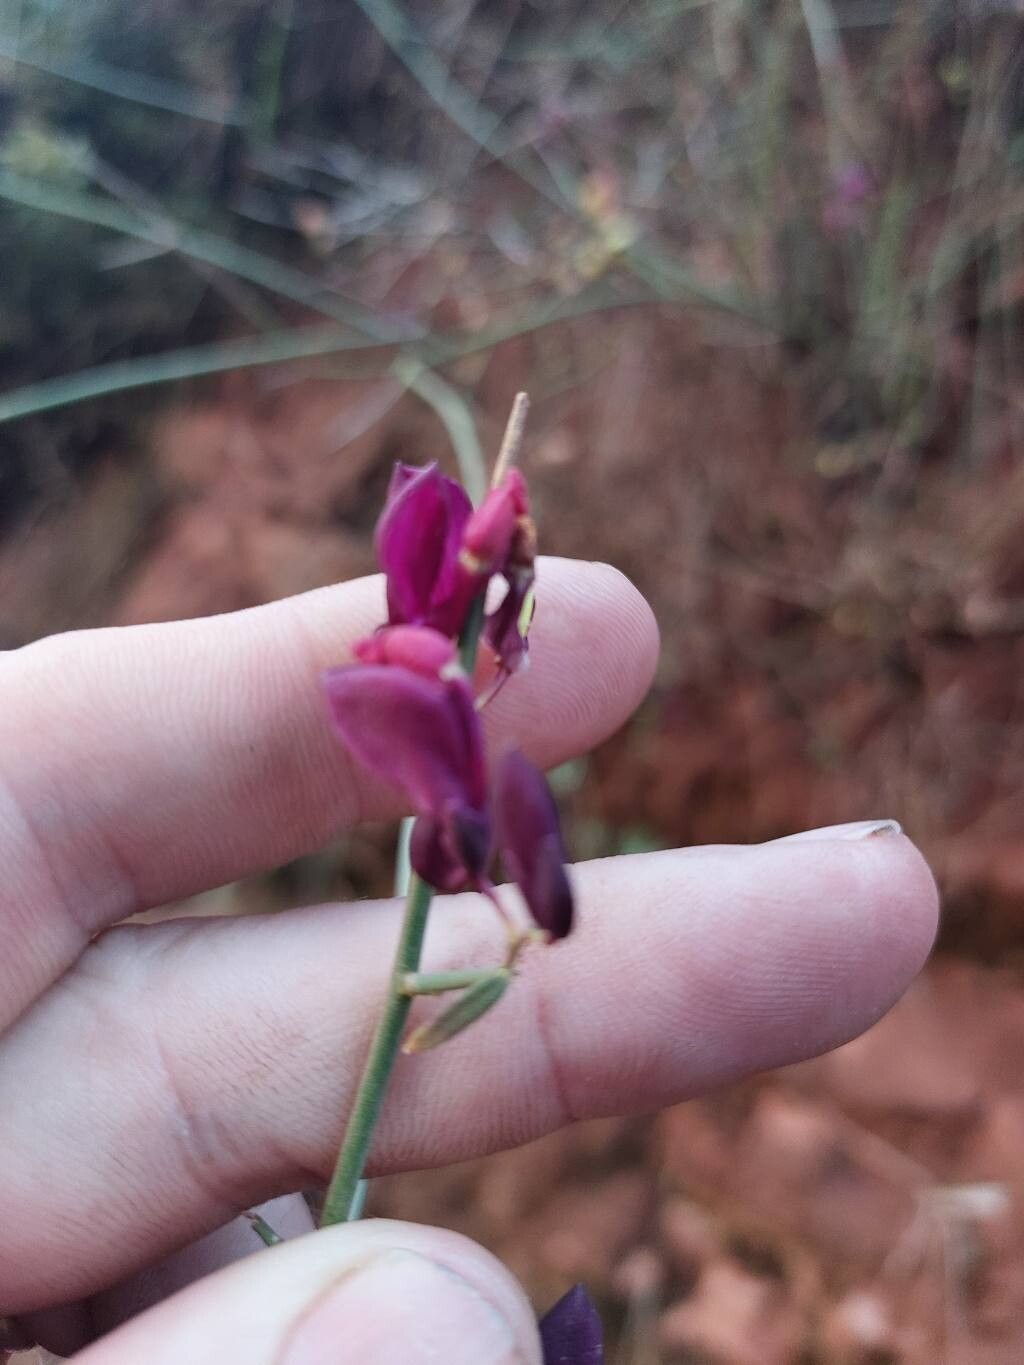
Hello fellow garden enthusiasts! Today, we’re diving into something truly special: bringing more of the gorgeous Polygaloides balansae into our lives. You know, those lovely plants with their delicate, pea-like flowers that seem to spill from their branches like a cascade of tiny jewels? Growing them is already such a delight, and propagating them? Well, that’s where the real magic happens. It’s like creating little plant babies, and honestly, it’s one of the most rewarding ways to expand your garden without spending a dime. This particular friend, Polygaloides balansae, can be a little bit of a puzzle at first, but with a few tricks up your sleeve, you’ll be a pro in no time. Don’t let a little challenge deter you; the satisfaction is immense!
The Best Time to Start
For Polygaloides balansae, the sweet spot for propagation is definitely late spring to early summer. This is when the plant is actively growing, and the stems have reached a semi-hardwood stage. Think of it as the plant being full of energy, making it more receptive to rooting. You don’t want wood that’s too soft and floppy, nor do you want anything that’s fully mature and woody. A stem that bends with a slight snap is usually just right.
Supplies You’ll Need
To get these little beauties started, gather these essentials:
- Sharp Pruning Shears or a Knife: Clean cuts are crucial for preventing disease.
- Rooting Hormone (Optional, but Recommended): Look for one formulated for cuttings.
- Small Pots or Seedling Trays: Make sure they have drainage holes.
- Well-Draining Potting Mix: A good blend is 50% perlite and 50% peat moss or coco coir. Some gardeners swear by adding a bit of coarse sand too.
- Plastic Bags or a Propagator: To create a humid environment.
- Small Watering Can or Spray Bottle: For gentle watering.
- Labels: So you remember what you’ve planted!
Propagation Methods: Stem Cuttings
This is my go-to for Polygaloides balansae. It’s reliable and you can get multiple plants from a single parent.
- Take Your Cuttings: With your clean shears, snip off healthy, non-flowering shoots that are about 4-6 inches long. Make your cut just below a leaf node (where a leaf meets the stem).
- Prepare the Cuttings: Gently remove the lower leaves from the cutting, leaving just a few at the top. This helps the plant focus its energy on root development rather than leaf maintenance. You can even take a sharp knife and make a shallow slice up the bottom inch of the stem; this increases the surface area for the rooting hormone to adhere to.
- Apply Rooting Hormone: Dip the cut end of the stem into your rooting hormone. Tap off any excess.
- Plant Your Cuttings: Fill your pots with your prepared potting mix. Make a small hole with your finger or a pencil, and carefully insert the cutting, ensuring the nodes where the leaves were removed are buried. Gently firm the soil around the stem.
- Create Humidity: Water the soil gently until it’s moist but not soggy. Then, cover the pots with a plastic bag, securing it loosely around the rim with a rubber band, or place them in a propagator. This mini-greenhouse effect is vital.
The “Secret Sauce” (Pro Tips)
Now, for a few little nuggets of wisdom that I’ve picked up over the years:
- Don’t Let Leaves Touch Water: If you’re trying water propagation (which can work for some Polygaloides species, though cuttings are more reliable for balansae), make absolutely sure none of the leaves dip into the water. Only the stem should be submerged. Leaves sitting in water are a fast track to rot.
- Bottom Heat is Your Friend: While not strictly necessary, placing your pots on a gentle heat mat designed for propagation can speed up root formation by a significant amount. It mimics the warmth of spring soil.
- Hygiene, Hygiene, Hygiene! I can’t stress this enough. Clean tools, clean pots, clean hands. A tiny bit of fungus or bacteria can quickly take out your precious new cuttings.
Aftercare & Troubleshooting
Once your cuttings are planted, keep them in a bright spot that’s out of direct, scorching sun. The key is to maintain consistent moisture in the soil and high humidity inside the bag or propagator.
You’ll know your cuttings are taking root when you see new leaf growth. This can take anywhere from 4 to 8 weeks, sometimes longer. Resist the urge to tug on them to check for roots; you’ll damage any delicate new ones. Once they’ve developed a good root system (you might see roots poking out the drainage holes), it’s time to gradually acclimate them to normal garden conditions. Start by opening the plastic bag a little each day for a week or so.
The most common pitfall is rot. If your cuttings turn black and mushy, it’s usually a sign of too much moisture and not enough air circulation. If you suspect rot, you can try to take new cuttings from healthier parts of the stem and ensure the soil isn’t waterlogged.
A Encouraging Closing
There you have it! Propagating Polygaloides balansae is a journey, and like all good garden adventures, it’s about patience and observation. Don’t be discouraged if your first attempt isn’t a roaring success. Each cutting you try teaches you something new. So, grab your shears, get your hands in the soil, and enjoy the process of coaxing these delightful blooms to life. Happy propagating!
Resource: