Well hello there, fellow plant enthusiasts! It’s so lovely to have you join me today. Today, we’re diving into the wonderful world of propagating Centaurea benedicta, also known as Blessed Thistle.
Introduction
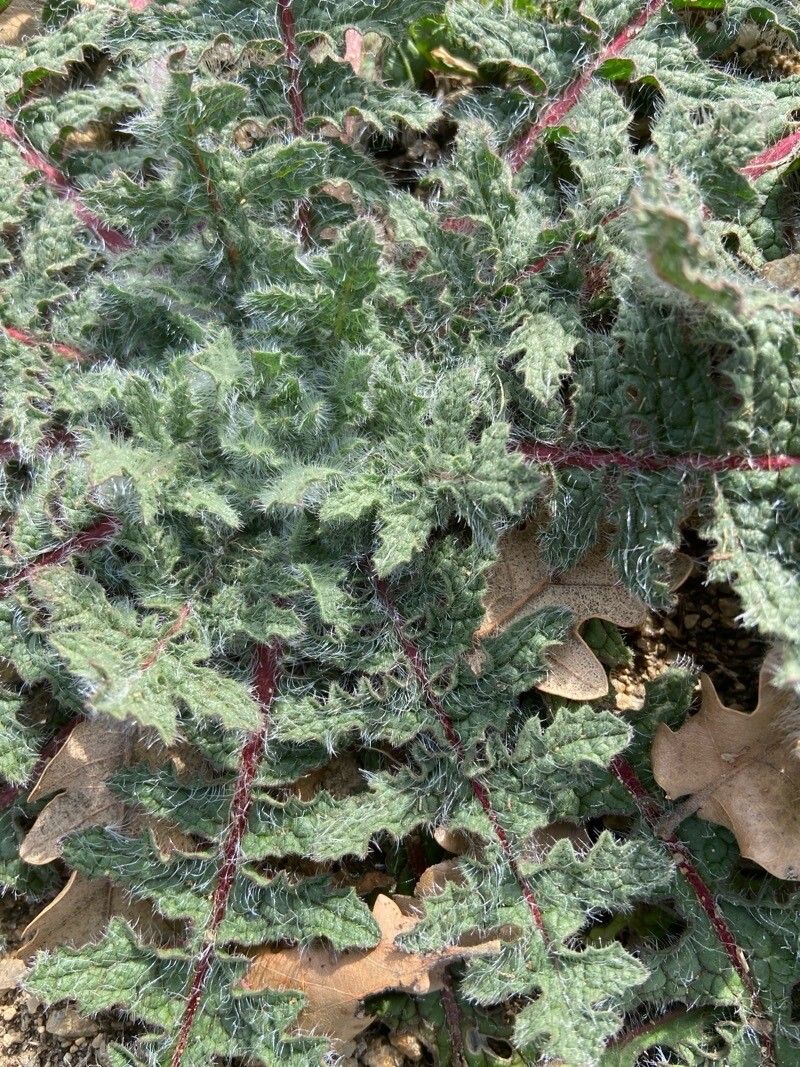
There’s something truly special about Centaurea benedicta. Its spiky, thistle-like appearance and unique charm make it a real standout in the garden. Maybe you’ve admired its resilience in a wildflower meadow, or perhaps you’re drawn to its historical medicinal uses. Whatever your reason, propagating this plant is incredibly rewarding. You get to share its beauty, fill more corners of your garden, or even gift a little green joy to a friend. Now, I know some plants can feel a bit intimidating to start from scratch, but don’t you worry. Blessed Thistle is a pretty forgiving plant, making it a fantastic choice even if you’re just dipping your toes into propagation.
The Best Time to Start
When it comes to getting the most success with Centaurea benedicta, timing is everything. The ideal time to propagate is in the spring, just as the plant is entering its active growing season. You’re looking for new, healthy growth that isn’t yet woody. This young tissue has more energy and a better capacity to root. Waiting until spring after the last frost is your best bet for strong, vigorous cuttings.
Supplies You’ll Need
Gathering your supplies beforehand makes the whole process so much smoother. Here’s what I find most helpful:
- Sharp, clean pruning shears or a sharp knife: For making those precise cuts.
- Rooting hormone (optional, but recommended for stem cuttings): This can give your cuttings a bit of a boost.
- Well-draining potting mix: A good mix of perlite, peat moss, and compost works wonders. You can also buy a sterile seed-starting mix.
- Small pots or propagation trays: Clean ones, of course!
- Watering can or spray bottle: For gentle watering.
- Clear plastic bags or a propagation dome: To create a humid environment for cuttings.
- Labels and a permanent marker: So you don’t forget what you planted where!
Propagation Methods
Centaurea benedicta is most commonly and successfully propagated by seed. While you can sometimes find success with stem cuttings, starting from seed is hands-down the easiest and most reliable method for this particular plant.
Propagation by Seed:
- Collect Seeds: If you have an existing plant, wait until the flower heads have dried and turned brown. You’ll see the fluffy seed heads developing. Gently rub the dried heads between your fingers to release the seeds, or carefully snip off the dried heads and shake them into a paper bag. Let them air dry for a few more days.
- Prepare Your Pots: Fill your clean pots or trays with your well-draining potting mix. Lightly moisten the soil.
- Sow the Seeds: Sprinkle the seeds thinly on the surface of the soil. You don’t need to bury them too deeply; a very light dusting of soil or vermiculite is enough. Centaurea benedicta seeds need light to germinate, so keeping them near the surface is important.
- Water Gently: Lightly mist the soil surface with water. You want it moist but not waterlogged.
- Provide Warmth and Light: Place your pots in a warm location (around 65-75°F or 18-24°C) with bright, indirect light. A sunny windowsill is perfect.
- Maintain Humidity: Cover the pots with a clear plastic bag or a propagation dome to keep the humidity high. This is crucial for germination.
- Be Patient: Germination can take anywhere from 1 to 3 weeks. Keep the soil consistently moist and the humidity up. Once you see seedlings emerge, remove the plastic cover gradually over a few days to acclimate them.
The “Secret Sauce” (Pro Tips)
You know, over the years, I’ve picked up a few little tricks that can really make a difference. Here are a couple of bits of wisdom for your Blessed Thistle propagation:
- Don’t overcrowd your seedlings! Once your seedlings have a couple of sets of true leaves, transplant them into individual pots. This gives them room to grow strong root systems and prevents competition, which can lead to weaker plants.
- Consider “hardening off” your seedlings before planting them out into the garden. This means gradually exposing them to outdoor conditions over a week or two. Start by placing them in a sheltered spot for a few hours each day, then slowly increase the time and exposure to sun and wind. This prevents shock and helps them thrive once planted in their final home.
Aftercare & Troubleshooting
Once your seedlings have developed a bit more and are ready to move into their own pots, continue to water them regularly, allowing the top inch of soil to dry out between waterings. Keep them in a bright spot and continue to harden them off if you plan on planting them directly into the garden.
The most common sign of trouble you’ll encounter is damping off, which is a fungal disease that causes seedlings to rot at the soil line. This usually happens when there’s too much moisture and not enough air circulation. If you see this, act fast! Remove the affected seedlings immediately and try to improve air flow and reduce watering slightly. Using a sterile seed-starting mix and keeping your tools clean can also help prevent this.
A Encouraging Closing
And there you have it! Propagating Centaurea benedicta is a journey of patience and observation, but the rewards are so worth it. Don’t get discouraged if every seed doesn’t sprout or every cutting takes root. Gardening is all about learning and adapting. So, grab your seeds, get your hands in the soil, and most importantly, enjoy the process. Happy growing!
Resource:
https://identify.plantnet.org/k-world-flora/species/Centaurea%20benedicta%20(L.)%20L./data