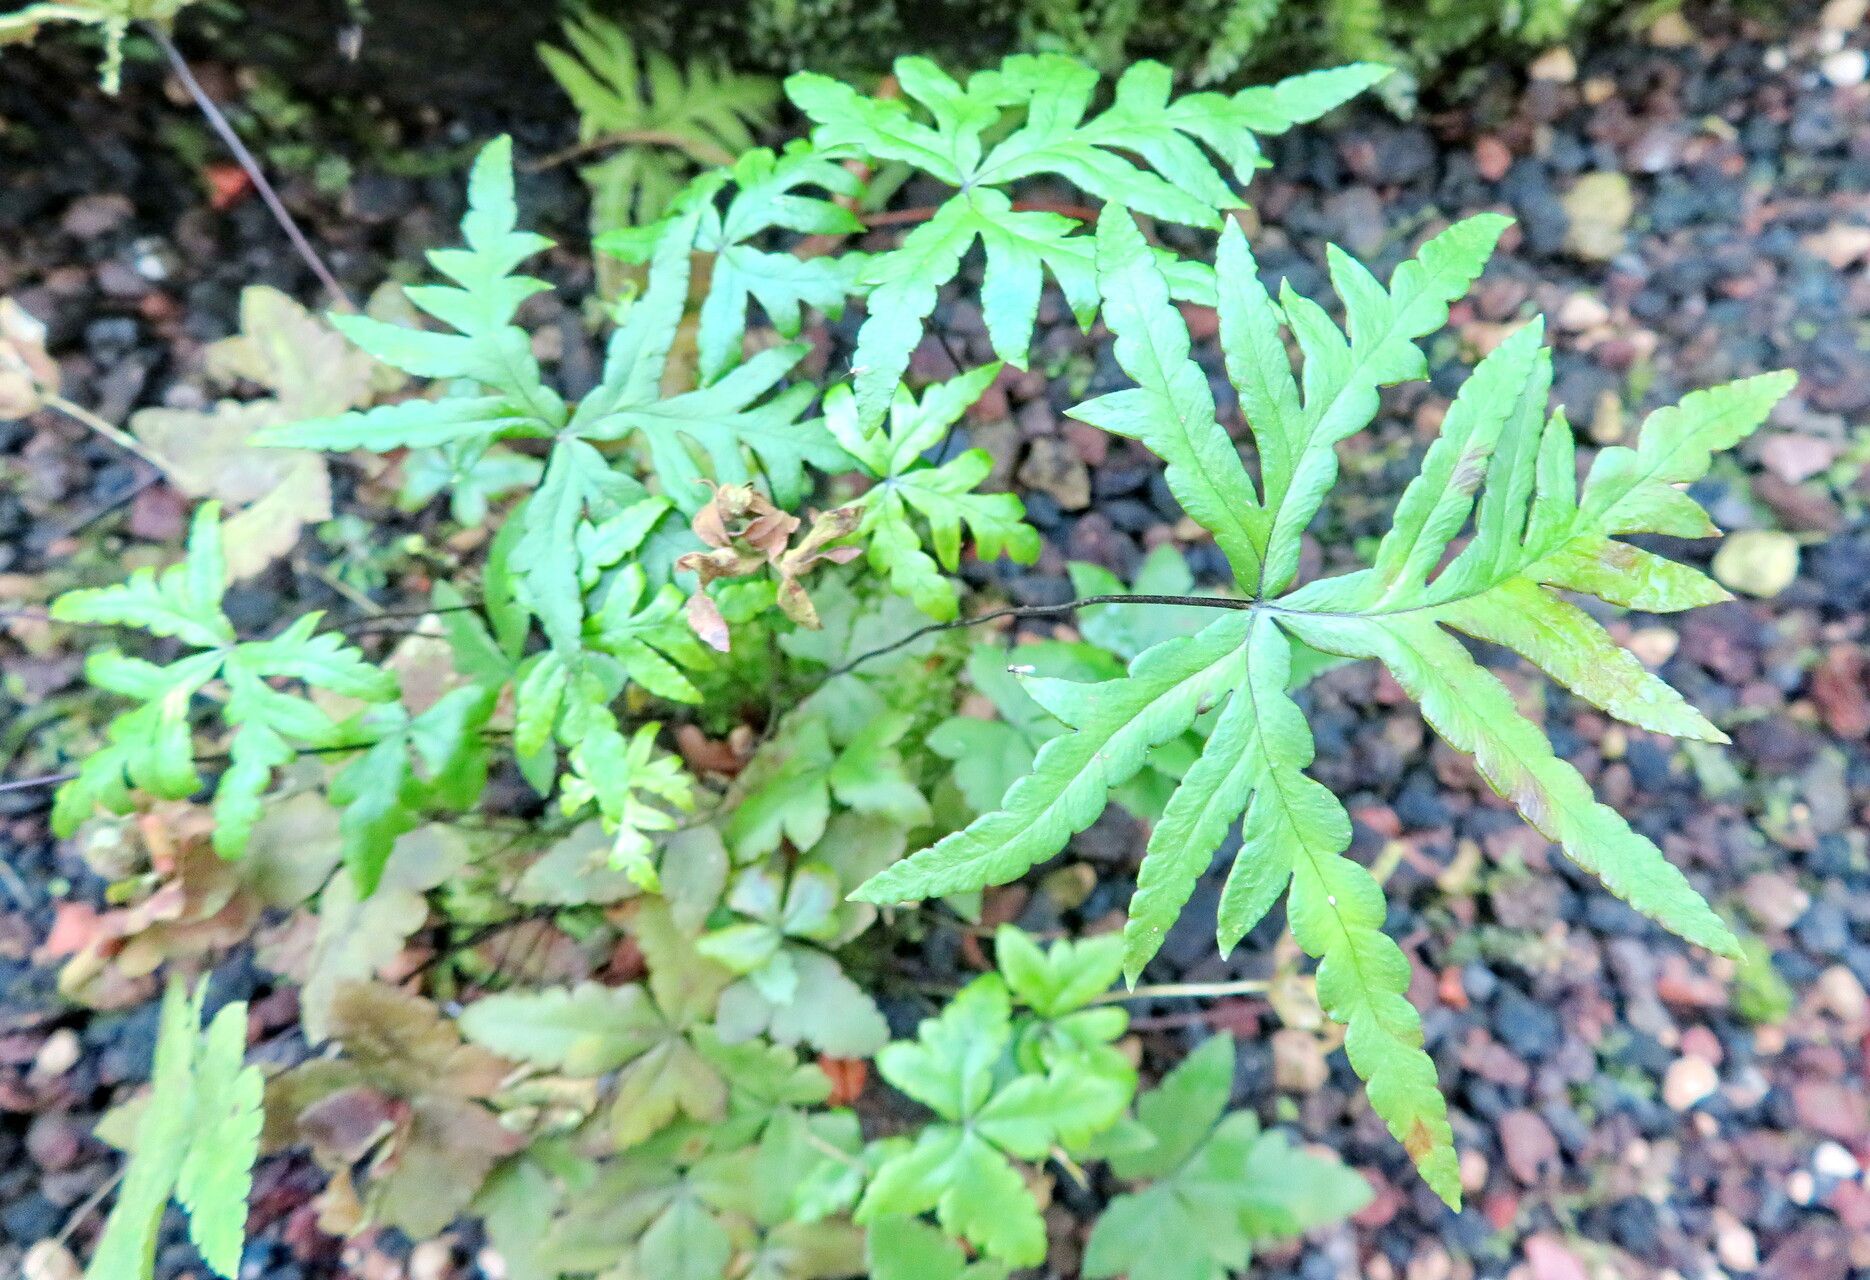
Hey there, fellow plant enthusiasts! Today, we’re diving into the wonderful world of Hemionitis doryopteris, also known as the “Silver Lace Fern”. If you’ve ever been enchanted by its delicate, lacy fronds and the beautiful silver veining that gives it its name, you’re not alone. This fern is a real stunner, adding an almost ethereal touch to any indoor space.
Now, if you’re newer to the plant propagation game, I want to be upfront. Hemionitis doryopteris isn’t quite a “stick it in water and watch it grow” kind of plant. It can be a little finicky, especially at first. But don’t let that deter you one bit! The satisfaction of growing your own Silver Lace Fern from a piece of your beloved parent plant? Pure magic. It’s a truly rewarding journey.
The Best Time to Start
When it comes to giving your new fern babies the best chance, aim for spring or early summer. This is when your Hemionitis is actively growing and has the energy to put into developing new roots. You’re essentially tapping into its natural surge of growth. Think of it like planting seeds when the world is waking up – everything is just full of potential.
Supplies You’ll Need
Gathering your supplies beforehand makes the whole process so much smoother. Here’s what you’ll want on hand:
- Sharp, clean pruning shears or a sharp knife: For making clean cuts.
- Well-draining potting mix: A mix designed for ferns or orchids works wonderfully. You can also create your own by combining peat moss, perlite, and a bit of orchid bark.
- Small pots or propagation trays with drainage holes: Start small!
- Watering can with a fine rose head: For a gentle watering.
- Plastic bag or propagation dome: To create a humid environment.
- Rooting hormone (optional, but helpful): A powder that encourages root development.
Propagation Methods
For Hemionitis doryopteris, division is your most reliable and often easiest method. It’s like giving your mature plant a little haircut and getting bonus plants in return!
Division:
- Gently remove your mature fern from its pot. You might need to loosen the soil around the edges with a trowel if it’s really snug.
- Inspect the root ball. Look for natural divisions where the plant has begun to branch out. You’re looking for sections that have their own healthy roots and fronds.
- Use your fingers or a clean knife to carefully separate a division. Try not to tear the roots too much. A clean cut is always better if you need to use a knife. Each division should have at least a few fronds and a decent clump of roots.
- Pot up your divisions. Plant each new division into its own small pot filled with your well-draining potting mix. Make sure the crown of the plant (where the fronds emerge from the roots) is at or just above the soil line.
- Water gently. Give your newly potted divisions a good, gentle watering to settle the soil.
- Create a humid environment. This is crucial! Cover the pot with a clear plastic bag or place it inside a propagation dome. This traps moisture, mimicking the high humidity the fern craves. Ensure the bag doesn’t touch the fronds too much if possible.
- Place in indirect light. Find a spot that’s bright but out of direct sunlight. Too much sun will scorch those delicate new leaves.
The “Secret Sauce” (Pro Tips)
Now for a few little tricks I’ve learned over the years that can really boost your success:
- Don’t over-pot! Starting your divisions in slightly too-large pots can lead to the soil staying wet for too long, which is a fast track to rot. Small pots help you manage moisture better for those new, sensitive roots.
- The “swamp” isn’t your friend here. While these ferns love humidity, they don’t like sitting in soggy soil. Always ensure excellent drainage and don’t keep the soil constantly soaked. Aim for consistently moist, but not waterlogged.
- Gentle is best. When you’re handling the fronds and roots, be as delicate as possible. These are tender tissues, and a rough touch can cause damage that hinders their ability to establish.
Aftercare & Troubleshooting
Once you see signs of new growth – tiny unfurling fronds or roots poking out the bottom of the pot – you’re doing great!
- Gradually acclimate. As your new plant starts to establish, slowly begin to remove the plastic bag or open the propagation dome for increasing periods each day. This helps it adjust to the ambient humidity.
- Watering consistency. Keep the soil consistently moist but not waterlogged. You’ll get a feel for it. When the top inch of soil feels slightly dry to the touch, it’s time to water.
- Keep an eye out for trouble. Rot is the most common issue. If you notice fronds turning black and mushy, or the base of the plant feels soft and waterlogged, it’s usually a sign of too much moisture. Unfortunately, severe rot is hard to come back from. If it’s minor, you might be able to salvage it by letting the soil dry out more between waterings and ensuring good air circulation.
A Little Patience Goes a Long Way
Propagating plants is a journey, and Hemionitis doryopteris is a plant that asks for a bit of your attention and patience. Don’t get discouraged if your first attempt isn’t a runaway success. Learn from it, adjust your approach, and try again. The joy of watching those delicate fronds emerge and knowing you helped create them is truly special. Happy propagating!
Resource:
https://identify.plantnet.org/k-world-flora/species/Hemionitis%20doryopteris%20Christenh./data