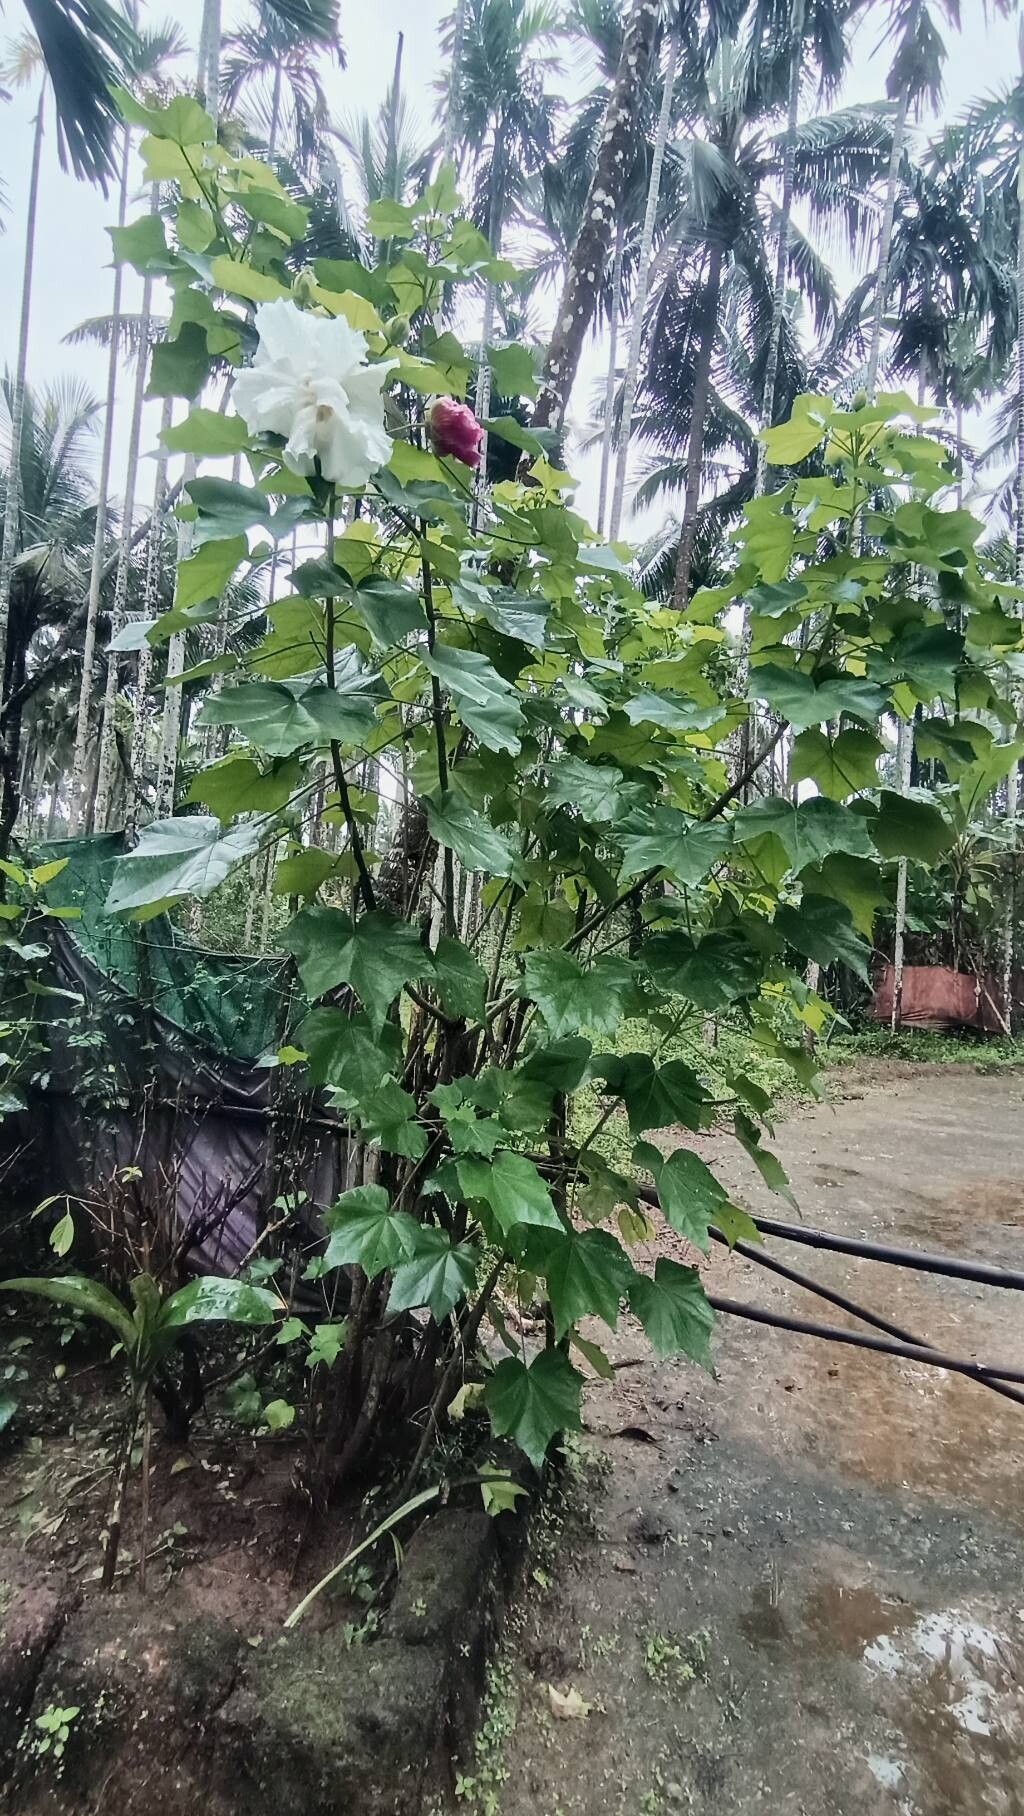
Oh, hello there! Come on in, grab a mug. I’m so glad you’re curious about propagating Hibiscus mutabilis, sometimes called the Confederate Rose or Cotton Rose. Seriously, this plant is a showstopper. It starts as delicate white or pale pink buds, and as the day goes on, they blush to deeper shades of pink and crimson. It’s like watching a sunset unfold right in your garden!
And the best part? Getting more of these beauties for yourself or to share with friends is incredibly rewarding. Don’t be intimidated; while it takes a little attention, propagating Hibiscus mutabilis is actually quite manageable, even for those just starting their journey into the world of plants. It’s a fantastic way to build your confidence.
When Else Can You Start Dreaming?
For the best chance of success, late spring to early summer is your golden window. This is when the plant is actively growing and has plenty of energy to put into developing new roots. Look for new, semi-hardened growth – that means stems that are firm but still have a bit of flexibility. Avoid woody, old stems or brand-new, very soft tips.
What to Gather for Your Propagation Adventure
Before we dig in, let’s make sure you have your toolkit ready. It’s not much, but having these items on hand makes the whole process smoother:
- Sharp Pruning Shears or a Clean Knife: For making clean cuts.
- Small Pots or Propagation Trays: Anything that can hold soil and drain well.
- Rooting Hormone (Optional but Recommended): I find a powder works wonderfully for this one.
- Lightweight Potting Mix: A blend of peat moss or coco coir mixed with perlite or vermiculite is ideal to ensure good drainage and aeration.
- Plastic Bags or a Clear Dome: To create a humid environment.
- Spray Bottle: For misting.
- Watering Can: For gentle watering.
- Labels: Trust me, you’ll thank me later when you have several little babies and can’t remember which is which!
Let’s Get Our Hands Dirty: Stem Cuttings
This is my go-to method for Hibiscus mutabilis. It’s reliable and you can get quite a few new plants from a single parent.
- Take Your Cuttings: On a cool, cloudy morning is best, but any time of day is fine! Using your clean shears, select healthy stems that are about 6 to 8 inches long. Make a clean cut just below a leaf node (where a leaf attaches to the stem). This is where the roots are most likely to form.
- Prepare the Cuttings: Gently remove the leaves from the bottom half of each cutting. You can leave the top 2-3 leaves on, but if they are very large, I often cut them in half horizontally. This reduces water loss through transpiration while still allowing photosynthesis.
- Apply Rooting Hormone: If you’re using rooting hormone, dip the cut end into the powder. Just a light coating is all you need. Tap off any excess.
- Potting Up: Fill your small pots or trays with your prepared potting mix. Make a hole in the center of the soil for each cutting. This prevents the rooting hormone from rubbing off.
- Insert the Cuttings: Gently place each cutting into the hole and firm the soil around it. Make sure at least one leaf node is buried in the soil.
- Water Gently: Water thoroughly but gently, ensuring the soil is evenly moist.
- Create Humidity: Now, this is crucial! Cover the pots with a clear plastic bag, making sure the leaves don’t touch the sides of the bag (this can lead to rot). Alternatively, use a clear propagation dome. Place them in a spot that gets bright, indirect light.
The “Secret Sauce” – My Insider Tips
Now, for a couple of little tricks that I’ve learned over the years to give your cuttings an extra boost:
- Bottom Heat is Your Friend: Hibiscus mutabilis absolutely loves a warm rooting zone. If you can, place your pots on a heat mat designed for plants. This encourages root development and significantly speeds up the process. You’ll see roots form much faster.
- Don’t Drown Your Dreams: While humidity is key, avoid soggy soil. It’s a fast track to rot. If you see condensation building up heavily inside the bag, open it up for a few hours to allow for some air circulation. Think of it as a gentle deep breath for your cuttings.
Aftercare and When Things Go (Slightly) Wrong
Once you’ve got your cuttings set up, be patient! It can take anywhere from 3 to 6 weeks for you to see signs of rooting. You can gently tug on a cutting – if there’s resistance, you’ve likely got roots!
When you see good root development, it’s time to gradually acclimate your new plants to normal conditions. Remove the plastic bag or dome for longer periods each day over a week or so. Continue to keep the soil consistently moist but not waterlogged. Eventually, you can transplant them into slightly larger pots.
Now, what if things aren’t going as planned? The most common issue is rot. If your cuttings turn black and mushy, that’s rot. Usually, this is due to too much moisture and not enough air circulation. If you catch it early, you might be able to salvage a good section of the stem and try again. Yellowing leaves can sometimes mean they’re stressed or not getting enough light, but don’t panic, that’s part of the learning process!
Happy Rooting!
So there you have it – a little journey into propagating your own beautiful Hibiscus mutabilis. Remember, gardening is all about observation and a bit of patience. Don’t get discouraged if your first attempt isn’t perfect. Each time you try, you learn something new, and soon you’ll be surrounded by these stunning blooming shrubs. Enjoy the process, and happy gardening!
Resource:
https://identify.plantnet.org/k-world-flora/species/Hibiscus%20mutabilis%20L./data