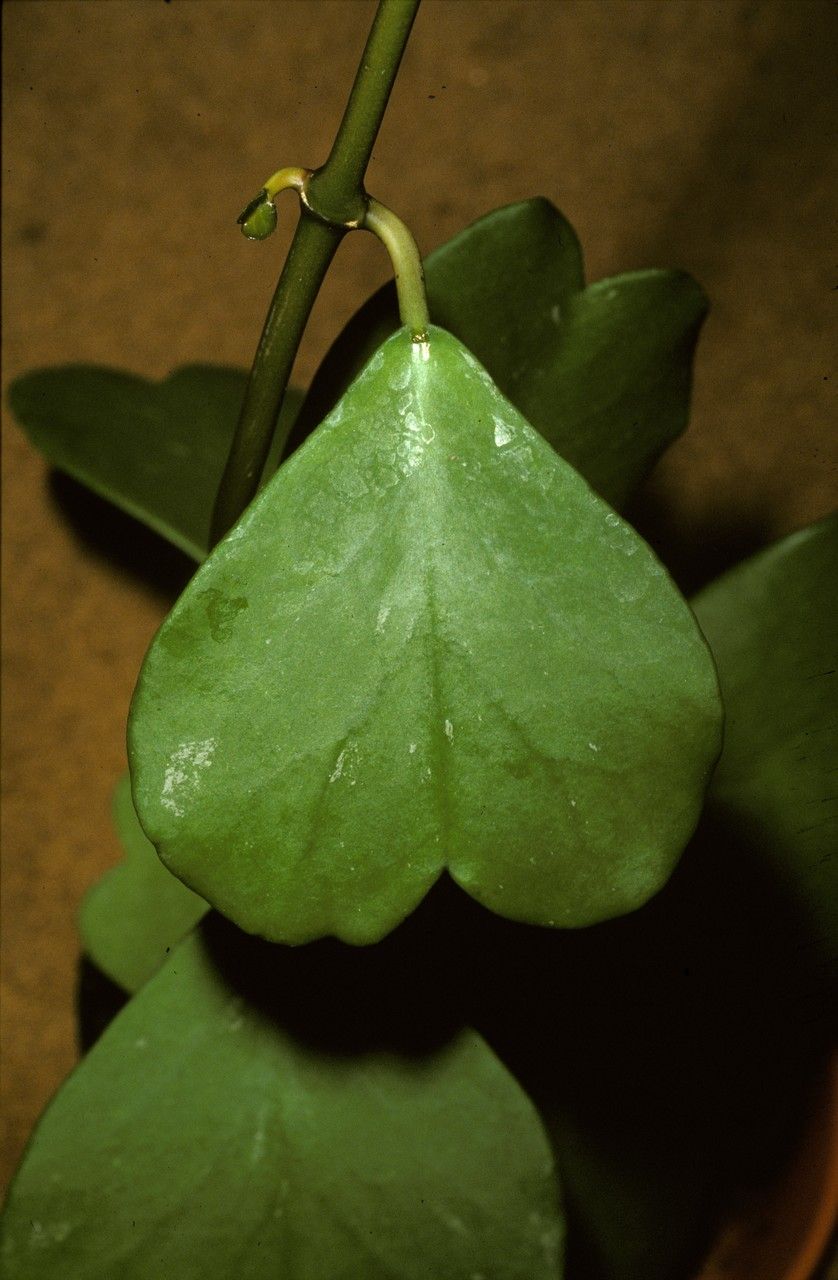
Hello fellow plant enthusiasts! Let’s talk about a Hoya that truly captures my heart: the stunning Hoya cordata. With its velvety, heart-shaped leaves and a tendency to produce those delightful, star-shaped blooms, it’s no wonder this one is a favorite. And the best part? Propagating it is surprisingly accessible, even for those who might consider themselves a bit new to the plant-parenting game. It’s incredibly rewarding to watch a tiny cutting transform into a thriving new plant, and with Hoya cordata, it’s a journey of success that’s well within reach.
The Best Time to Start
For the absolute best results, late spring through summer is your sweet spot. This is when your Hoya cordata is actively growing, brimming with energy, and primed to put out new roots. Waiting until after its initial spring growth spurt gives your plant the best chance of producing healthy, vigorous cuttings.
Supplies You’ll Need
- Sterilized pruning shears or sharp knife: Clean tools are essential to prevent introducing any nasty bacteria.
- Hoya-specific potting mix or a chunky mix: I like a blend of orchid bark, perlite, and coco coir. It needs to be well-draining!
- Small pots or seedling trays: Something that fits your cuttings comfortably.
- Rooting hormone (optional, but recommended): Helps speed up the process. Look for one with IBA.
- Clear plastic bag or a propagation dome: To create a humid environment.
- Water: For water propagation.
- Perlite or coarse sand: To add to your potting mix for even better drainage.
Propagation Methods
There are a couple of reliable ways to bring more Hoya cordata into your life.
1. Stem Cuttings in Potting Mix:
This is my go-to method because it directly sets up the new plant for success in soil.
- Select your cutting: Look for a healthy stem with at least two or three nodes. A node is where a leaf attaches to the stem, and it’s where roots will emerge. Don’t be afraid to take a cutting that includes a leaf or two.
- Make the cut: Using your sterilized shears, make a clean cut just below a node. This is crucial for root development.
- Prepare the cutting: Gently remove the lower leaf from the cutting, exposing the node. If your cutting has many leaves, you can trim the remaining leaves in half to reduce water loss through transpiration.
- Apply rooting hormone (optional): Dip the cut end into rooting hormone powder or gel. Tap off any excess.
- Plant the cutting: Fill your pot with your well-draining Hoya mix. Make a small hole with your finger or a pencil and gently insert the cut end of the stem, ensuring the node is buried in the mix.
- Water lightly: Moisten the potting mix thoroughly but don’t saturate it. You want it damp, not soggy.
- Create humidity: Cover the pot with a clear plastic bag, propping it up so it doesn’t touch the leaves, or use a propagation dome. Place it in a warm spot with bright, indirect light.
2. Water Propagation:
This method is wonderful for visually tracking root development.
- Select and cut your cutting: Same as above. Ensure you have at least one node.
- Remove lower leaves: Take off any leaves that would sit below the waterline.
- Place in water: Put the cutting in a clean jar or glass filled with filtered or distilled water. Make sure the node is submerged, but the leaves are above the water line. I can’t stress this enough!
- Change water regularly: Refresh the water every few days to keep it clean and oxygenated.
- Provide bright, indirect light: Place the jar where it gets plenty of light but no direct sun.
- Wait for roots: You should start to see tiny white root nubs emerging from the node within a few weeks. Once the roots are about an inch long, it’s time to transplant them into soil.
The “Secret Sauce” (Pro Tips)
Here are a few things I’ve learned over the years that make a big difference:
- Bottom Heat is Your Friend: Hoya cordata just loves a bit of warmth from below. Placing your pots on a seedling heat mat can significantly speed up root formation. It mimics the cozy conditions they’d get in their native climate.
- Don’t Fuss Too Much: Resist the urge to constantly pull cuttings out of the soil to check for roots. This disturbs the delicate new root hairs. Give them at least 4-6 weeks before you gently tug to see if there’s resistance, which indicates roots have formed.
- Know Your Nodes: Every single time you take a cutting, ensure a node is either in the soil or submerged in water. That’s where the magic happens, where those roots will spring from. If you don’t have a node on your cutting, it’s unlikely to root.
Aftercare & Troubleshooting
Once your cutting shows signs of rooting (new leaf growth, or resistance when gently tugged), it’s time to treat it like a miniature adult.
- Gradual Acclimation: If you used a plastic bag or dome, gradually reduce humidity by opening it up a little more each day over a week. This prevents shock.
- Consistent Watering: Water when the top inch of soil feels dry. Hoyas prefer to dry out a bit between waterings.
- Bright, Indirect Light: Continue to provide bright, indirect light. New growth is a good indicator that it’s happy.
- Watch for Rot: The most common problem is rot, often caused by overwatering or poor drainage. If the stem turns mushy and black, it’s a sign of rot. Sadly, at this point, the cutting is usually unsalvageable. Prevention is key here – always use well-draining soil and don’t overwater! Yellowing leaves with no new growth might mean it’s not getting enough light or nutrients.
Happy Rooting!
Propagating Hoya cordata is such a delightful and achievable project. Be patient with your little cuttings; they take their time to establish themselves. Enjoy the process, celebrate each tiny root and new leaf, and before you know it, you’ll have a whole collection of these gorgeous plants. Happy growing!
Resource:
https://identify.plantnet.org/k-world-flora/species/Hoya%20cordata%20P.T.Li%20&%20S.Z.Huang/data