Oh, sugar cane! Saccharum officinarum. It’s not just a backyard plant for most of us, is it? It’s a taste of the tropics, a touch of the exotic, and honestly, a beautiful architectural statement in the garden. Watching those tall, segmented stalks emerge and grow is incredibly satisfying. And the best part? Propagating it yourself is surprisingly achievable, even if you’re just dipping your toes into the wonderful world of gardening. Don’t let its tropical origins intimidate you; we can coax new life from these beauties right at home.
The Sweet Spot: When to Get Started
For the absolute best results with sugar cane, late spring to early summer is your golden ticket. This is when the plant is in its active growth phase, meaning it’s full of energy and ready to sprout new roots and shoots. Aim to take your cuttings from healthy, mature stalks that haven’t flowered. Waiting until the plant has really found its stride for the season gives you the best chance of success.
What You’ll Need for This Sweet Endeavor
Gathering your tools beforehand makes the whole process flow much smoother. Think of it like prepping for a delicious recipe!
- Sharp Pruning Shears or a Clean Knife: For making clean cuts on your parent plant.
- Coarse, Well-Draining Potting Mix: A blend of potting soil, perlite, and a touch of sand works wonders. You want to avoid anything that holds too much moisture.
- Rooting Hormone (Optional, but Recommended): This is like a little boost for your cuttings, encouraging faster and stronger root development.
- Clean Pots or Trays: Small to medium-sized pots with drainage holes are perfect.
- Watering Can or Spray Bottle: For gentle hydration.
- Plastic Bags or a Clear Dome (Optional): To create a humid microclimate.
Bringing New Life: Propagation Methods
Sugar cane is wonderfully amenable to a couple of straightforward propagation methods. Let’s dive into the most common one.
Stem Cuttings: The Classic Approach
This is by far the most popular and effective way to propagate sugar cane.
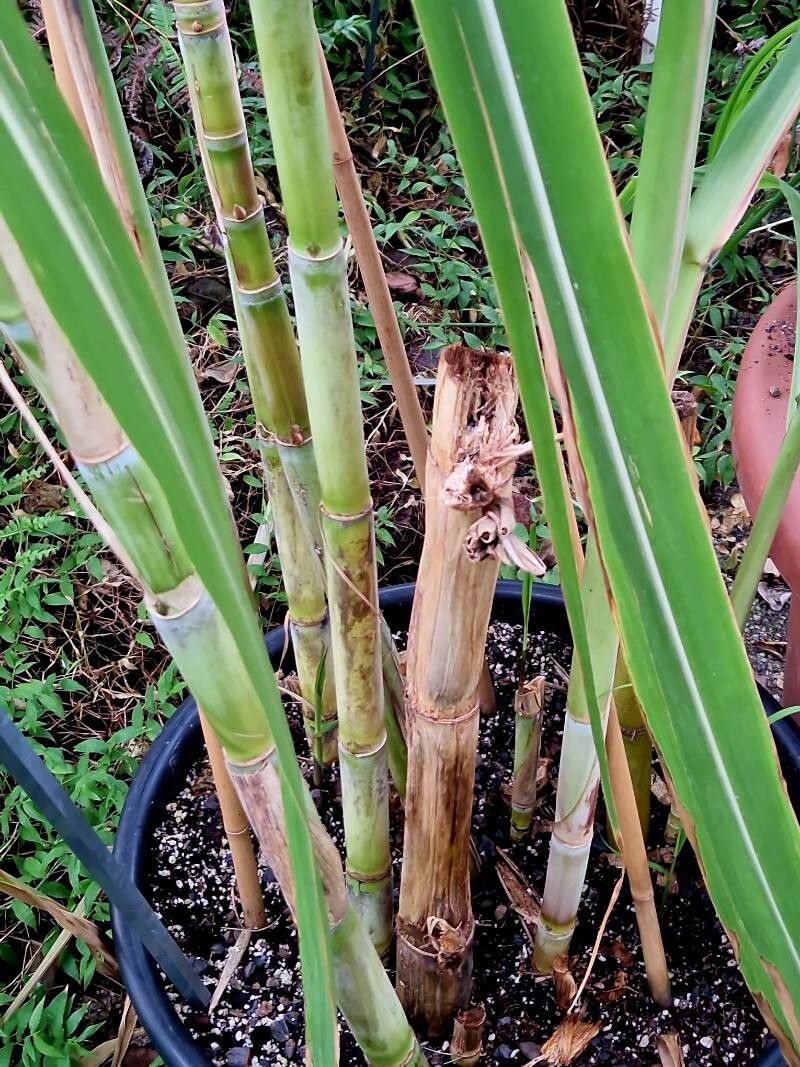
- Select Your Stalks: Choose a healthy, mature sugar cane stalk. Look for one that has several nodes, which are the small bumps where leaves emerge. These nodes are where new roots and shoots will form.
- Make Your Cuts: Using your sharp pruning shears or knife, cut the stalk into sections, making sure each section has at least two or three nodes. A clean, angled cut just above a node is ideal. You can make one cut below a node and one above, ensuring the section is long enough to accommodate the nodes.
- Prepare the Cuttings: Gently remove any lower leaves, but leave one or two at the top. This helps the cutting conserve energy and prevents excess moisture loss. If you’re using rooting hormone, dip the cut ends into the powder or solution.
- Plant Your Cuttings: Fill your pots with your well-draining potting mix. Make a hole deep enough to bury at least one or two nodes. Insert the prepared cutting into the hole, ensuring the nodes are below the soil surface. Gently firm the soil around the cutting.
- Water Gently: Water the soil thoroughly but gently. You don’t want to dislodge your cuttings.
- Create Humidity (Optional): Cover the pot with a clear plastic bag supported by stakes, or place it under a clear dome. This traps moisture and creates a humid environment, which is fantastic for encouraging root growth. Make sure to ventilate the bag or dome for a short period daily to prevent fungal issues.
- Find Them a Warm Spot: Place your pots in a warm location with bright, indirect light. Avoid direct, hot sun, which can scorch delicate new growth.
My “Secret Sauce” Tips for Extra Success
Over the years, I’ve learned a few little tricks that nudge propagation along even further.
- Bottom Heat is Your Friend: If you can, place your pots on a heating mat. This warmth encourages root development from below, which is crucial for these cuttings to take hold. Think of it as giving them a cozy, warm bed to sprout from.
- Scrape for Speed: For an extra boost, you can gently scrape a sliver of the outer skin off just above a node on the cutting. This exposes the cambium layer, which can sometimes speed up the rooting process. Be delicate with this step – you don’t want to damage the cutting significantly.
- Don’t Over-Water, Ever! This is my cardinal rule. Soggy soil is the fastest way to invite rot. Let the top inch of soil dry out slightly between waterings. A spray bottle is often your best friend for keeping the surface moist without waterlogging.
Aftercare and Keeping an Eye Out
Once your cuttings are happily rooted, it’s time for a little tender loving care.
You’ll know your cuttings have taken root when you start to see new shoots emerging from the nodes. This can take anywhere from a few weeks to a couple of months, so patience is key! Once you see signs of active growth, you can gradually acclimate them to slightly less humid conditions by removing the plastic bag or dome for longer periods. Continue to keep the soil consistently moist but not soggy.
Now, about those common hiccups: rot is the biggest culprit. If your cutting looks mushy, discolored, or smells unpleasant, it’s likely succumbed to rot. This usually happens due to overwatering or poor drainage. If you catch it early, you might be able to salvage a healthy section. Blackened or shriveled cuttings often indicate that they’ve dried out too much.
Keep Growing and Enjoy the Journey!
Propagating sugar cane is a truly rewarding experience. It’s a chance to multiply the beauty and sweetness in your garden from a single plant. Don’t be discouraged if your first attempt isn’t perfect; gardening is all about learning and adapting. So, go ahead, give it a try! With a little patience and these tips, you’ll be harvesting your own sweet successes in no time. Happy growing!
Resource:
https://identify.plantnet.org/k-world-flora/species/Saccharum%20officinarum%20L./data