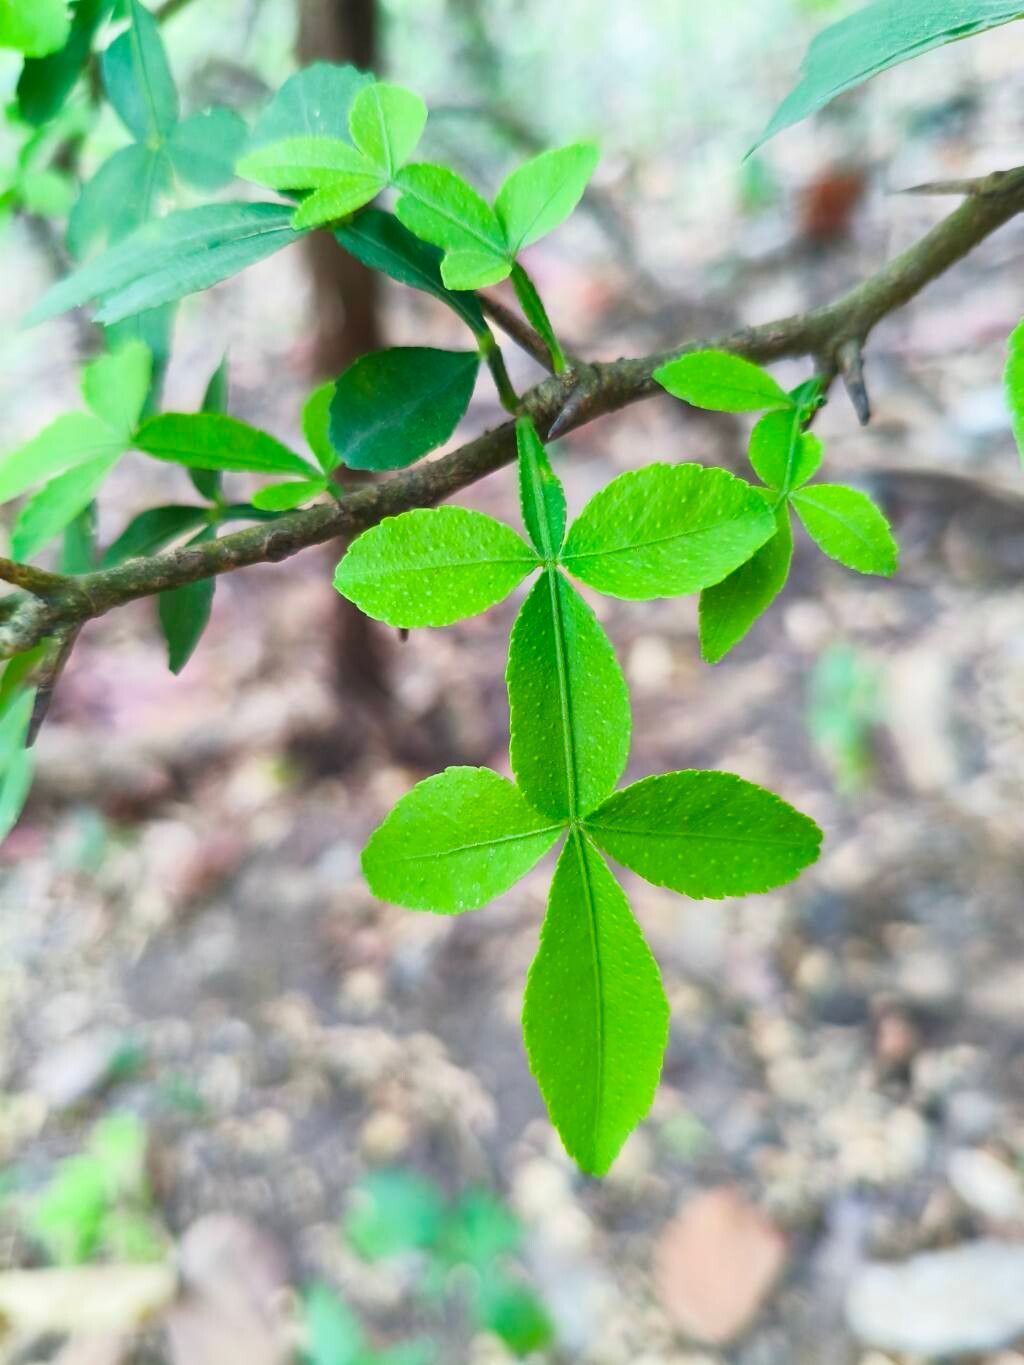
Hello, fellow plant lovers! Today, we’re diving into the wonderful world of propagating Naringi crenulata. This little gem, also known as the orange jasmine or Satinwood, is a real charmer. Its glossy, dark green leaves and delicate, sweet-scented white flowers are just a joy to behold. Growing your own from scratch is incredibly rewarding, and while it might seem a little daunting at first, I promise, with a bit of care and patience, you’ll be well on your way to a whole new family of these beauties. It’s not the absolute easiest for a complete beginner, but it’s a fantastic learning plant, and I think you’ll find the success quite addictive!
The Best Time to Start
When it comes to giving your Naringi crenulata the best shot at rooting, spring and early summer are your golden windows. This is when the plant is actively growing, full of vigor, and has the most energy to put into developing new roots. You’ll want to take cuttings from healthy, semi-hardwood stems. These are stems that are no longer brand new and green but haven’t yet hardened into tough, woody branches. They should have a bit of flexibility but hold their shape when gently bent.
Supplies You’ll Need
To set yourself up for success, gather these essentials:
- Sharp Pruning Shears or a Clean Knife: For making precise cuts.
- Rooting Hormone: A powder or gel specifically for stem cuttings. This really gives them a boost.
- Potting Mix: A well-draining concoction is key. I like a mix of equal parts potting soil, perlite, and peat moss or coco coir. This ensures good aeration and moisture retention without getting waterlogged.
- Small Pots or Seedling Trays: With drainage holes, of course!
- Clear Plastic Bags or a Propagator: To create a humid microclimate.
- Water: For misting.
- Optional: Small Pebbles or Gravel: For the bottom of pots if using non-draining containers (though I always prefer drainage!).
- Optional: Bottom Heat Mat: For a consistent warm environment, especially if your propagation corner is a bit chilly.
Propagation Methods
Let’s get our hands dirty with the most reliable ways to grow more Naringi crenulata.
Stem Cuttings
This is my go-to method for Naringi crenulata because it’s efficient and usually yields good results.
- Select Your Stems: Look for those semi-hardwood stems, about 4-6 inches long.
- Make the Cut: Using your clean shears or knife, make a clean cut just below a leaf node. A leaf node is where a leaf or bud attaches to the stem; this is where the magic of rooting happens.
- Prepare the Cutting: Remove the lower leaves from the cutting, leaving just a couple at the very top. This prevents them from rotting in the soil. If the top leaves are very large, you can cut them in half horizontally to reduce water loss through transpiration.
- Apply Rooting Hormone: Dip the cut end of the stem into your rooting hormone, tapping off any excess.
- Plant Your Cuttings: Fill your small pots with your prepared potting mix. Make a hole in the center with a pencil or skewer, and gently insert the cutting. Firm the soil gently around the base to ensure good contact.
- Water and Cover: Water the soil thoroughly but gently. Then, cover the pot with a clear plastic bag or place it in a propagator. Poke a few holes in the bag for ventilation.
Water Propagation (Less Common, but can work for some!)
While I prefer soil propagation for Naringi, some people have success with water.
- Prepare Cuttings: Follow steps 1-3 for stem cuttings above.
- Place in Water: Place the cuttings in a jar or glass of clean water. Make sure no leaves are submerged in the water. They will rot quickly and can kill the whole cutting.
- Change Water Regularly: Change the water every few days to keep it fresh and prevent bacterial growth.
- Wait for Roots: It can take some time for roots to appear. Once you see roots that are an inch or two long, you can then carefully transplant them into soil. Be gentle, as water roots are more delicate.
The “Secret Sauce” (Pro Tips)
Here are a few tricks that have served me well over the years:
- The Air Layering Trick: If you have a mature, healthy plant, you can try air layering. This involves making a shallow cut on a stem, applying rooting hormone to the cut, and then wrapping the area with moist sphagnum moss and plastic wrap. Roots will form in the moss, and once they’re substantial, you can cut the stem below the new roots and plant it. It takes longer, but it’s incredibly satisfying!
- Don’t Overcrowd: Give your cuttings space. If they’re too crowded in a pot, they’ll compete for resources and you’ll likely get more failures.
- Bottom Heat is Your Friend: Especially in cooler months, placing your pots on a gentle bottom heat mat can significantly speed up root development. It mimics the warmth of spring and encourages those roots to sprout.
Aftercare & Troubleshooting
Once you see roots peeking out of the drainage holes or new leaf growth, your cutting has successfully transitioned!
- Gradual Acclimation: If your cuttings were covered, gradually uncover them over a few days to let them adjust to the normal humidity.
- Move to a Brighter Spot: Once they have a good root system, you can move them to a brighter, indirect light location. Avoid direct sun, which can scorch fledgling plants.
- Watering: Water when the top inch of soil feels dry to the touch. Don’t let them sit in soggy soil.
- Troubleshooting:
- Rotting Stems: This is usually a sign of too much moisture and poor drainage, or that the cutting was taken from a stem that was too soft and green. Ensure good airflow and don’t overwater.
- No Root Development: This could be due to improper stem selection (too old or too young), a lack of humidity, or insufficient rooting hormone. Sometimes, it just takes longer, so don’t give up too soon!
- Wilting Leaves: This can be from underwatering, or if the cutting itself was weak to begin with.
A Little Patience Goes a Long Way
Propagating plants is a journey, and Naringi crenulata is no exception. There will be times when things don’t quite work out, and that’s perfectly okay. Each attempt is a learning experience. Celebrate your successes, learn from your challenges, and most importantly, enjoy the process of coaxing new life from your beloved plant. Happy gardening!
Resource:
https://identify.plantnet.org/k-world-flora/species/Naringi%20crenulata%20(Roxb.)%20Nicolson/data