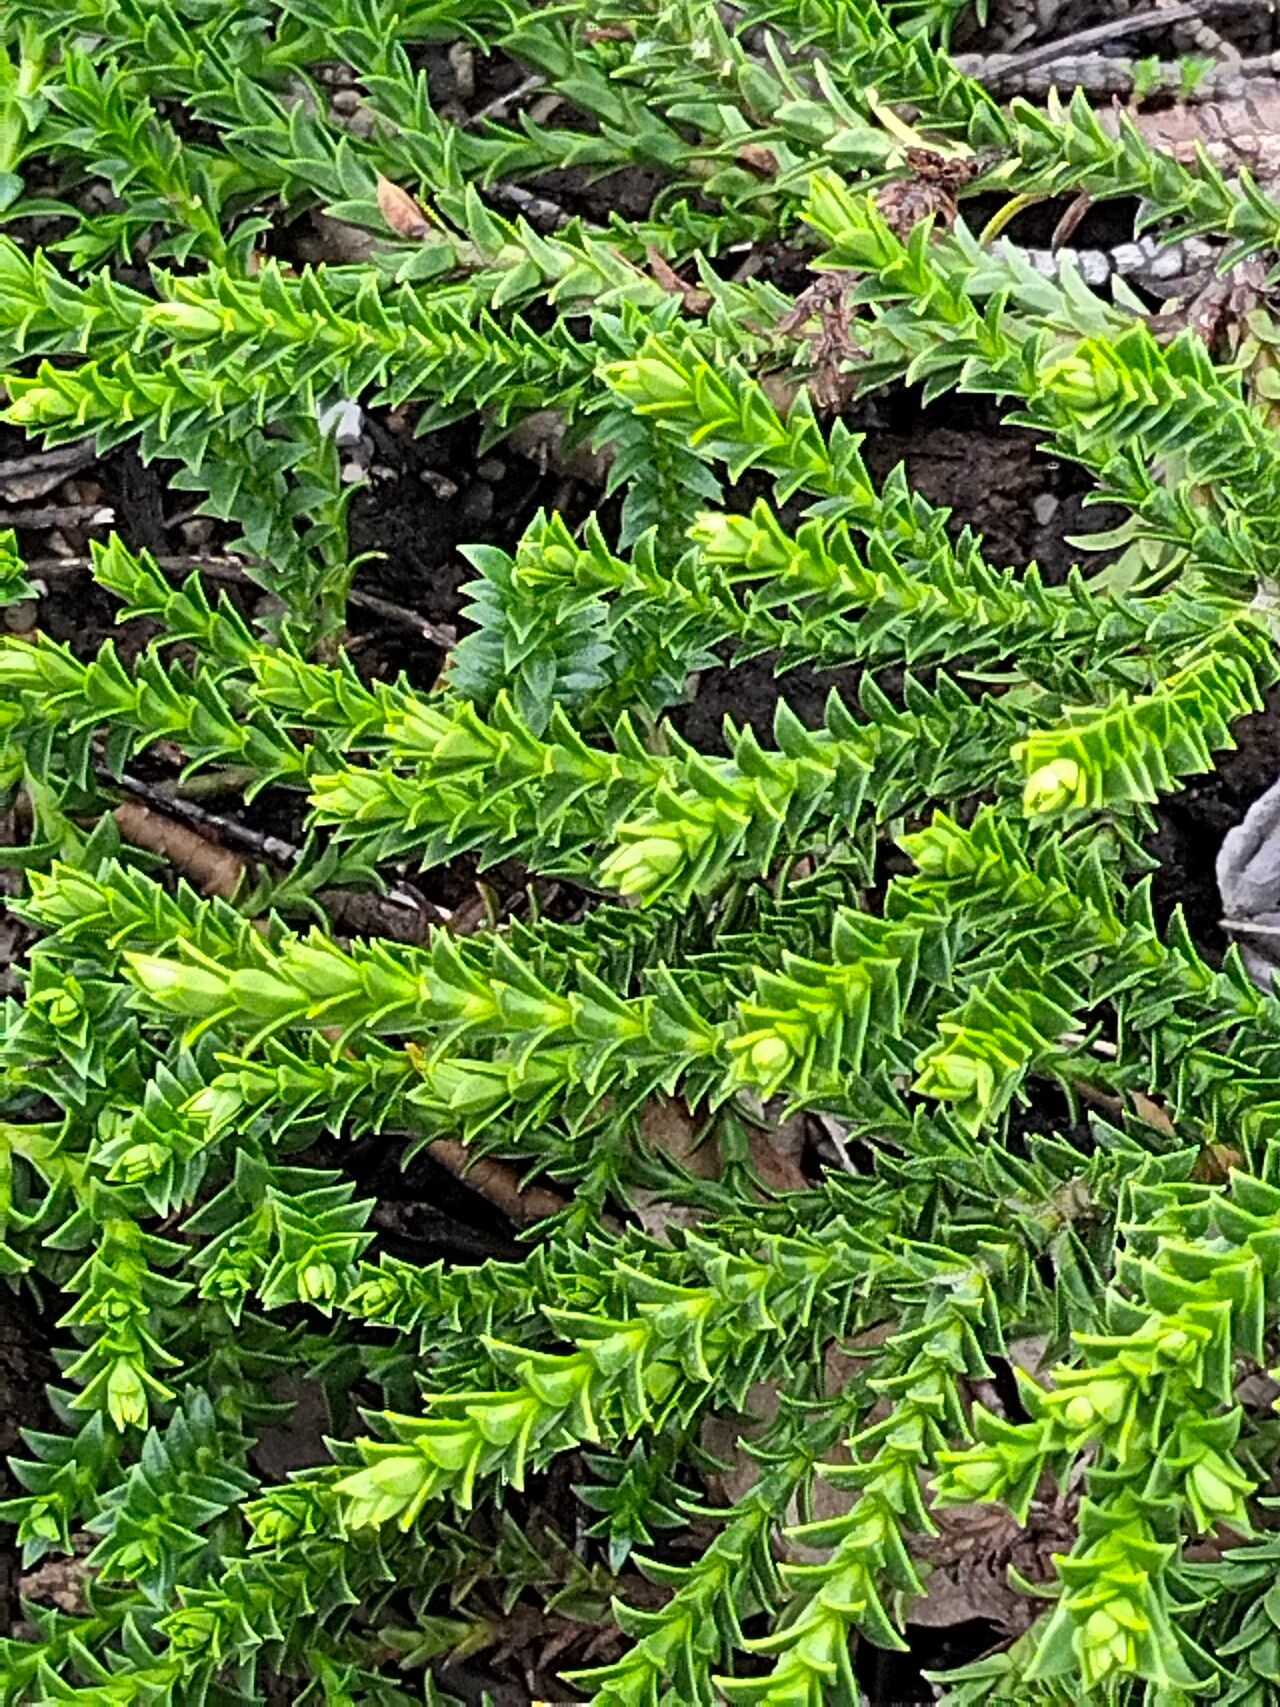
Hello green thumbs! If you’ve ever admired the lovely, low-growing mats of Veronica epacridea, with its delicate spires of blue or white flowers, you know how charming it is. Bringing this beauty into your own garden, or sharing it with friends, is incredibly satisfying. And guess what? Propagating it is quite achievable, even for those just dipping their toes into the wonderful world of plant propagation. I’ve found it to be a pretty forgiving plant, which is always a bonus!
The Best Time to Start
For Veronica epacridea, I’ve always had the most success when I take cuttings in late spring or early summer. This is when the plant is actively growing, so those new stems have plenty of energy to put into developing roots. Waiting until the new growth has hardened off a bit, but is still pliable, is key. You don’t want overly woody stems, nor do you want flimsy, brand-new shoots that haven’t matured at all.
Supplies You’ll Need
- Sharp pruning shears or a clean knife: For taking clean cuts. A dull tool can bruise the stems, making it harder for them to root.
- A rooting hormone (optional but recommended): Look for one that contains IBA (indole-butyric acid). This really gives your cuttings a helpful boost.
- Small pots or cell trays: Anything clean with drainage holes will work. I often reuse small yogurt containers!
- A good quality potting mix: I like to use a mix that’s light and drains well. A blend of peat moss or coco coir and perlite or coarse sand works wonders. This prevents waterlogging, which is the nemesis of new cuttings.
- Watering can or mister: Gentle watering is essential.
- Plastic bags or a propagator: To create a humid environment.
Propagation Methods
I’ve found stem cuttings to be the most reliable way to propagate Veronica epacridea. Here’s how I do it:
- Take Your Cuttings: Select healthy, non-flowering shoots from your parent plant. Aim for cuttings about 3-4 inches long. Make a clean cut just below a leaf node (where a leaf attaches to the stem).
- Prepare the Cuttings: Gently remove the lower leaves from the cutting. You want to expose the leaf nodes, as this is where roots will emerge. If your cuttings have any flowers or flower buds, pinch them off – the energy needs to go into root development, not flowering.
- Dip in Rooting Hormone: If you’re using rooting hormone, dip the cut end of each stem into the powder or gel. Tap off any excess.
- Plant Your Cuttings: Fill your pots or cell trays with your prepared potting mix. Make a small hole in the center of each pot and insert the cutting, ensuring the leaf nodes are submerged in the soil. Gently firm the soil around the stem.
- Water Gently: Water the cuttings thoroughly but carefully. You don’t want to dislodge them.
- Create Humidity: Cover the pots with a clear plastic bag or place them in a propagator. This creates a mini greenhouse effect, keeping the humidity high, which helps prevent the cuttings from drying out before they can form roots. Make sure the leaves aren’t touching the plastic if possible.
The “Secret Sauce” (Pro Tips)
- Bottom Heat is Your Friend: While not strictly necessary for Veronica, placing your pots on a gentle heat mat can significantly speed up the rooting process. It encourages root formation from the bottom up.
- Don’t Overwater: This is crucial. While cuttings need moisture, waterlogged soil is a fast track to rot. Allow the surface of the soil to dry out slightly between waterings. It’s better to underwater slightly than to overwater.
- Work with Several Cuttings: Not every cutting will be a success, and that’s perfectly normal. I always take more cuttings than I think I’ll need, just to be sure I’ll end up with a few strong new plants.
Aftercare & Troubleshooting
Once your cuttings have developed roots (you might see them emerging from the drainage holes, or you can gently tug to feel resistance), it’s time to start treating them as independent plants. Gradually remove the plastic covering over a few days to acclimate them to normal humidity. Continue to water them, and once they’re showing good new growth, you can transplant them into slightly larger pots or their permanent garden spots.
The most common problem you’ll encounter is rot. If a cutting turns black and mushy, it’s usually a sign of too much moisture and not enough airflow. Discard any rotten cuttings immediately to prevent it from spreading. If your cuttings look wilted and sad, it could be due to either too much dryness or being kept in direct, hot sun without enough humidity. Adjust your watering and shading accordingly.
I know starting from cuttings can feel a little daunting at first, but with Veronica epacridea, you’ve picked a lovely and relatively easy plant to practice with. Just be patient, give them a good environment, and soon you’ll be rewarded with the joy of watching new life emerge. Happy propagating!
Resource:
https://identify.plantnet.org/k-world-flora/species/Veronica%20epacridea%20Hook.f./data