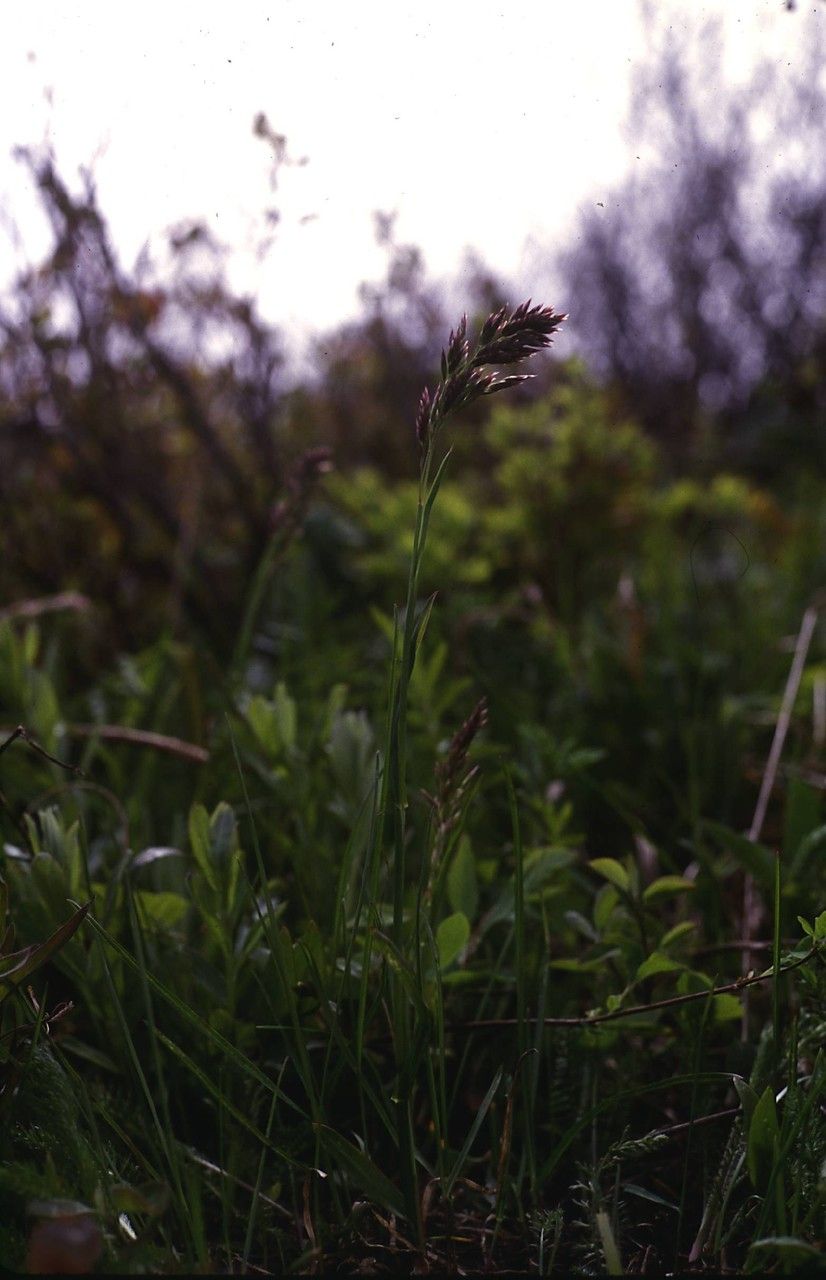
Hey there, fellow garden enthusiast! I’m so glad you’ve landed here, ready to dive into the wonderful world of propagating Poa chamæcæsy. I’ve been getting my hands dirty for about 20 years now, and let me tell you, working with this particular gem has brought me so much joy. Its delicate charm and easygoing nature make it a delight to have around.
Why Propagate Poa chamæcæsy?
I find propagating plants incredibly rewarding. It’s like unlocking a little bit of botanical magic, watching a tiny piece of a beloved plant transform into a brand-new, thriving specimen. And Poa chamæcæsy? It’s a fantastic plant for this journey. Its beauty lies in its subtle elegance, and sharing that beauty by creating more plants is just about as good as it gets. For beginners, you’ll be happy to know that Poa chamæcæsy is quite forgiving. It’s a great one to start your propagation adventures with!
When Should You Get Started?
The absolute best time to propagate Poa chamæcæsy is during its active growing season. For most of us, that means late spring and early summer. The plant is full of vigor, and those cuttings or divisions will have the energy they need to root successfully. You can also have some luck in early fall, but spring is truly prime time.
What You’ll Need
Gathering your supplies beforehand makes the whole process smoother. Here’s what I usually have on hand:
- Sharp Pruning Shears or a Clean Knife: For making clean cuts.
- Well-Draining Potting Mix: A good blend of peat moss, perlite, and a bit of compost works wonders. For Poa chamæcæsy, I often use a mix specifically designed for succulents or cacti – they love good drainage!
- Small Pots or Seed Trays: Clean and with drainage holes.
- Rooting Hormone (Optional but Recommended): This can give your cuttings a helpful boost.
- Watering Can with a Fine Rose: For gentle watering.
- Plastic Bags or a Clear Cover: To create a humid environment.
Let’s Get Propagating!
There are a couple of ways we can go about this, and both are pretty straightforward.
Method 1: Stem Cuttings
This is my go-to method for Poa chamæcæsy.
- Take Your Cuttings: In late spring or early summer, select a healthy stem that shows good growth. Using your sharp shears, make a clean cut just below a leaf node (where a leaf attaches to the stem). You’re looking for cuttings that are about 3-4 inches long.
- Prepare the Cuttings: Gently remove the leaves from the bottom half of the cutting. This is important because leaves submerged in water or soil are prone to rot.
- Dip in Rooting Hormone (Optional): If you’re using rooting hormone, dip the cut end into the powder or gel. Tap off any excess.
- Plant Your Cuttings: Fill your small pots with your well-draining potting mix. Make a small hole with your finger or a pencil. Insert the cut end of the Poa chamæcæsy cutting into the hole, ensuring the leaf nodes are below the soil surface. Gently firm the soil around the stem.
- Create Humidity: Water the soil lightly. Then, carefully place the pot inside a clear plastic bag or cover it with a small dome. This traps moisture and creates that humid environment cuttings crave.
Method 2: Division
If your Poa chamæcæsy has become a bit crowded, division is a great way to get multiple plants.
- Remove from Pot: Gently take the entire plant out of its pot.
- Examine the Roots: Loosen any circling roots. You’ll usually see where the plant naturally wants to separate.
- Divide Carefully: Using your hands or a clean, sharp knife, gently pull or cut the root ball apart into sections. Each section should have a good amount of roots and some leafy growth.
- Repot: Plant each division into its own pot filled with your well-draining potting mix. Water gently.
The “Secret Sauce” – Insider Tips
Here are a few things I’ve learned over the years that make a difference:
- Don’t Let Leaves Touch the Water (if using water propagation – though I prefer soil for Poa chamæcæsy): This is a cardinal rule for most stem cuttings. Submerged leaves are a recipe for rot. Stick to only the stem being in contact with the rooting medium.
- Bottom Heat Can Be a Game Changer: If you’re having trouble with rooting, especially in cooler conditions, placing your pots on a seedling heat mat can significantly speed up root development. It’s like a warm blanket for those developing roots!
- Patience is Truly a Virtue: Some plants root in a couple of weeks, others take months. Poa chamæcæsy is usually pretty quick, but don’t give up too soon! A gentle tug on the cutting will tell you if it’s anchored. If there’s resistance, roots are forming.
Aftercare and What to Watch For
Once your cuttings have rooted (you’ll start to see new growth or feel resistance when gently pulling), it’s time to transition them to more regular care.
- Gradual Acclimatization: Slowly remove the plastic bag or cover over a few days. This helps the new plant adjust to normal humidity.
- Watering: Water when the top inch of soil feels dry. Avoid overwatering, as this is the most common cause of problems.
- Light: Place your new Poa chamæcæsy in bright, indirect sunlight. Direct sun can scorch delicate new growth.
- Troubleshooting: The biggest enemy here is rot. If your cutting turns mushy or black, it’s likely rotted. This usually means too much moisture and not enough air circulation. If you see this, remove the affected cutting immediately and assess your watering and humidity levels for the others. Sometimes, a cutting just fails to root – don’t take it personally! It happens to all of us.
Happy Growing!
See? Not so daunting, is it? Propagating Poa chamæcæsy is a wonderful way to expand your collection, share with friends, or simply enjoy the satisfaction of nurturing new life. Be patient with the process, celebrate every little bit of progress, and most importantly, have fun in your garden! Happy propagating!
Resource:
https://identify.plantnet.org/k-world-flora/species/Poa%20chambersii%20Soreng/data