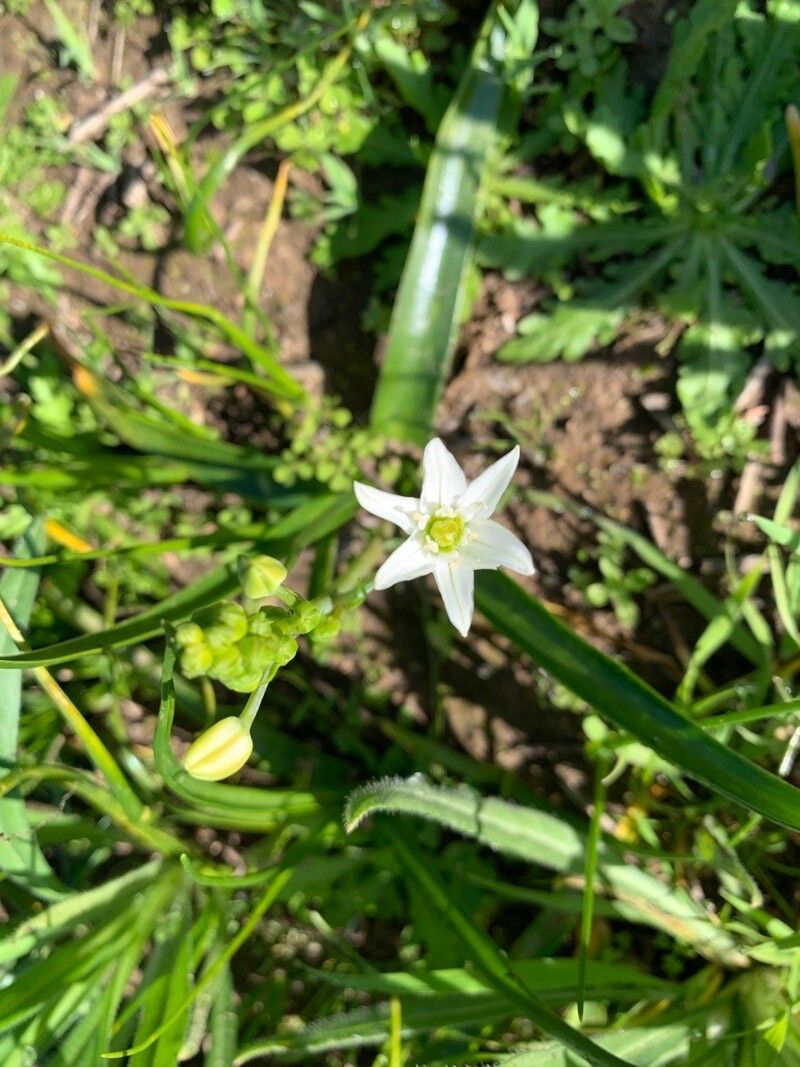
Hello fellow garden enthusiasts! I’m thrilled to share my passion for a truly delightful plant with you today: Muilla maritima. You might know it as the delicate, dainty California brodiaea or perhaps even by its lovely common name, sea onion. Its airy spikes of star-shaped, pale blue to lavender flowers are just breathtaking, bringing a touch of wild elegance to any garden. Best of all, propagating Muilla is incredibly rewarding, giving you more of those charming blooms to enjoy. Good news for beginners – this one is quite forgiving!
The Best Time to Start
For the sweetest success, plan your propagation efforts for late summer or early autumn, just as the plant is finishing its blooming cycle and entering its dormant phase. This is when the energy is stored in the bulbs, making them prime candidates for division. Starting them while they’re naturally winding down gives them a little head start before the real cold sets in.
Supplies You’ll Need
Here’s what you’ll want to have on hand before you get started:
- A trowel or small spade
- Sharp, clean pruning shears or a knife
- A sandy, well-draining potting mix. I like a blend of equal parts peat moss, perlite, and sharp sand.
- Small pots or seedling trays
- Labels and a waterproof marker
- A watering can with a fine rose
Propagation Methods: The Art of Division
Muilla maritima is primarily propagated through bulb division. It’s straightforward and works like a charm.
- Gentle Excavation: In late summer or early autumn, when the foliage has yellowed and died back, carefully dig around the base of the parent plant with your trowel. You want to loosen the soil and lift the entire bulb cluster gently. Try not to damage the bulbs or their roots.
- Cleaning and Separation: Once the bulbs are out of the ground, gently brush off any excess soil. You’ll likely see the main bulb with smaller offsets or bulblets attached.
- The Divide: Using your pruning shears or knife, carefully separate the offsets from the main bulb. Each offset should have a small root or two attached. Don’t worry if a few small ones break off; they might still grow!
- Planting Time: Fill your small pots or trays with your well-draining soil mix. Plant each divided bulb so the top of the bulb is just barely covered by soil, about half an inch deep. If you have larger offsets, you can plant them individually. Smaller bulblets can be planted closer together.
- Label and Water: Label your pots with the plant name and the date. Give them a gentle watering to settle the soil around the bulbs.
The “Secret Sauce” (Pro Tips)
Here are a few little tricks I’ve learned over the years that can make a big difference:
- My absolute favorite tip for Muilla is to give them a bit of grit. When planting, mix a good handful of coarse sand or small gravel right into the planting hole or the potting mix. This extra drainage is crucial; they really dislike sitting in wet soil.
- Don’t be tempted to water them too much right after planting. A good initial water is enough. Then, let the soil dry out slightly between waterings during their dormant period. Overwatering in this phase is a sure way to invite rot.
- If you are dividing a particularly large cluster, I like to let the divided bulbs air dry for a day or two in a shady spot before replanting. This helps any cut surfaces callus over, reducing the risk of disease.
Aftercare & Troubleshooting
Once your new Muilla bulbs are planted, they can stay in those pots until spring. Keep them in a cool, dry place during the winter. When you see the first signs of green shoots emerging in early spring, it’s time to move them to a brighter location and begin regular watering.
The most common issue you might encounter is rot. If you notice a bulb becoming mushy or developing dark spots, it’s likely due to overwatering or poor drainage. Unfortunately, rotted bulbs usually can’t be saved. If your bulbs don’t sprout by late spring, it’s possible they were damaged during division, didn’t receive enough light when they were supposed to be growing, or perhaps the conditions weren’t quite right. Patience is key!
Happy Gardening!
There you have it – propagating Muilla maritima is a simple and deeply satisfying way to multiply these garden gems. Don’t be afraid to get your hands dirty! Every little bulb you plant is a promise of future blooms. Enjoy the process, learn from each step, and soon you’ll be sharing your beautiful Muilla with friends. Happy growing!
Resource: