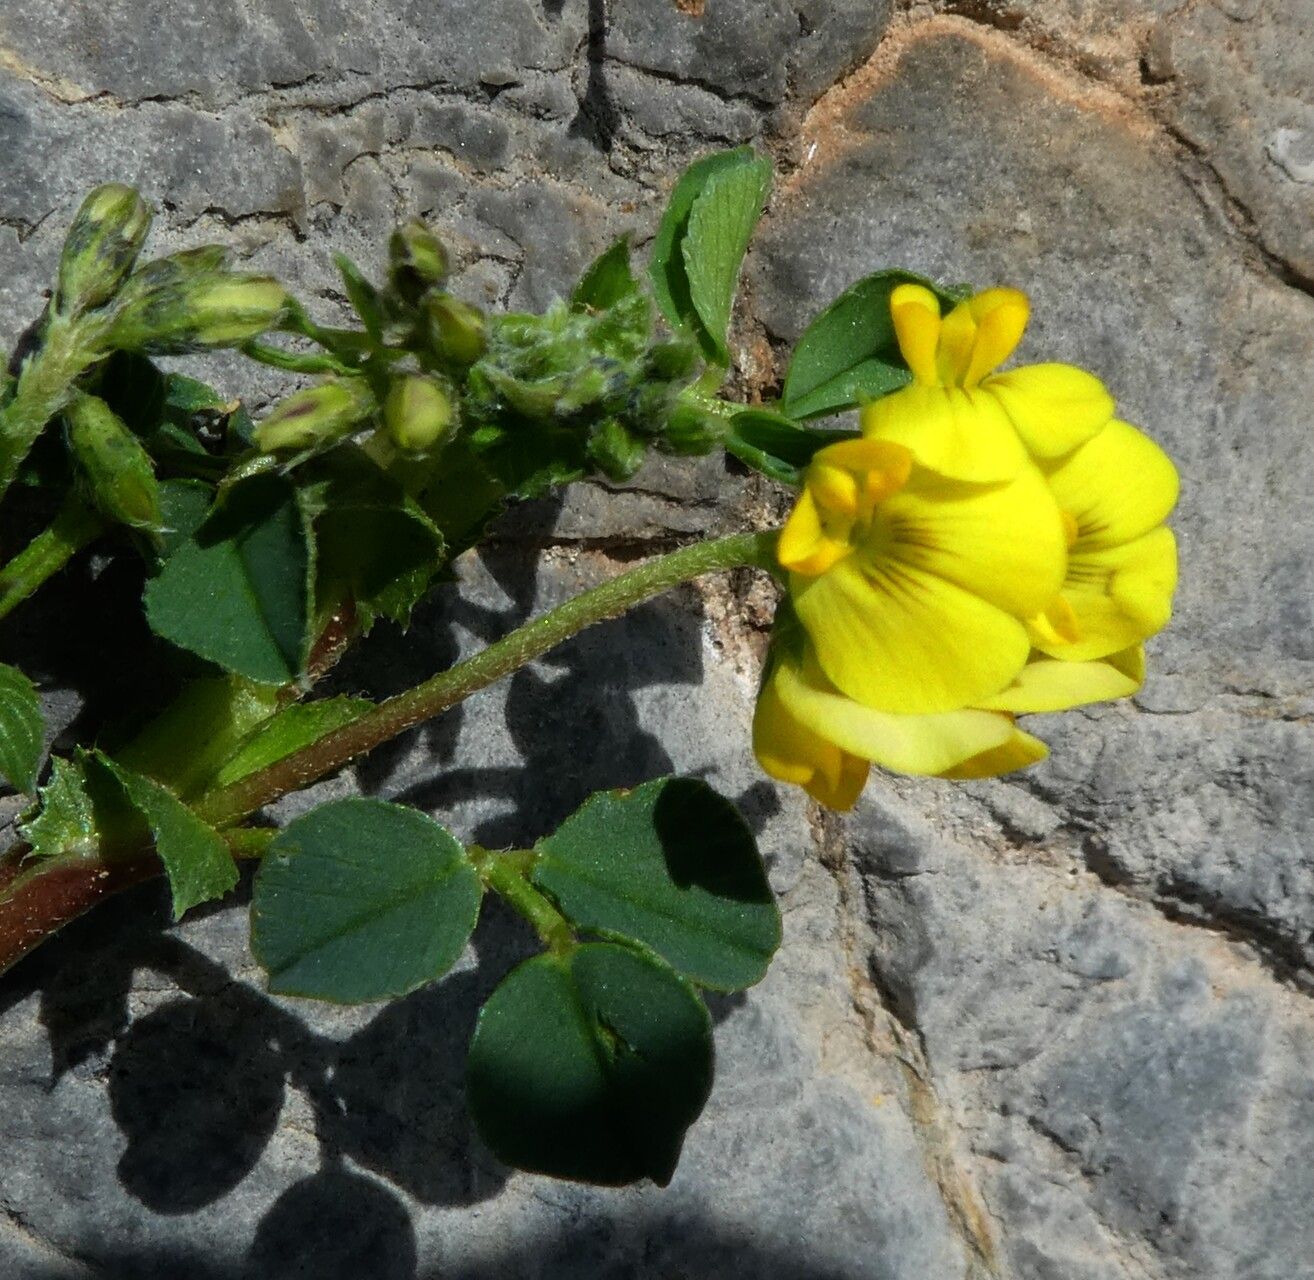
Ah, Medicago suffruticosa! If you’ve ever admired those lovely little trails of foliage, perhaps dotted with delicate yellow flowers, you know this plant has a certain charm. It’s a wonderful groundcover or trailer, and getting more of it for your garden or to share with friends is incredibly satisfying. Think of it as spreading that little bit of green joy!
For beginners, I’d say propagating Medicago suffruticosa is moderately easy. It’s not quite as foolproof as, say, mint, but with a little attention to detail, you’ll find great success. It’s a fantastic plant to start building your propagation confidence.
The Best Time to Start
Generally, late spring to early summer is your golden window. This is when the plant is actively growing and has plenty of lush, new stems to work with. You want to ensure there’s plenty of daylight and warmth for those new cuttings to establish themselves. Avoid trying to propagate from woody, old stems.
Supplies You’ll Need
To get started, here’s what I always have on hand:
- Sharp pruning shears or a clean craft knife: For making clean cuts.
- A light, well-draining potting mix: I often use a blend of equal parts peat moss, perlite, and a bit of compost. For these smaller cuttings, a seed-starting mix works beautifully too.
- Small pots or cell trays: Clean ones are essential to prevent disease.
- Rooting hormone (optional but helpful): A powder or gel can give your cuttings a helpful boost.
- A plastic bag or propagator lid: To create a humid environment.
- Watering can with a fine rose or a spray bottle: For gentle watering.
Propagation Methods
I find two methods work best for Medicago suffruticosa: stem cuttings and division.
Stem Cuttings
This is my go-to for increasing my plant numbers.
- Select your stems: Look for healthy, non-woody stems that are about 4-6 inches long. They should have some new growth at the tip.
- Make the cut: Using your sharp shears or knife, take cuttings just below a leaf node (where a leaf attaches to the stem). This is where new roots are most likely to form.
- Prepare the cutting: Gently remove the lower leaves. You want to expose at least one or two nodes that will be buried in the soil. If the cutting has any flowers or developing seed pods, snip them off – we want all the plant’s energy focused on roots!
- Dip in rooting hormone (optional): If you’re using it, swirl the cut end of the stem in the rooting hormone powder or gel. Tap off any excess.
- Plant the cuttings: Fill your small pots or trays with your prepared potting mix and moisten it thoroughly. Gently insert the cut end of each cutting into the soil, about an inch deep. Make sure those leaf nodes are buried.
- Create humidity: Water the soil gently again. Then, cover the pots with a plastic bag or a propagator lid. This traps moisture and creates a mini-greenhouse effect, which is crucial for cuttings. Place them in indirect light.
Division
If you have an established plant that’s getting a bit crowded, division is a good option in spring or early fall.
- Gently lift the plant: Carefully dig around the root ball of your established Medicago suffruticosa and lift it from its pot or garden bed.
- Separate the crowns: Look for natural divisions in the root ball. You can often gently pull these apart with your hands. If they’re a bit stubborn, you might need to use a clean trowel or even your sharp knife to slice through the roots. Aim for sections that have a good amount of roots and at least one healthy shoot.
- Replant immediately: Pot up the divisions into fresh, well-draining soil, watering them in well.
The “Secret Sauce” (Pro Tips)
- Don’t overcrowd your cuttings: Give each one a little space in its pot or cell. Overcrowding leads to poor air circulation, which can encourage fungal issues.
- Bottom heat is your friend: If you have a heat mat, placing your propagation trays on it can significantly speed up root development. Cuttings love a warm base.
- Don’t let the leaves touch the water: If you choose to water propagate (which I find less reliable for this plant, but doable), make sure no leaves are submerged. Rot sets in fast!
Aftercare & Troubleshooting
Once your cuttings have established roots (you can test this by giving a gentle tug; if there’s resistance, you’ve got roots!), it’s time to treat them like a little plant. Gradually remove the humidity cover over a few days to let them acclimatize to drier air. Water them when the top inch of soil starts to feel dry.
The most common sign of failure is wilting or rotting. If a cutting turns black and mushy, it’s usually a sign of too much moisture or not enough air circulation. If they just wilt and stay that way, they might not have had enough humidity or the conditions weren’t right for rooting. Don’t be discouraged by a few failures – it’s all part of the learning process!
A Gentle Reminder
Propagating plants is like nurturing little seedlings – it requires patience. Some cuttings will take off immediately, while others will take their sweet time. Enjoy the process, observe the changes, and celebrate each tiny new root or leaf. You’ve got this! Happy propagating!
Resource:
https://identify.plantnet.org/k-world-flora/species/Medicago%20suffruticosa%20Ramond%20ex%20DC./data