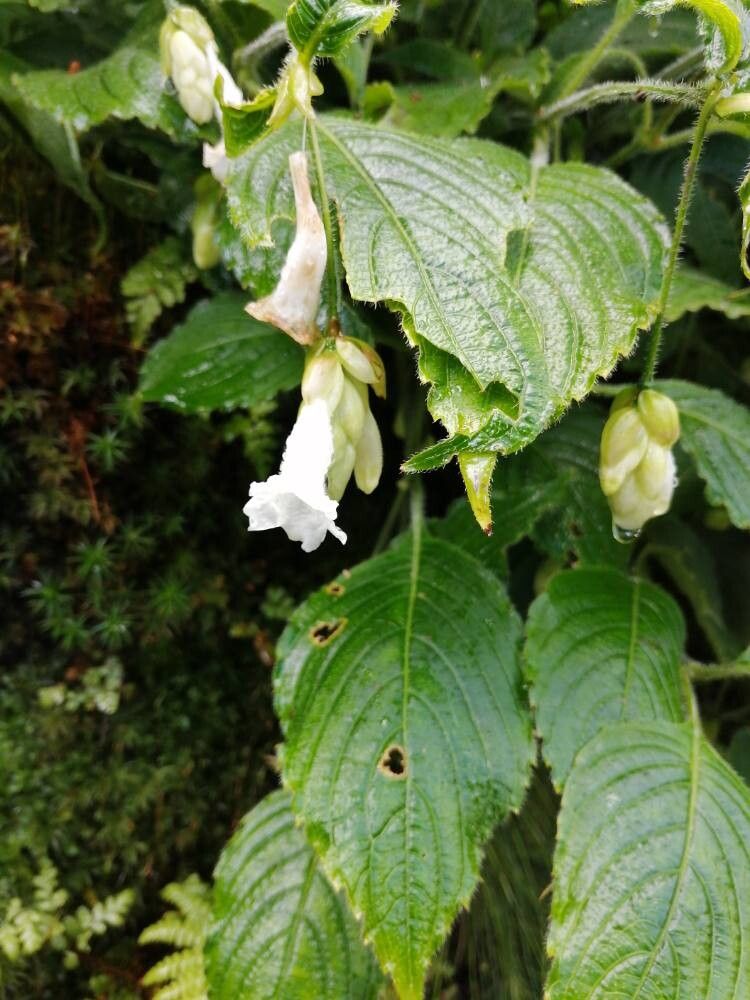
Oh, hello there, fellow garden enthusiast! Pull up a chair and let’s chat about a truly delightful plant: Strobilanthes nutans. If you’re like me, you’ve probably admired its lush foliage and charming, often vibrant, blooms. Strobilanthes can bring such wonderful texture and color to shady corners of the garden or make striking houseplant specimens. And you know what’s even better than admiring them? Creating more of them yourself! Propagating Strobilanthes nutans is a really rewarding endeavor, and I’m happy to say, it’s quite approachable for most gardeners. You don’t need to be a seasoned pro to have success!
The Best Time to Start
For the best results with Strobilanthes, I always aim to propagate during the active growing season. Think late spring through summer. This is when the plant has plenty of energy to put into developing new roots. Early spring, just as new growth is emerging, is also a fantastic time. Avoid propagating when the plant is stressed, like during extreme heat or a deep dormancy period in winter.
Supplies You’ll Need
Gathering your tools beforehand makes the whole process much smoother. Here’s what I typically have on hand:
- Sharp pruning shears or a clean knife: For making clean cuts.
- Potting mix: A well-draining mix is key. I often use a blend of peat moss or coco coir, perlite, and a bit of compost. Or, a good quality seed starting mix works wonders.
- Small pots or trays: Clean containers with drainage holes are essential.
- Rooting hormone (optional but recommended): A little boost can speed things up.
- Plastic bags or a propagation dome: To create a humid environment.
- Watering can or spray bottle: For gentle watering.
Propagation Methods
There are a couple of ways we can get new Strobilanthes going, but my favorite for this particular plant is stem cuttings. It’s straightforward and usually yields great results.
Stem Cuttings:
- Take Cuttings: Select healthy, non-flowering stems from your mature plant. Look for stems that are about 4-6 inches long and have several sets of leaves. With your sharp shears or knife, make a clean cut just below a leaf node (where a leaf attaches to the stem).
- Prepare the Cuttings: Gently remove the lower leaves from the cutting, leaving just a few at the top. This helps prevent rot and directs the plant’s energy towards rooting. If you’re using rooting hormone, dip the cut end into it according to the product’s instructions.
- Plant the Cuttings: Fill your small pots with your prepared potting mix. Make a small hole with your finger or a pencil and insert the cut end of the stem, ensuring the leaf nodes are below the surface. Gently firm the soil around the stem.
- Initial Watering: Water the cuttings gently but thoroughly. The soil should be moist, not waterlogged.
- Create Humidity: This is crucial! You can cover the pots with a clear plastic bag, making sure the bag doesn’t touch the leaves, or place them under a propagation dome. This traps moisture and creates a mini-greenhouse.
- Placement: Place the potted cuttings in a spot with bright, indirect light. Avoid direct sunlight, which can scorch the delicate new cuttings.
Wait for Roots: This is the part that requires patience! Check the cuttings periodically by giving them a gentle tug. If there’s resistance, that’s a good sign roots are forming. This can take anywhere from 3-6 weeks, sometimes a bit longer.
The “Secret Sauce” (Pro Tips)
Over the years, I’ve picked up a few tricks that just seem to make things go a little more smoothly.
- Bottom Heat is Your Friend: While not strictly necessary, placing your pots on a gentle heat mat can significantly speed up root development, especially if your home is a bit on the cooler side. It mimics the warmth of summer soil.
- Don’t Be Afraid to Pinch: Once your cuttings have rooted and you see new growth starting, consider pinching off the very tip of the stem. This encourages the plant to branch out, resulting in a bushier, fuller plant from the start.
- Cleanliness is Godliness: Always use sterilized tools and pots. This really reduces the risk of fungal diseases and rot, which are the biggest enemies of delicate cuttings.
Aftercare & Troubleshooting
Once you feel those roots are well-established (you’ll see new growth and resistance when you gently tug), it’s time to move them to slightly larger pots if needed. Continue to water them when the top inch of soil feels dry. They still appreciate bright, indirect light.
Now, what if things go wrong? The most common culprits are rot and wilting.
- Rot: If a cutting turns black and mushy, it’s likely rotted. This is usually due to overwatering or poor drainage. Ensure good air circulation and let the soil dry out slightly between waterings. If you see any signs of rot, it’s best to discard the affected cutting to prevent it from spreading.
- Wilting: A cutting might wilt if it’s too dry or if it hasn’t developed enough roots yet to support itself. Make sure your humidity is maintained and that the soil is consistently, but not soggy, moist.
A Encouraging Closing
Propagating Strobilanthes nutans is a wonderfully accessible way to multiply your plant collection and share your green thumb with others. Be patient, observe your cuttings closely, and don’t be discouraged if every single one doesn’t make it. Every gardener learns from their experiences, and the joy of nurturing a new plant from a tiny cutting is truly unparalleled. Happy propagating!
Resource: