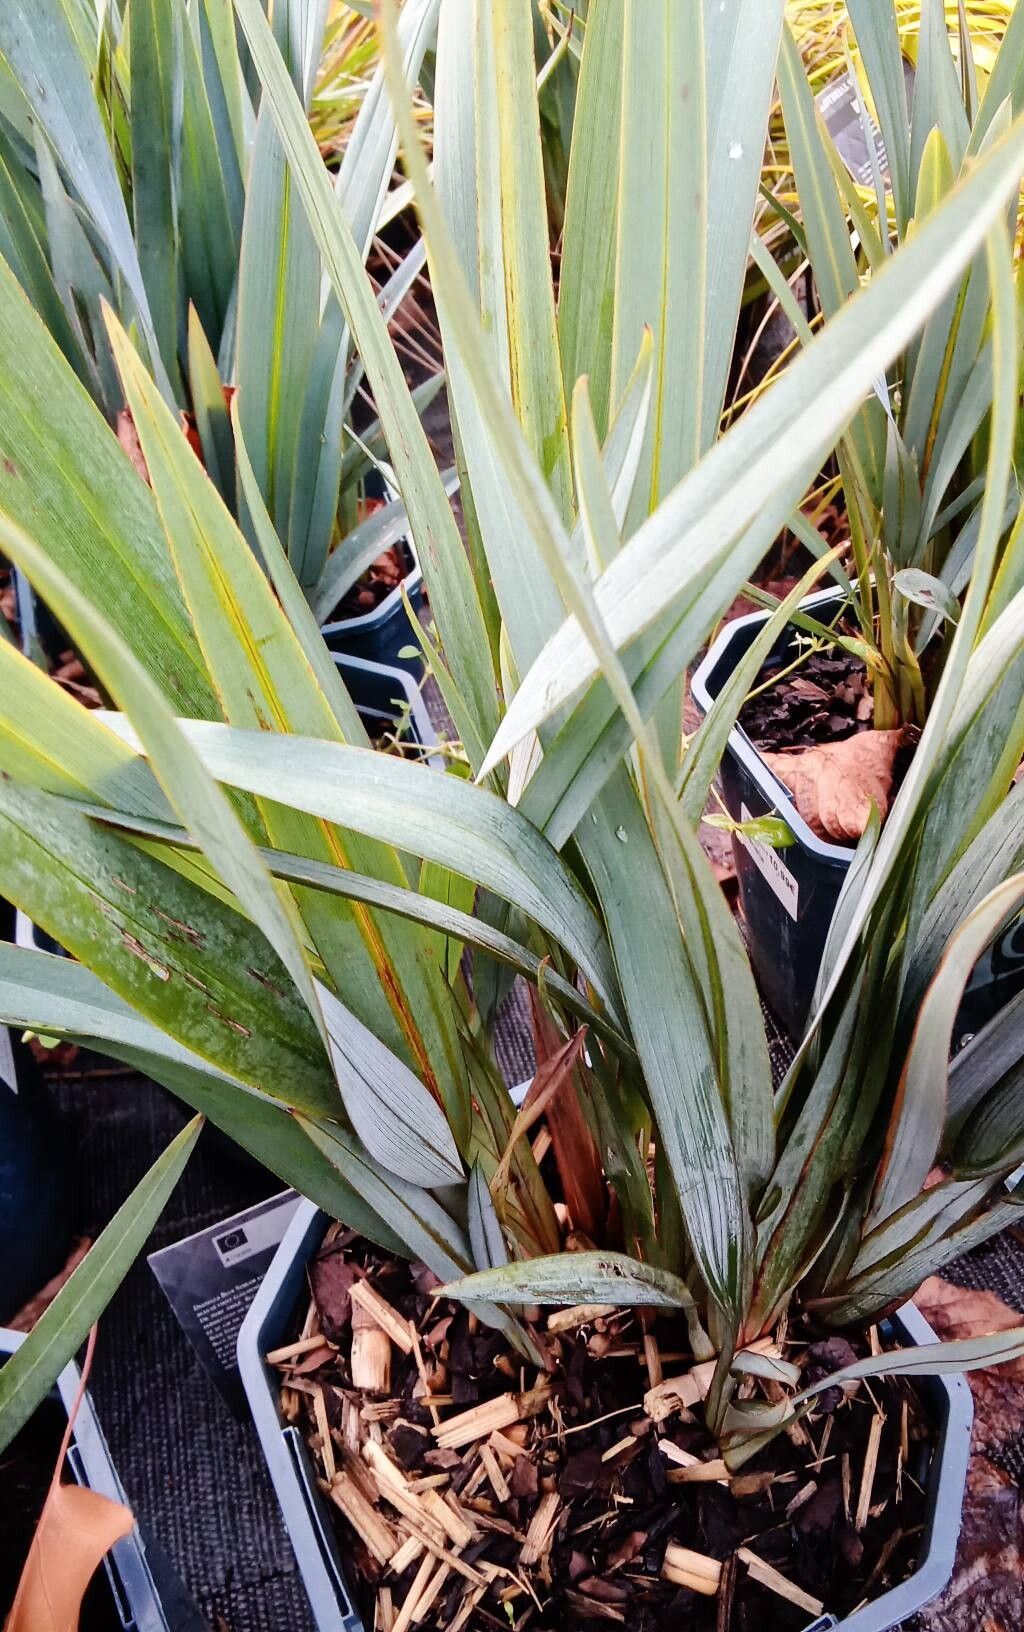
Oh, I’m so glad you’ve come to me about Dianella revoluta! This “Blueberry Lily” or “Flax Lily” is such a gem in the garden. Its graceful, strap-like foliage and those lovely little blue berries that follow its delicate flowers add so much texture and subtle color. And the best part? It’s incredibly hardy. If you love your Dianella and want more of this beauty without buying new plants, propagating it yourself is a super rewarding project. For beginners? Honestly, I’d say it’s quite beginner-friendly. You’ll be surprised at how forgiving it can be!
The Best Time to Start
In my experience, the spring is your golden window for propagating Dianella. Think of it as the plant’s rebirth after winter. Everything is waking up, and new growth is spurred on by lengthening days and warming soil. You’ll find the plant is most vigorous then, making it more receptive to having its pieces taken and started anew. Late spring, once the harsh frosts are definitely a memory, is perfect.
Supplies You’Il Need
Here’s what you’ll want to have on hand before you get started:
- Sharp pruning shears or a sturdy knife: For clean cuts.
- A well-draining potting mix: I like a blend of equal parts peat moss, perlite, and compost.
- Rooting hormone (optional but helpful): Especially if you’re going for cuttings.
- Small pots or seed trays: With drainage holes, of course!
- Gloves: To keep your hands clean.
- A watering can with a fine rose: For gentle watering.
- A mister: For keeping foliage hydrated.
- Labels and a marker: To keep track of your projects!
Propagation Methods
When it comes to Dianella revoluta, there are two main ways I find myself successfully getting new plants: division and stem cuttings.
Division: The Most Straightforward Approach
This is the easiest and often the most successful method. Dianellas naturally form clumps, and these clumps can be divided.
- Digging Up: Gently dig up the entire plant from its pot or garden bed. Try to disturb the root ball as little as possible.
- Cleaning the Roots: Once you have the plant out, gently shake off excess soil. You can even rinse the roots under a hose to get a better look.
- Separating the Clumps: Look for natural divisions in the root system. You can often pull apart sections with your hands. If it’s a bit stubborn, use your pruning shears or a sharp knife to carefully cut through the roots between the divisions. Make sure each new division has at least a few healthy shoots and plenty of roots.
- Repotting: Plant each division into its own pot with your well-draining potting mix. Water them in thoroughly.
- Placement: Keep the newly divided plants in a bright spot, but out of direct, harsh sunlight for a week or two while they re-establish.
Stem Cuttings: A Bit More Patience
While division is king, you can also propagate Dianella from stem cuttings, though it takes a bit more finesse.
- Taking Cuttings: This is best done in spring when the plant is actively growing. Look for healthy, non-flowering stems that are about 4-6 inches long. Using your sharp pruners or knife, make a clean cut just below a leaf node (where a leaf attaches to the stem).
- Preparing the Cuttings: Remove the lower leaves from the cutting, leaving just a few at the top. If you’re using rooting hormone, dip the cut end into the powder or gel.
- Planting: Fill a small pot with your well-draining potting mix. Make a small hole with your finger or a pencil and insert the cut end of the stem. Gently firm the soil around it.
- Watering and Covering: Water the pot gently. To create a humid environment, you can cover the pot with a clear plastic bag or place it in a propagator. Make sure the leaves don’t touch the plastic.
- Location: Place the pot in a warm location with bright, indirect light.
The “Secret Sauce” (Pro Tips)
Here are a couple of things I’ve learned over the years that make a big difference:
- Bottom Heat for Cuttings: If you’re doing stem cuttings, using a heat mat underneath your pots can dramatically speed up root development. The warmth encourages the plant to send out those new roots.
- Don’t Overwater Divisions: While it’s important to water divisions well initially, let the soil dry out slightly between waterings afterward. Overwatering is the quickest way to invite rot, especially for newly divided plants that are still adjusting.
Aftercare & Troubleshooting
Once your divisions are tucked in or your cuttings have hopefully started to show signs of life, consistent but not excessive care is key.
For divisions, keep them in bright, indirect light and water when the top inch of soil feels dry. For cuttings, the goal is to maintain humidity and warmth. If you see new leaves appearing, that’s a fantastic sign! It means roots are forming.
What if things go wrong? The most common culprit is rot. If you see a cutting turning black and mushy, or a division’s leaves wilting and turning yellow despite being watered, it’s often a sign of too much moisture. Pull out any affected parts immediately and let the remaining plant dry out. Sometimes, just adjusting your watering schedule is all it takes.
A Heartening Closing
Propagating your Dianella revoluta is such a fulfilling way to fill your garden with more of its understated elegance. Don’t get discouraged if your first attempt isn’t perfect; gardening is a journey of learning. Be patient, enjoy the process of nurturing these new plants, and before you know it, you’ll have a whole collection! Happy gardening!
Resource:
https://identify.plantnet.org/k-world-flora/species/Dianella%20revoluta%20R.Br./data