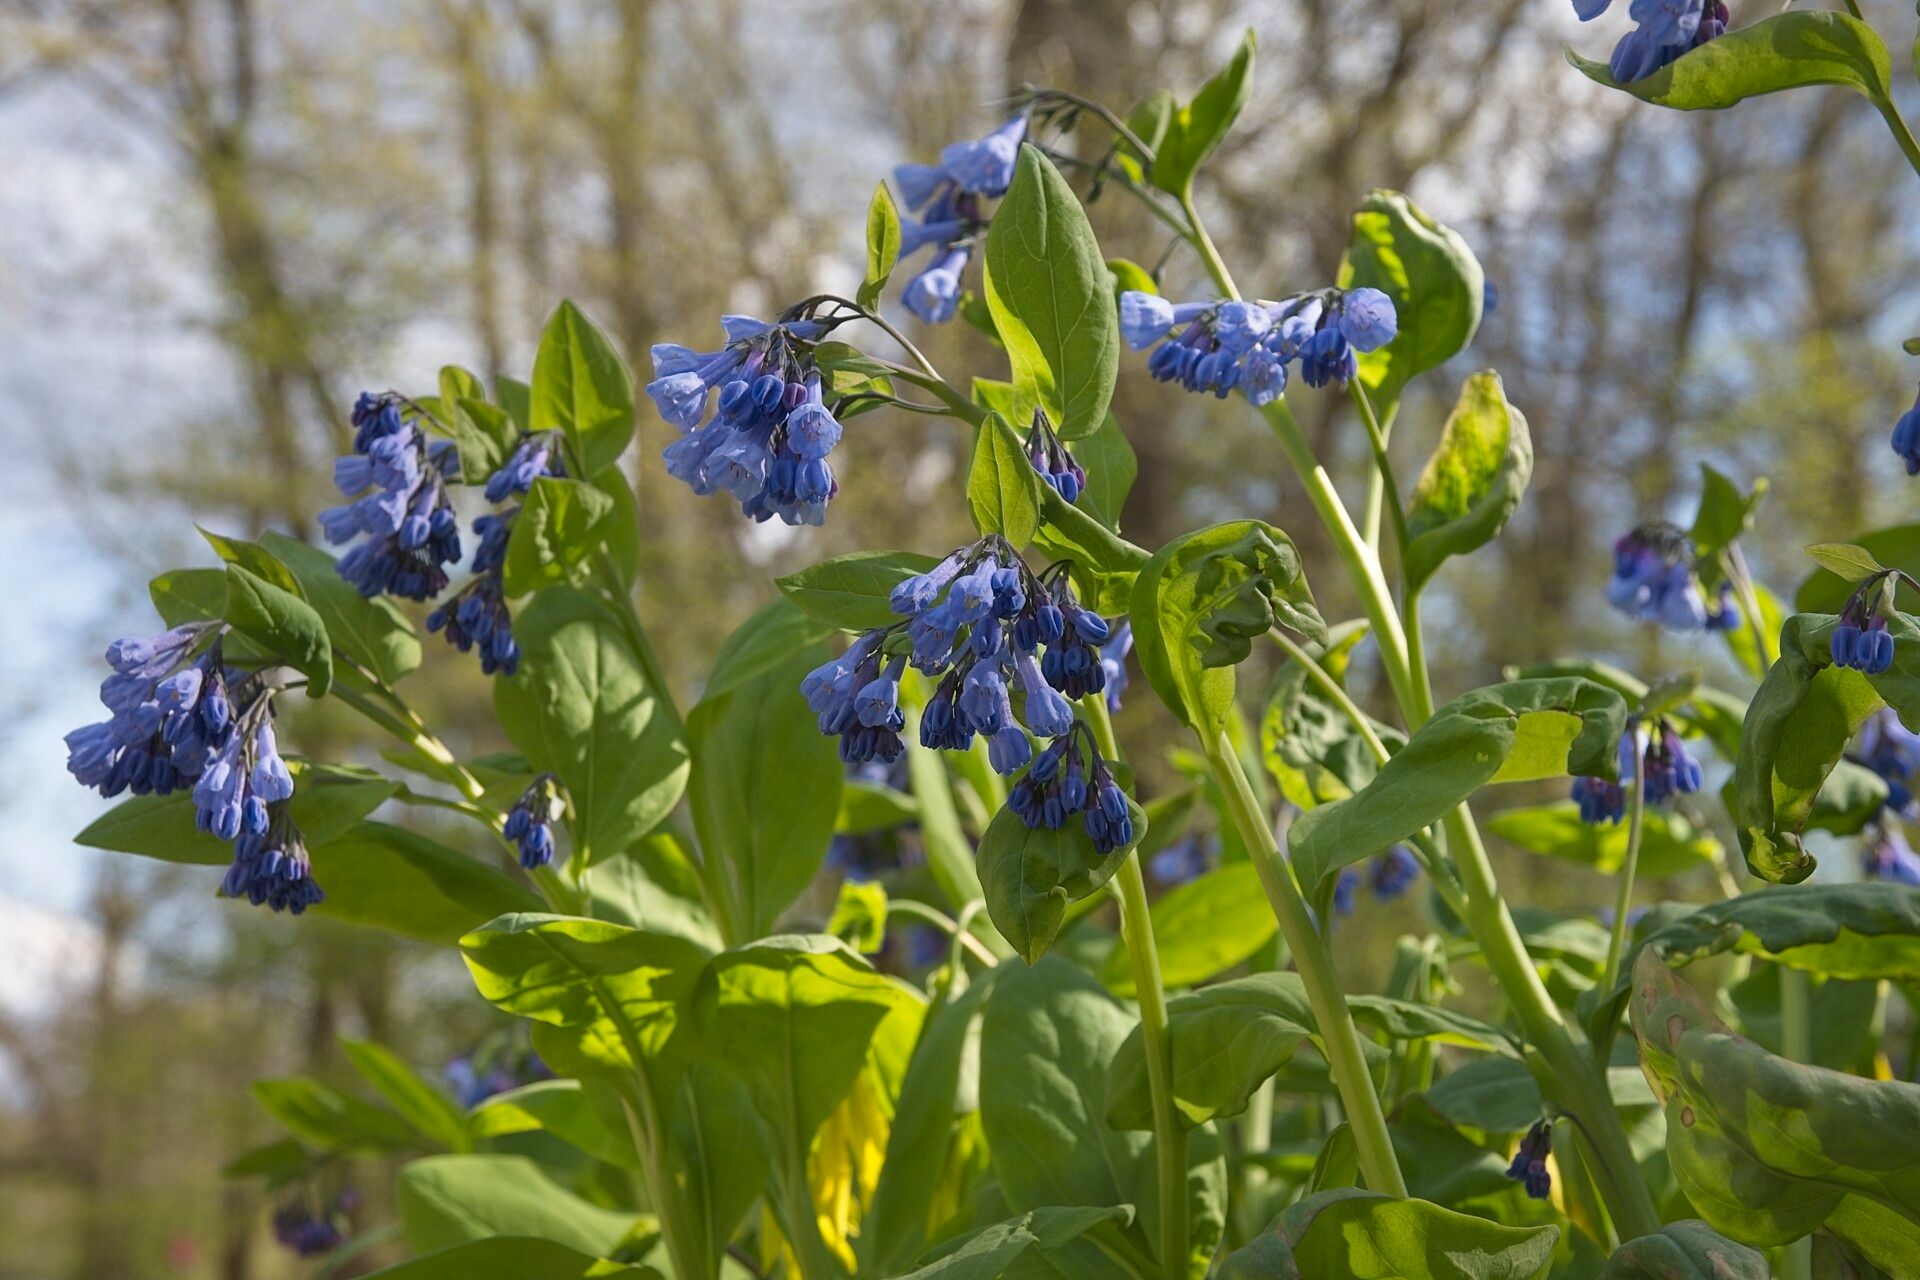
Oh, Virginia Bluebells! Aren’t they just a dream? Those delicate, nodding sky-blue bells that practically glow in the dappled shade of a spring woodland. They’re one of those early bloomers that just makes your heart sing, coaxing you out to the garden when there’s still a hint of chill in the air. If you’ve fallen for their charm, you’ll be delighted to know that propagating Mertensia virginica is a wonderfully rewarding endeavor. While they’re not exactly a “funk and forget” kind of plant, they’re certainly manageable for those ready to dive a little deeper into the magic of plant-making.
The Best Time to Start
Timing is everything, as they say, and with Virginia Bluebells, it’s usually best to propagate them from division in the early spring, just as they’re beginning to emerge from dormancy. You’ll see those first little shoots pushing through the soil. This gives the divided pieces a good long growing season to establish themselves. If you’re thinking about collecting seeds, that’s a different ballgame and usually done in late spring/early summer after the flowers have faded. But for ease and a real sense of accomplishment, spring division is my go-to.
Supplies You’ll Need
Gathering your tools beforehand makes a world of difference in keeping things smooth. For dividing Virginia Bluebells, you’ll want:
- A sharp trowel or spade (a hori-hori knife is also fantastic for this)
- A clean, sharp pair of pruning shears (optional, but helpful for tidying up)
- Burlap or newspaper for gently handling the divisions
- A wheelbarrow or sturdy tray to move your potted divisions
- A well-draining potting mix. I like to use a blend of compost, peat moss, and perlite. A good starting point is usually 1 part compost, 1 part peat or coco coir, and 1 part perlite.
- New pots or a designated planting area in your garden.
Propagation Methods: Division is the Way!
For Mertensia virginica, division is by far the most reliable and rewarding method for home gardeners. They form clumps that naturally grow larger over time, and separating these clumps is like giving your plant a refreshing haircut and multiplying its joy!
- Gentle Excavation: In early spring, when you see those first shoots, carefully approach your established Virginia Bluebell clump. Use your trowel to gently dig around the edge of the plant, loosening the soil. You’re aiming to lift the entire clump out without disturbing the roots too much. It’s best to dig a good radius around the plant to avoid slicing through a main root ball.
- Reveal and Assess: Once the clump is lifted, gently shake off excess soil. You’ll be able to see where the rhizomes (those thick, fleshy roots) have branched. Look for natural separation points where each branch has its own set of buds or growing points.
- The Big Break (or Cut!): This is where you divide. You can often gently pull apart the rhizomes with your hands. If they’re a bit stubborn, use your clean trowel or even the back of your pruning shears to make a clean separation. The key is to ensure each division has at least one healthy bud or eye and a decent amount of root. Don’t be afraid to get in there – they are remarkably resilient!
- Potting Up: Whether you’re planting directly into a new spot in your garden or potting them up for later transplanting, give them a good home. If potting, use your well-draining mix. Plant the division so the top of the rhizome (where the buds are) is just barely covered, about an inch deep.
- Water and Settle: Water your new divisions gently but thoroughly. You want the soil to be moist but not waterlogged, as this is crucial for preventing rot.
The “Secret Sauce” (Pro Tips)
Here are a couple of things I’ve learned over the years that really make a difference:
- Embrace the Dormancy: Resist the urge to divide when the plant is in full bloom or looking lush. Waiting until those tiny green shoots are just appearing is key. They are signaling that they’re ready to push out new growth and will recover from division much more quickly then.
- The “Clean Sweep” is Crucial: After dividing, immediately pot up or plant your divisions. Don’t let those exposed rhizomes and roots dry out for any length of time. Get them settled into good, moist soil as soon as possible. If you can’t plant them right away, keep them lightly moist in a shady spot.
Aftercare & Troubleshooting
Once your divisions are in their new homes, the focus shifts to helping them establish. Keep the soil consistently moist, but never soggy. This is especially important in the first year. A light mulch can help retain moisture and suppress weeds.
The most common issue you might encounter is rot. If you see a division looking mushy, black, or just failing to show any signs of life after a few weeks, it’s likely rotted. This is usually due to too much moisture in poorly draining soil. If this happens, unfortunately, that particular division is lost. Don’t let it discourage you; just review your watering and soil drainage for the remaining ones. Sometimes, a bit of leaf litter can seem like they’re not growing, but as long as the soil is moist and they aren’t declining, give them time. They are woodland plants, after all, and work on nature’s clock!
A Little Patience, A Lot of Joy
Propagating Virginia Bluebells is a beautiful way to extend the magic of these enchanting plants throughout your garden. It takes a little planning and attention, but the reward of seeing those familiar blue bells emerge year after year from divisions you created yourself is truly special. Be patient, embrace the process, and enjoy the unfolding beauty! Happy gardening!
Resource: