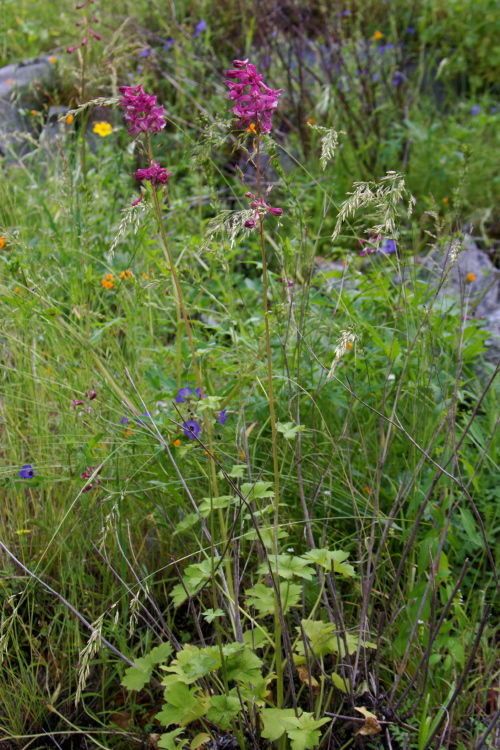
Oh, Delphinium purpusii! That splash of vibrant blue or soft lavender makes any garden sing. If you’ve ever admired these beauties, you know how incredibly rewarding it is to see them thrive. And even better? Learning to make more of them yourself! For those new to the gardening party, propagating Delphinium purpusii can be a tad bit challenging, but don’t let that stop you. With a little patience and these tips, you’ll be well on your way.
The Best Time to Start
Spring is generally your golden ticket for propagating Delphinium purpusii. Specifically, aim for early spring when the plant is just waking up and putting on fresh, tender growth. This vigorous new material is much more receptive to taking root. You can also try propagation in late summer or early fall, but the plants might have a bit less energy to share then.
Supplies You’ll Need
Before we get our hands dirty, let’s gather our tools:
- Sharp, clean pruning shears or a sharp knife: For making clean cuts.
- Rooting hormone powder or gel: This isn’t strictly essential, but it really gives your cuttings a boost.
- Small pots or seed trays: Clean ones are a must!
- Well-draining potting mix: A good starter mix for cuttings, often with perlite or vermiculite for aeration, works beautifully. You can even mix some fine compost into a standard potting mix.
- Watering can or spray bottle: For gentle watering.
- Plastic bags or a propagation dome: To create a humid environment for your cuttings.
- Labels and a marker: So you don’t forget what’s what!
Propagation Methods
Let’s talk about how to actually do it!
Stem Cuttings
This is my favorite method, and often the most successful for Delphinium purpusii.
- Take Your Cuttings: In early spring, look for strong, healthy stems. You want pieces that are about 4-6 inches long. Make a clean cut just below a leaf node (where a leaf attaches to the stem).
- Prepare the Cuttings: Gently remove the lower leaves from the cutting, leaving just a few at the top. This prevents them from rotting once planted.
- Dip in Rooting Hormone: Dip the cut end into your rooting hormone, tapping off any excess.
- Pot Them Up: Fill your small pots with the well-draining potting mix, water it gently, and then push the cutting into the soil, ensuring the leaf nodes are covered. You want at least one node buried in the mix.
- Create Humidity: Cover the pot with a plastic bag or a propagation dome. This is crucial to keep the humidity high around your cuttings, preventing them from drying out.
- Find a Warm Spot: Place the pots in a bright, indirect light location. A heated propagation mat can work wonders here, but a warm windowsill will do.
Division
If you have a mature Delphinium purpusii plant, division is a simpler, though sometimes less abundant, way to get new plants.
- Dig Up the Plant: In early spring when growth is just beginning, carefully dig up the entire plant.
- Inspect the Roots: Gently shake off some of the excess soil to expose the root structure. You’re looking for clumps that have their own set of shoots and roots.
- Divide Carefully: Using your hands or a clean trowel/knife, gently separate the clumps. You want to ensure each division has a good amount of roots and at least one or two healthy buds or shoots.
- Replant Immediately: Replant the divisions directly into their new homes in well-prepared soil, watering them in thoroughly.
The “Secret Sauce” (Pro Tips)
Here are a couple of things I’ve learned over the years that make a real difference:
- Don’t let the leaves touch the soil! When preparing your cuttings, ensure no leaves are sitting directly on the surface of your potting mix. They are magnets for rot and fungus, and that’s the last thing you want for your precious new plants.
- Bottom heat is your friend. While not essential, placing your pots on a propagation mat set to a gentle warmth (around 70-75°F or 21-24°C) can significantly speed up root development. The warmth encourages the plant tissues to get to work.
Aftercare & Troubleshooting
Once your cuttings show signs of rooting (you might see new growth or feel a slight tug when you gently test the stem), it’s time for a little hands-off nurturing. Gradually introduce them to more light and reduce the humidity over a few days by propping up the plastic bag or dome. Water them when the top inch of soil feels dry, but be careful not to overwater.
The most common sign of failure is wilting and then browning stems, often a signal that the cutting has dried out or succumbed to rot. If you see mushy, discolored stems, it’s usually too late, and you’ll want to discard that cutting. Good drainage and proper humidity are your best defense against rot.
A Little Patience Goes a Long Way
Propagating Delphinium purpusii is a journey, not a race. Don’t be discouraged if your first attempt isn’t a smashing success. Every gardener has had their share of less-than-perfect propagations. Just keep trying, learn from any hiccups, and celebrate those little victories when you see those roots forming. You’ve got this, and the reward of seeing your own Delphinium purpusii thrive will be absolutely worth it!
Resource:
https://identify.plantnet.org/k-world-flora/species/Delphinium%20purpusii%20Brandegee/data