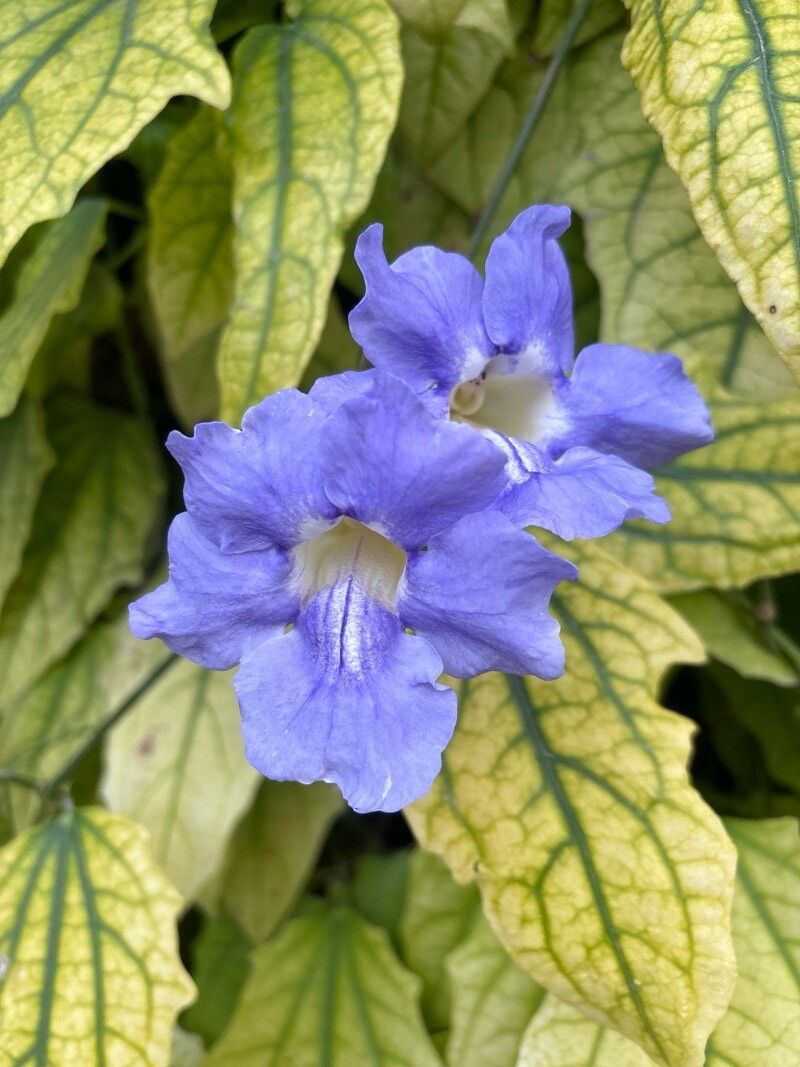
Oh, friends, let’s talk about a plant that truly brings the drama and beauty to any garden: Thunbergia grandiflora, or the Blue Sky Vine. Its masses of stunning, sky-blue trumpets are just… breathtaking. And the best part? You can have more of this beauty for yourself! Propagating this vine is incredibly rewarding, and I’m happy to tell you, it’s not as tricky as you might think. Even if you’re new to the gardening game, you can definitely give this a go.
The Best Time to Start
For Thunbergia grandiflora, late spring to early summer is my golden window. This is when the plant is in peak growth. You’re looking for healthy, new stems that are still a bit soft and bendy, not the old, woody bits. Think vibrant and full of life!
Supplies You’ll Need
Gathering your tools makes the process so much smoother. Here’s what I always have on hand:
- Sharp pruning shears or a clean knife: For taking your cuttings.
- Rooting hormone (optional, but recommended): A little dip in this can give your cuttings a real boost.
- A good quality potting mix: I like a mix that drains well, something with perlite or coarse sand. A seed-starting mix also works beautifully.
- Small pots or seedling trays: Make sure they have drainage holes!
- Plastic bags or a propagation dome: To create a humid environment.
- Watering can with a fine rose or a spray bottle: For gentle watering.
- Labels and a marker: To keep track of what you’ve planted and when.
Propagation Methods
Stem cuttings are hands-down the easiest and most successful way to multiply your Blue Sky Vine.
Stem Cuttings
- Take your cuttings: On a healthy stem, find a section that looks vigorous. Using your sharp shears, make a clean cut just below a leaf node (where the leaf attaches to the stem). You want cuttings that are about 4-6 inches long.
- Prepare the cuttings: Gently remove the lower leaves, leaving just a couple at the very top. This prevents them from rotting when they’re in the soil. If your cutting is really long, you can even cut the remaining leaves in half to reduce water loss.
- Apply rooting hormone (if using): Dip the cut end into your rooting hormone. Tap off any excess.
- Pot them up: Fill your small pots or trays with your well-draining potting mix. Make a small hole in the center of the soil with your finger or a pencil.
- Insert the cuttings: Gently push the prepared end of each cutting into the hole, making sure the leaf nodes are buried. Firm the soil gently around the base of the cutting.
- Water gently: Give them a thorough but gentle watering. You want the soil to be moist, not soggy.
- Create humidity: Cover the pots with a plastic bag or a propagation dome. This creates a mini-greenhouse effect, keeping the cuttings humid, which is crucial for root development. Make sure the leaves don’t touch the plastic if possible; if they do, I will slightly trim them.
- Find a warm, bright spot: Place your potted cuttings in a bright location that receives indirect sunlight. Avoid direct, scorching sun, as this can cook your cuttings.
Water Propagation (Less Common, but possible)
For a more immediate visual, you can try water propagation.
- Take cuttings as above.
- Remove all but the top leaves.
- Place cuttings in a clean jar or vase of water. Ensure the leaf nodes are submerged, but critically, keep the leaves themselves out of the water.
- Change the water every few days to keep it fresh.
- Place in bright, indirect light.
- You should see small white roots forming in a few weeks. Once the roots are about an inch long, carefully pot them into soil as described above.
The “Secret Sauce” (Pro Tips)
Here are a couple of things I’ve learned over the years that make a real difference:
- Bottom Heat is Your Friend: If you have the luxury, placing your pots on a heating mat (the kind used for seedlings) can significantly speed up root formation. It mimics the warmth of the soil in summer and gives those roots a cozy place to start.
- Don’t Rush Them: It can take several weeks, sometimes even a couple of months, for cuttings to develop a strong root system. Resist the urge to pull them out to check! You’ll know they’re ready when you see new growth on the top, or when you gently tug and feel resistance.
Aftercare & Troubleshooting
Once you see signs of new growth – tiny leaves unfurling, or that resistance when you gently tug – congratulations! Your Blue Sky Vine has rooted!
- Acclimatize them: Slowly remove the plastic bag or dome over a few days. This helps them adjust to the drier air in your home or garden.
- Water when the top inch of soil feels dry: Continue to water gently.
- Transplant when ready: Once the new plants are sturdy and have a good root system (you can usually see roots emerging from drainage holes), you can transplant them into slightly larger pots or directly into your garden if the weather is suitable.
The most common problem you might encounter is rot. This usually happens if the soil is too wet, the humidity is too high for too long without any air flow, or if the leaves are submerged in water. If a cutting looks limp, dark, and mushy, it’s likely rotted and best discarded. Don’t get discouraged; even experienced gardeners lose a few!
A Encouraging Closing
Propagating Thunbergia grandiflora is a wonderful way to share the beauty of this remarkable vine. Be patient, provide a little warmth and humidity, and you’ll be rewarded with a garden full of these stunning blue blooms. Enjoy the process of nurturing new life – that’s the true magic of gardening!
Resource:
https://identify.plantnet.org/k-world-flora/species/Thunbergia%20grandiflora%20Roxb./data