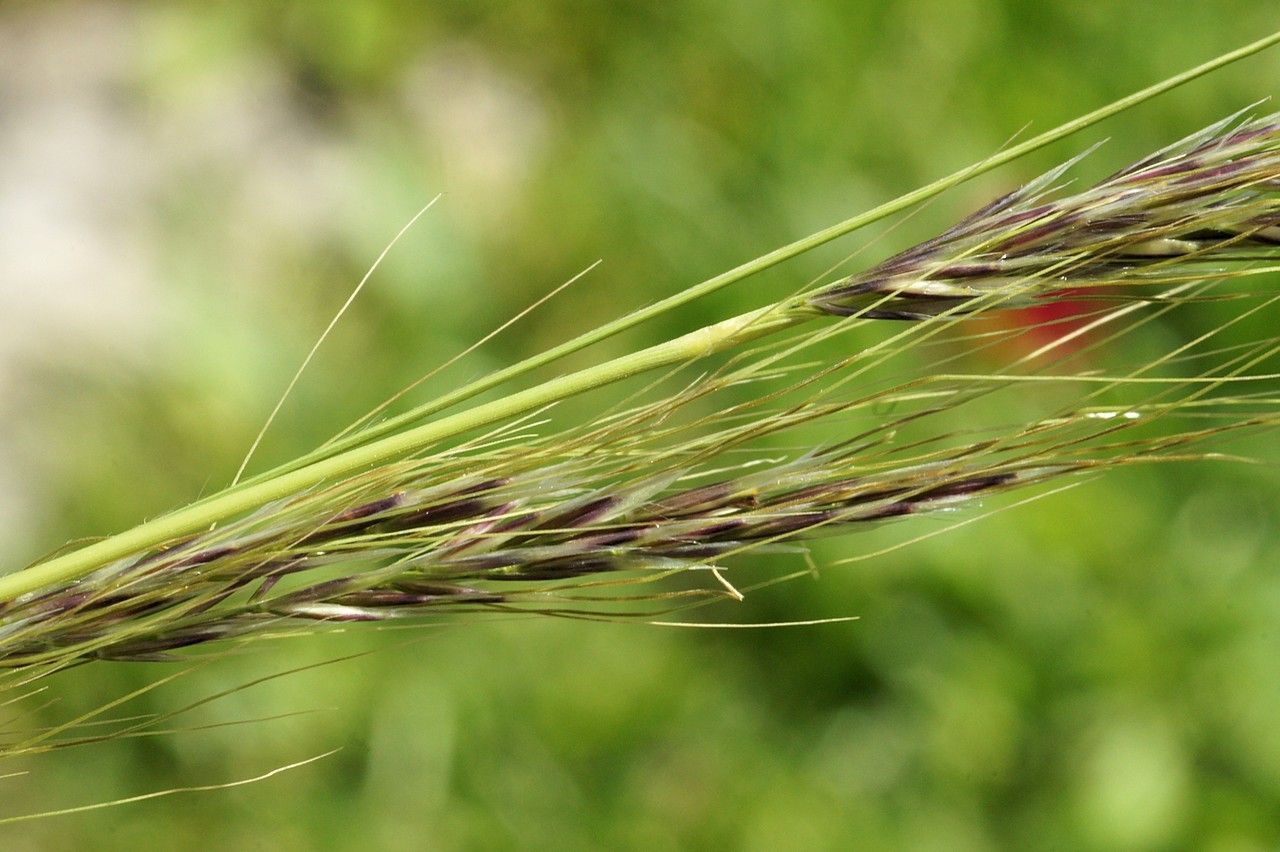
Oh, hello there! I’m so glad you’ve decided to delve into the wonderful world of propagating Amelichloa ambigua. If you’re not already familiar, this elegant grass brings such a lovely texture and movement to any garden. Its delicate, arching stems topped with wispy plumes are just mesmerizing, especially when they catch the breeze. Personally, I find propagating these beauties incredibly rewarding. There’s a special kind of joy in nurturing a tiny cutting or division into a full, thriving plant.
Now, I won’t lie – Amelichloa ambigua isn’t the absolute easiest plant for a complete beginner, but it’s definitely not out of reach! With a little patience and these tips, you’ll be well on your way.
The Best Time to Start
For Amelichloa ambigua, the spring growing season is your golden ticket. This is when the plant is full of vigor, pushing out new growth that’s naturally inclined to root. Aim to take cuttings or divide plants just as they start to actively grow, usually after the last frost has passed and the soil is warming up. You’ll be able to see that fresh, vibrant green emerge, and that’s your cue!
Supplies You’ll Need
Here’s a handy list of what you’ll want to have on hand:
- Sharp, clean pruning shears or a craft knife: Crucial for making clean cuts to minimize stress and disease.
- Rooting hormone (optional but recommended): This can give your cuttings a nice boost. Look for one formulated for woody or herbaceous plants.
- Well-draining potting mix: A good quality mix that includes perlite or coarse sand is essential. You could also try a blend of equal parts peat moss and perlite.
- Small pots or seed trays: Clean ones, of course! Terra cotta pots are lovely as they allow the soil to breathe.
- Watering can with a fine rose or spray bottle: For gentle watering.
- Labels and a marker: You’ll thank yourself later for keeping track of what you’ve planted and when!
- Plastic bag or propagation dome: To create a humid environment around your cuttings.
Propagation Methods
Let’s get our hands dirty with the methods that usually work best for Amelichloa ambigua.
Stem Cuttings
This is my go-to for this lovely grass.
- Select Your Cuttings: Look for healthy, non-flowering stems that are about 4-6 inches long. They should be flexible but not floppy. Using a clean shear or knife, make a cut just below a leaf node. The node is where new roots are most likely to form.
- Prepare the Cuttings: Gently remove the lower leaves, leaving just the top couple of leaves to help with photosynthesis. If your cuttings are very long, you can cut them in half to create more starting points.
- Apply Rooting Hormone (Optional): Dip the cut end of the stem into your rooting hormone powder or gel. Tap off any excess.
- Planting: Fill your small pots with your well-draining potting mix. Make a small hole with your finger or a pencil. Insert the cutting into the hole, ensuring the leaf nodes are buried in the soil. Firm the soil gently around the base of the cutting.
- Water and Cover: Water the soil gently until it’s moist but not soggy. Place a plastic bag or propagation dome over the pot to create a mini-greenhouse. This is key to keeping humidity high, which cuttings need to survive until they can draw water through roots.
Division
If you have an established clump, division is a fantastic and often simpler way to get more plants.
- Unearth the Mother Plant: Carefully dig up the entire clump of Amelichloa ambigua. This is best done in spring.
- Separate the Divisions: Gently tease the roots apart with your hands. If the root ball is very dense, you might need to use your sharp trowel or even a clean spade to carefully slice through the clump. Aim for divisions that have a good amount of roots and a few healthy shoots.
- Replant: Immediately replant the divisions into your prepared pots or directly into their new garden spots. Water them thoroughly.
The “Secret Sauce” (Pro Tips)
Here are a couple of things I’ve learned over the years that really seem to make a difference:
- Don’t Let Leaves Touch the Water (If Doing Water Propagation): While some plants happily root in water, for Amelichloa ambigua stem cuttings, I always use soil. If you were to try water, it’s absolutely crucial that no leaves are submerged. Submerged leaves will rot quickly, taking your cutting with them.
- Bottom Heat is Your Friend: Giving your cuttings a little warmth from below can dramatically speed up root development. A heat mat designed for seedlings placed under your pots will encourage roots to form much faster. It’s like a cozy warm bed for those baby roots!
Aftercare & Troubleshooting
Once your cuttings are planted and cozy in their humid environment, patience is key.
- Check for Roots: After a few weeks, gently tug on a cutting. If you feel resistance, it means roots are forming! You can also look for new growth emerging from the top.
- Acclimatize: Once roots are established, gradually remove the plastic bag or dome for a few hours each day to get the new plants used to normal humidity levels.
- Transplanting: When the new plants have a good root system and are starting to show some upright growth, you can transplant them into slightly larger pots or their permanent garden location.
What if things go wrong? The most common culprit is rot, often caused by too much moisture and not enough air circulation. If you see your cuttings turning mushy or developing dark, waterlogged spots, they’re likely rotting. This usually means the conditions were too wet and humid for too long without enough air exchange. Another sign of failure is if the leaves completely wilt and dry out. This can happen if the cutting dried out too much or if it never managed to form roots. Don’t be discouraged if not every cutting takes; it’s part of the process!
A Little Encouragement
Propagating Amelichloa ambigua is a journey, and like all good gardening endeavors, it requires a bit of love and a lot of patience. Don’t be afraid to experiment, and remember that every gardener has had their share of propagation flops. Celebrate the successes, learn from the setbacks, and most importantly, enjoy the sheer magic of watching new life unfold in your hands. Happy propagating!
Resource: