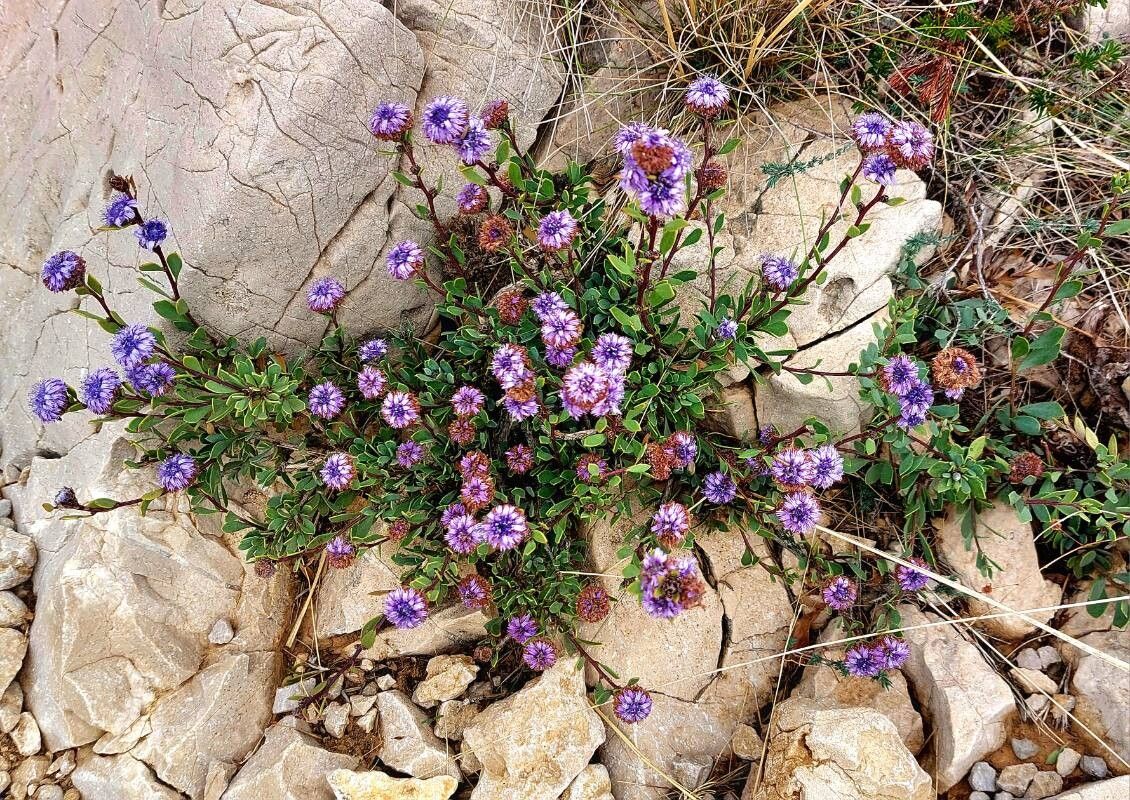
Oh, Globularia arabica! Those darling little blue pom-poms of joy. If you’re looking to add a touch of effortless charm to your garden, this plant is a winner. It’s perfect for Mediterranean gardens, rockeries, or even a sunny container. The best part? It’s surprisingly rewarding to multiply, and I’m here to walk you through it! While not a plant that shouts “beginner,” with a little care, you’ll have a whole clan of these beauties in no time.
The Best Time to Start
My favorite time to get propagating is honestly late spring to early summer. That’s when your Globularia arabica is actively growing, which means it’s full of vigor and ready to put out new roots. You’re looking for stems that are somewhat firm but not woody – think of them as young and full of promise, not old and tired.
Supplies You’ll Need
Gathering your tools beforehand makes the whole process so much smoother, doesn’t it? Here’s what I always have on hand:
- Sharp Pruning Shears or a Clean Knife: We want nice, clean cuts to avoid damage.
- Rooting Hormone (Optional, but helpful!): A little powdery boost can really speed things up.
- Small Pots or Seedling Trays: For your new baby plants to grow in.
- Well-Draining Potting Mix: Something light and airy is key. I often use a blend of peat-free compost, perlite, and a bit of coarse sand. Good drainage prevents dreaded rot!
- Small Pebbles or Grit: For the pots or to place on top of cuttings.
- Plastic Bags or a Propagator Lid: To create a humid environment.
- Watering Can or Mister: For gentle watering.
Propagation Methods
Globularia arabica is a gem that lends itself wonderfully to propagation by stem cuttings. It’s usually the most reliable method for me.
Stem Cuttings
- Take Cuttings: Using your clean shears, snip off softwood or semi-hardwood cuttings that are about 3-4 inches long. Try to get a few sets of leaves on each cutting. I like to make the cut just below a leaf node – that’s where the magic happens for root development.
- Prepare the Cuttings: Gently remove the lower leaves from the cutting, leaving just a couple of sets at the top. This is important to prevent them from rotting in the soil.
- Apply Rooting Hormone (Optional): If you’re using rooting hormone, dip the cut end into the powder. Gently tap off any excess.
- Plant the Cuttings: Fill your small pots or trays with your well-draining potting mix. Make a little hole with your finger or a pencil and insert the cuttings. You can pop a few into one pot, spaced a few inches apart. Gently firm the soil around them. Adding a small layer of grit on top can help keep the base of the cutting dry.
- Water Gently: Give them a good, gentle watering. You want the soil to be moist, but not waterlogged.
The “Secret Sauce” (Pro Tips)
Here are a few little tricks I’ve learned over the years that can make all the difference:
- Bottom Heat is Your Friend: If you can, placing your pots on a heated propagator mat can significantly speed up root formation. It mimics the warmth of spring soil and really encourages those roots to get going.
- Humidity is Key, But Not Soggy: After planting, I like to cover the pots with a clear plastic bag or put them in a propagator with a lid. This creates a humid mini-greenhouse. However, make sure the leaves aren’t touching the plastic. If they are, the condensation can lead to fungal issues. I often use a few small stakes to prop the bag up.
- Watch for the “Tug Test”: Don’t be tempted to yank on your cuttings too early! Wait until you feel a slight resistance when you give them a gentle tug. That’s a good indicator that roots have formed.
Aftercare & Troubleshooting
Once your cuttings have successfully rooted (hooray!), it’s time to treat them like precious little seedlings.
- Gradual Acclimatization: If you’ve had them covered, gradually remove the plastic over a few days to get them used to the drier air.
- Watering: Continue to keep the soil consistently moist but not waterlogged. If you can water from the bottom by sitting the pots in a tray of water for a bit, that’s often best, as it encourages roots to grow downwards.
- Light: Place them in a bright spot, but avoid direct, harsh sunlight for the first few weeks. They’re still delicate!
- Troubleshooting: The most common issue is rot. If you see your cuttings wilting and turning mushy at the base, it’s usually a sign of too much moisture or not enough drainage. Ensure your soil mix is as airy as possible, and try to avoid overwatering. If a cutting looks completely gone, it’s best to remove it to prevent any potential spread of rot to surrounding cuttings.
A Little Patience Goes a Long Way
Growing plants from cuttings is a beautiful cycle. It takes a bit of patience, a keen eye, and a willingness to learn. Don’t be disheartened if not every cutting takes; it’s all part of the gardening journey. Each successful propagation is a little victory, and soon you’ll have a thriving collection of your beloved Globularia arabica to enjoy and even share with friends. Happy growing!
Resource:
https://identify.plantnet.org/k-world-flora/species/Globularia%20arabica%20Jaub.%20&%20Spach/data