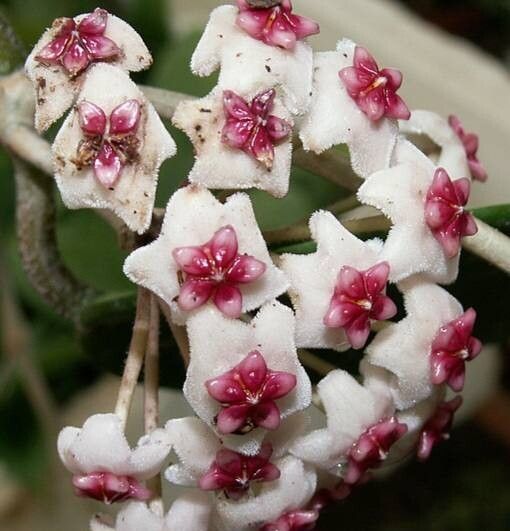
Oh, Hoya obovata! If you’ve ever admired those gorgeous, thick, waxy leaves, often splashed with silvery variegation, you know why these beauties are so beloved. They’re real stunners that add a touch of elegance to any home. And the best part? They are genuinely a joy to propagate. It’s one of those plants that feels incredibly rewarding to grow from a tiny cutting. Honestly, if you’re new to the plant-parenting game, the obovata is a fantastic one to start your propagation journey with. It’s quite forgiving!
The Best Time to Start
When is the happiest time for your Hoya obovata to get going? Spring and early summer are your absolute sweet spots. This is when the plant is in its most vigorous growth phase, making it more likely to produce strong roots. I tend to avoid propagating in the dead of winter when growth slows to a crawl. You can, of course, propagate any time of year indoors with good light and warmth, but you’ll really see an extra boost when you go with the natural flow of the seasons.
Supplies You’ll Need
Gathering your supplies before you begin makes the whole process so much smoother. Here’s what I usually have on hand:
- Sharp, clean pruning shears or a sharp knife: Essential for making clean cuts.
- A small trowel or dibber: For making holes in your potting mix.
- Clear plastic bag or a propagation dome: To create a humid environment.
- Perlite or coarse sand: To improve drainage in your potting mix.
- Hoya-specific potting mix or a blend of peat moss, perlite, and orchid bark: Good drainage is key!
- Small pots or propagation trays: About 3-4 inches are perfect for cuttings.
- Rooting hormone (optional but helpful): A powdery or gel form can speed things up.
- Water: For water propagation.
Propagation Methods
Let’s get our hands dirty! There are a couple of really effective ways to get more Hoya obovatas.
Stem Cuttings: My Go-To
This is my favorite method for Hoya obovata. It’s straightforward and offers a high success rate.
- Find a healthy stem: Look for a piece of stem that has at least two to three nodes. A node is that little bump on the stem where a leaf grows from. This is where the magic happens and roots will form.
- Make your cut: Using your sharp, clean shears, cut the stem about an inch below a node.
- Prepare the cutting: Gently remove the lower leaves, leaving just the top one or two. This prevents them from rotting when planted.
- Apply rooting hormone (optional): If you’re using it, dip the cut end into the rooting hormone, tapping off any excess.
- Plant your cutting: Fill your small pot with your well-draining potting mix. Use your trowel or dibber to make a small hole. Gently insert the cut end of the stem into the hole, ensuring at least one node is buried. Firm the soil gently around the stem.
- Water lightly: Give the soil a gentle watering. You want it moist, not soggy.
- Create humidity: Place the pot inside a clear plastic bag, sealing it loosely, or cover it with a propagation dome. This traps humidity around the cutting, which is crucial for root development. Pop it in a bright spot with indirect sunlight.
Water Propagation: A See-Through Success
If you like to watch things grow, this is for you!
- Prepare your cutting: Follow steps 1-3 from the stem cutting method. Make sure to leave those upper leaves!
- Place in water: Get a clean jar or glass and fill it with room-temperature water. Place the cutting in the water, ensuring that the nodes are submerged but the leaves are above the water line. This is super important to prevent rot.
- Location, location, location: Put the jar in a bright spot with indirect light.
- Change the water: Change the water every few days, or whenever it starts to look cloudy. This keeps things fresh and prevents bacteria buildup.
- Watch for roots! You’ll start to see tiny white roots emerging from the nodes. Once these roots are about an inch long, you can transplant them into soil.
The “Secret Sauce” (Pro Tips)
After years of nurturing these plants, I’ve picked up a few tricks that make a world of difference.
- Don’t be afraid of a “bare node”: Even if your cutting doesn’t have leaves below the node you bury, that’s perfectly okay! The node itself is what contains the magic for root growth. It’s the buried node that will ultimately send out roots.
- Bottom heat is your friend: If you can, place your potted cuttings on a seedling heat mat. This gentle warmth from below mimics springtime soil temperatures and can significantly speed up root formation. It’s like a cozy little spa day for your cuttings.
- Patience, dear gardener, patience: I know it’s tempting to peek constantly, but resist the urge! Let your cuttings get established. You’ll know they’re rooting when you give the stem a very gentle tug and feel resistance, or when you see new leaf growth emerging.
Aftercare & Troubleshooting
Once you see those beautiful roots forming – congratulations! Now it’s time for the next stage.
- Transitioning to soil (from water propagation): When your water-propagated cuttings have developed about an inch of roots, gently transplant them into your chosen potting mix. Water them thoroughly once after potting to help settle the soil.
- Ongoing care for new cuttings: Once potted, continue to keep the soil moderately moist without waterlogging. Maintain that high humidity by keeping them in their plastic bag or under a dome for a few more weeks. Gradually introduce them to brighter light as they grow.
- Troubleshooting – The Dreaded Rot: The most common issue is rot, usually caused by too much moisture or poor drainage. If your cutting turns mushy, black, or smells bad, it’s likely rotted. Discard it and start again, making sure your soil drains well and you’re not overwatering. Sometimes, a rotting stem portion can be cut off, and the healthier upper part can be tried again, but act fast!
A Little Encouragement to Finish
Propagating Hoya obovata is such a rewarding experience. It’s a beautiful way to share your love for these plants and multiply your own collection without breaking the bank. Be patient with your cuttings, celebrate every tiny root and new leaf, and most importantly, enjoy the process! Happy growing!
Resource:
https://identify.plantnet.org/k-world-flora/species/Hoya%20obovata%20Decne./data