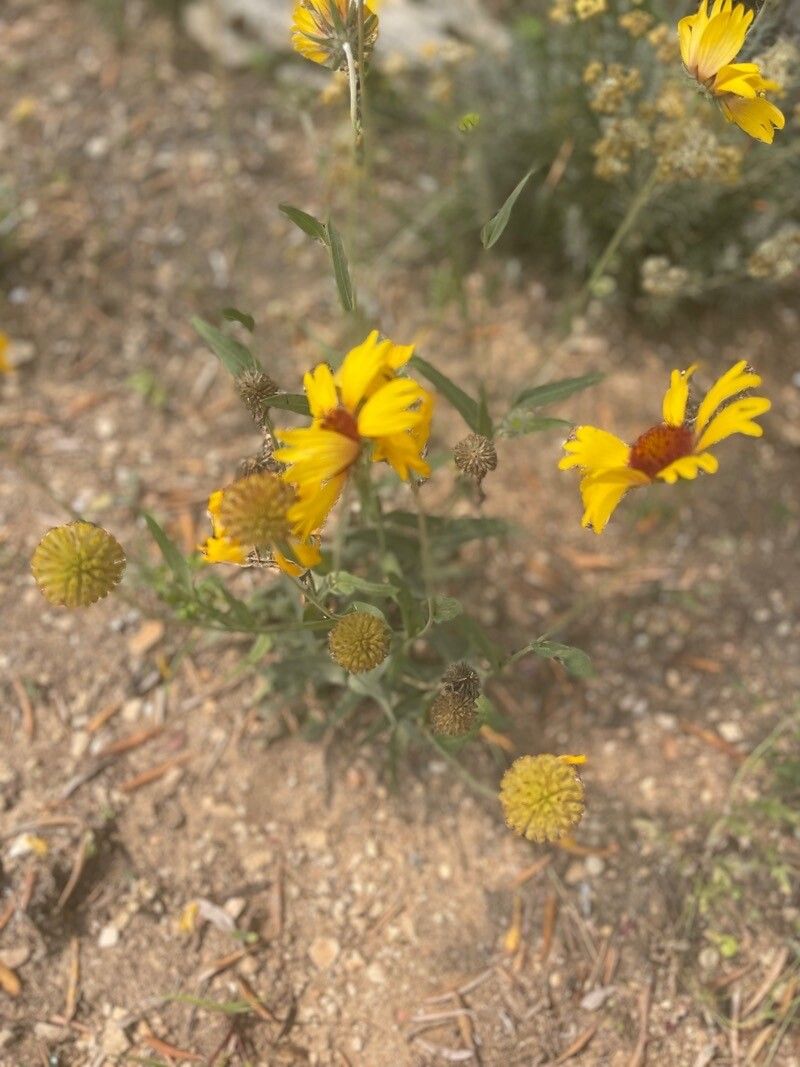
Oh, Helen, are we talking about Helenium elegans? Wonderful choice! These cheerful ‘sneezeweeds’ bring such a lovely burst of color to the late summer and fall garden. Their warm yellows, oranges, and reds are like little sunshine rays when the days start to shorten. Getting more of these beauties is absolutely rewarding, and I’m happy to say, they’re generally quite forgiving and a great plant for beginner propagators. Think of it as giving the gift of garden joy to yourself, and maybe even to your friends!
The Best Time to Start
For Helenium elegans, the sweet spot for propagation is definitely spring. As the weather warms up and your established plants are starting to put on vigorous new growth, that’s your golden window. You want to find those lovely, tender young shoots. Trying to propagate from older, woody stems just won’t give you the same success rate.
Supplies You’ll Need
Here’s what I usually gather before I dive in:
- Sharp pruning shears or a clean knife: For taking nice, clean cuts.
- Potting mix: A light, well-draining mix is key. I often use a blend of peat moss or coco coir, perlite, and a bit of compost.
- Small pots or seed trays: Clean pots are a must to prevent disease.
- Rooting hormone (optional but recommended): This really gives cuttings a boost.
- Plastic bags or a propagation dome: To create a humid environment.
- Watering can with a fine rose: For gentle watering.
- Labels and a marker: So you don’t forget what you’ve planted!
Propagation Methods
Now, let’s get our hands dirty! For Helenium elegans, division is often the easiest and most successful method, especially for beginners.
Division
This is best done in early spring when the plant is just waking up.
- Gently dig up the clump: Use a garden fork or spade to carefully lift the entire plant from the ground. Try to disturb the roots as little as possible.
- Clean off excess soil: You can gently shake some of the soil away, or even rinse the roots with water if they’re quite muddy. This helps you see the individual crowns.
- Separate the clumps: Look for natural divisions. You’ll see where new shoots have emerged from the base of older stems. You can usually pull these apart with your hands. If they’re stubborn, use a clean, sharp knife or a trowel to cut through any tangled roots. Aim for divisions that have at least one or two healthy shoots and a good chunk of root attached.
- Replant: Immediately replant your divisions into their new homes, whether that’s back in your garden beds or into pots for later transplanting. Water them in well.
While division is my go-to for Helenium, you can try stem cuttings, but they are a bit more finicky.
- Take cuttings: In late spring or early summer, when the plant has plenty of new, non-flowering growth, find a healthy stem. Make a cut just below a leaf node (where a leaf attaches to the stem), about 4-6 inches long. Remove the lower leaves, leaving just a few at the top.
- Apply rooting hormone: Dip the cut end into rooting hormone, tapping off any excess.
- Insert into potting mix: Make a hole in your prepared potting mix with a pencil or dibber and gently insert the cutting. Firm the mix around the stem.
- Create humidity: Water the pot gently and then cover the whole thing with a plastic bag or a propagation dome. Make sure the leaves don’t touch the sides of the bag.
- Provide warmth: Place the pot in a warm spot, but out of direct sunlight.
The “Secret Sauce” (Pro Tips)
Here are a couple of things I’ve learned over the years that often make a big difference:
- When dividing, don’t be afraid to get quite aggressive with your cuts. As long as each piece has roots and a viable bud or two, it’ll bounce back. Sometimes breaking them apart by hand can be too gentle and leave flimsy roots.
- For stem cuttings, bottom heat is your best friend. Placing your pots on a heated propagation mat really encourages root formation. It gives the plant a signal that it’s time to grow those roots!
Aftercare & Troubleshooting
Once your new plants are potted up (whether from division or successful cuttings), keep them well-watered but not soggy. For cuttings, once you see new leaf growth, that’s a good sign roots are forming. Gradually acclimate them to drier air by opening the plastic bag or dome a little each day over a week before removing it entirely.
The most common sign of failure is rot. If your cuttings look brown, mushy, or just wilt and don’t recover, that’s usually a sign of too much moisture and not enough air circulation. With divisions, if they don’t start showing new growth after a few weeks, and the stems are mushy, rot may have set in. Make sure your soil drains exceptionally well!
A Encouraging Closing
Don’t get discouraged if every single attempt doesn’t work out perfectly right away. Gardening is all about learning and trying. The joy of seeing those first tiny new leaves unfurl or watching a divided clump thrive is truly special. Be patient with your little Heleniums, and enjoy the process of helping them grow! Happy gardening!
Resource:
https://identify.plantnet.org/k-world-flora/species/Helenium%20elegans%20DC./data