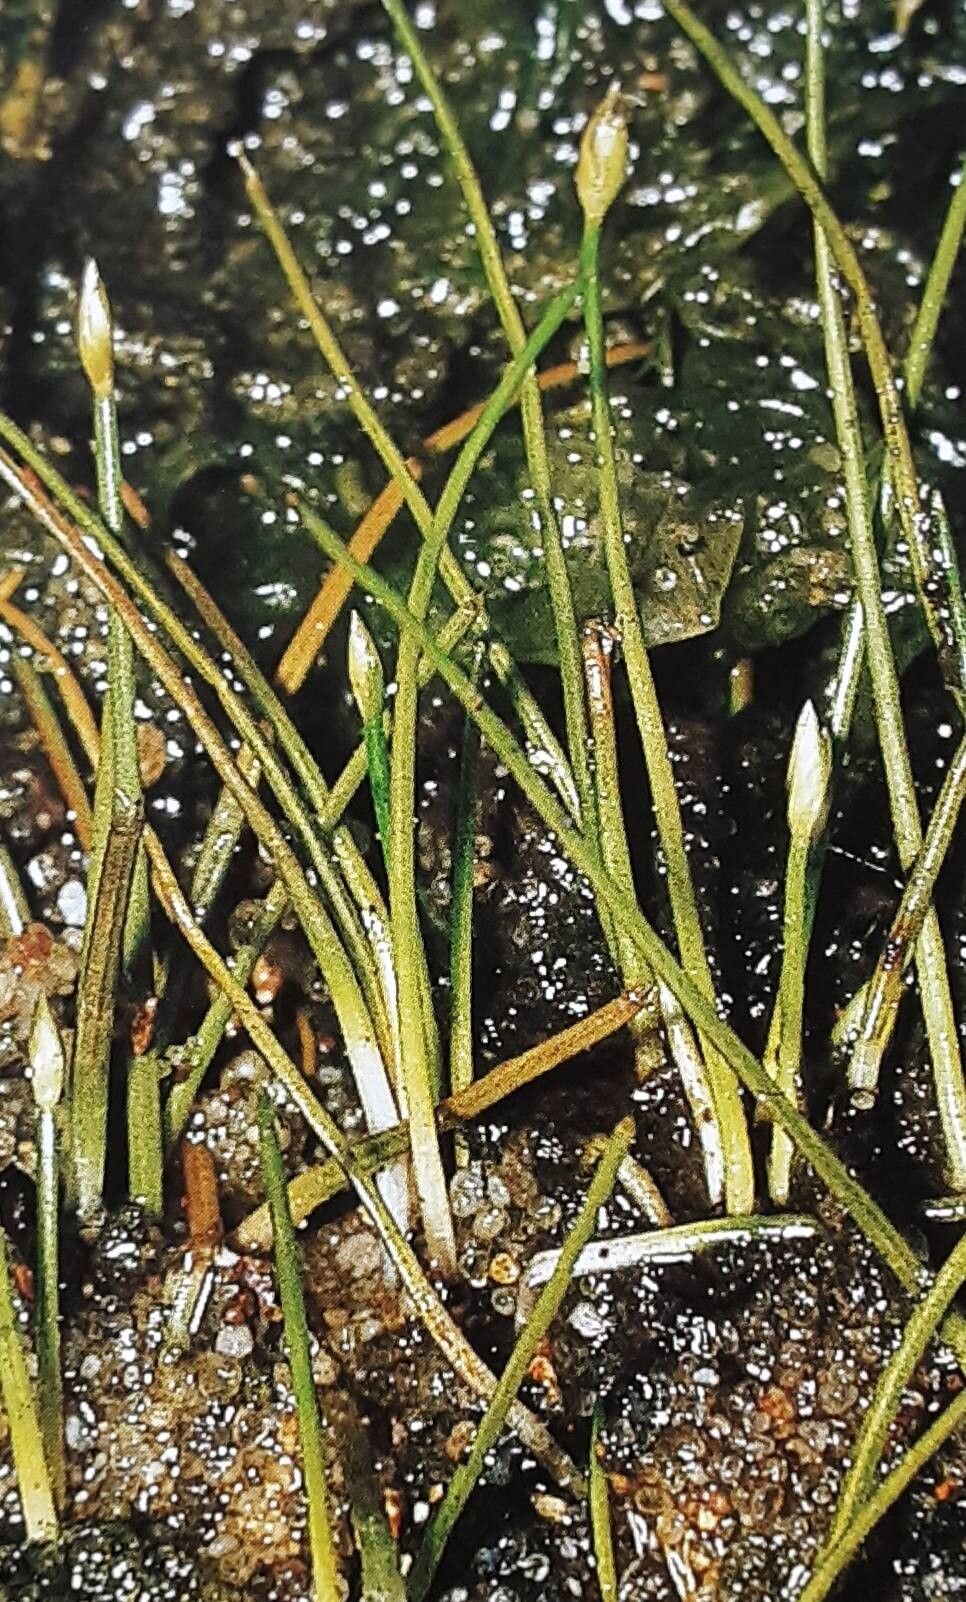
Oh, hello there! Glad you dropped by. Today, we’re diving into a little green gem that brings so much charm to aquascapes and even small terrestrial pots: Eleocharis parvula. You might know it by its common names like dwarf hairgrass or pygmy spike-rush. It’s that delicate, clumping grass that just makes everything look so wonderfully natural and serene.
Propagating your own Eleocharis parvula is a fantastic way to expand your collection or share the joy with fellow plant enthusiasts. It’s genuinely one of those plants that feels incredibly rewarding to multiply. And the best part? I’d say it’s a pretty forgiving plant, making it a lovely choice for beginners looking to dip their toes into propagation. You’ve got this!
The Best Time to Start
For the highest success rate with Eleocharis parvula, I always recommend starting during its active growing season. This generally means spring and summer for most of us. You’ll see the plant really putting on new growth, pushing out runners, and generally looking vibrant and healthy. Trying to propagate when the plant is stressed or dormant is just setting yourself up for a bit of disappointment. Look for shoots that are a good few inches tall.
Supplies You’ll Need
Gathering your tools beforehand makes the whole process smoother. Here’s what I usually keep on hand:
- Sharp Pruning Shears or Scissors: Clean cuts are key.
- Small Pots or Trays: For housing your new divisions.
- Well-Draining Potting Mix: For terrestrial propagation, a mix of peat, perlite, and sand works wonders. You can also use a sand/gravel mix for aquatic setups.
- Water: Fresh, dechlorinated water is best.
- Optional: Rooting Hormone (Powder or Gel): While Eleocharis parvula is pretty good at rooting on its own, a little help never hurts, especially if you’re a bit impatient.
Propagation Methods
There are a couple of simple ways to get more Eleocharis parvula, and for this particular plant, division is usually your go-to method. It’s incredibly effective because the plant naturally forms dense clumps.
Method: Division
This method is all about gently separating a healthy, established clump into smaller, viable pieces.
- Gently Extract the Plant: Carefully remove your Eleocharis parvula from its current pot or substrate. If it’s in an aquarium, you might need to gently pull sections of it free from the substrate, ensuring you get a good portion of the root system with each piece.
- Inspect the Roots: Gently shake off any excess soil. You’ll notice the plant grows in interconnected runners. Look for natural points where you can separate the clump.
- Divide the Clump: Using your clean pruners or even just your fingers, carefully pull or cut the clump into smaller sections. Aim for pieces that have a decent amount of foliage and, importantly, some roots attached. Don’t be afraid to be a little firm, but try to avoid tearing the roots too aggressively.
- Prepare for Planting: Decide if you’re going to replant it directly into a pot or substrate, or if you’re going to start it in water first (which is also a great option for this plant!).
Alternative (for aquatic setups): Using Runners
If your Eleocharis parvula is thriving in an aquarium, you’ll often see it sending out little runners with baby plants at the end.
- Identify Runners: Keep an eye out for these delicate runners extending from the main plant.
- Allow Development: Let the baby plants develop a few leaves and some roots on the runner.
- Pinch or Cut: Once they look like they have a good start, you can gently pinch or snip the runner to separate the new plantlet from the mother plant.
- Plant: You can then plant these little guys directly into your substrate, or let them float for a bit to grow more roots before planting.
The “Secret Sauce” (Pro Tips)
After years of coaxing plants to grow, a few little tricks emerge.
- Don’t Overcrowd: When dividing, resist the urge to make the pieces too small. Bigger divisions with more foliage and roots have a much higher chance of success. Think of it as giving each new baby plant a strong start right out of the gate.
- Patience with Water: If you’re rooting divisions in water before planting, don’t let the leaves touch the water. Submerged foliage tends to rot. Just let the roots dangle in the water. A shallow dish or a small glass is perfect for this.
- Gentle Acclimation (if moving aquatic to terrestrial): If you’re moving a plant that’s been submerged to a terrestrial pot, take it slow. They can be a bit sensitive to drastic changes in humidity and environment. Start by keeping the soil consistently moist, almost bog-like, for the first week or two.
Aftercare & Troubleshooting
Once your new Eleocharis parvula is planted, give it some love!
- Moisture is Key: Whether in soil or water, keep it consistently moist. For potted plants, this means regular watering, not letting the soil dry out. For aquatic plants, ensure it’s submerged in clean water.
- Light Levels: Eleocharis parvula loves bright, indirect light. Too little light and it will become leggy and pale. Too much direct sun can scorch it.
- Watch for Rot: The most common sign of trouble is rot. This usually happens when the plant is kept too wet and doesn’t have enough air circulation, or if submerged leaves are left in the water. If you see mushy, browning foliage, clean up the affected parts. Sometimes, these little guys can bounce back with good care. If a whole division is completely mushy, it might be time to try again with another piece.
There you have it! Propagating Eleocharis parvula is a straightforward and deeply satisfying way to connect with your plants. Don’t get discouraged if a piece doesn’t make it; it’s all part of the learning process. Just keep trying, keep observing, and most importantly, enjoy the journey of green thumbs unfolding. Happy propagating!
Resource: