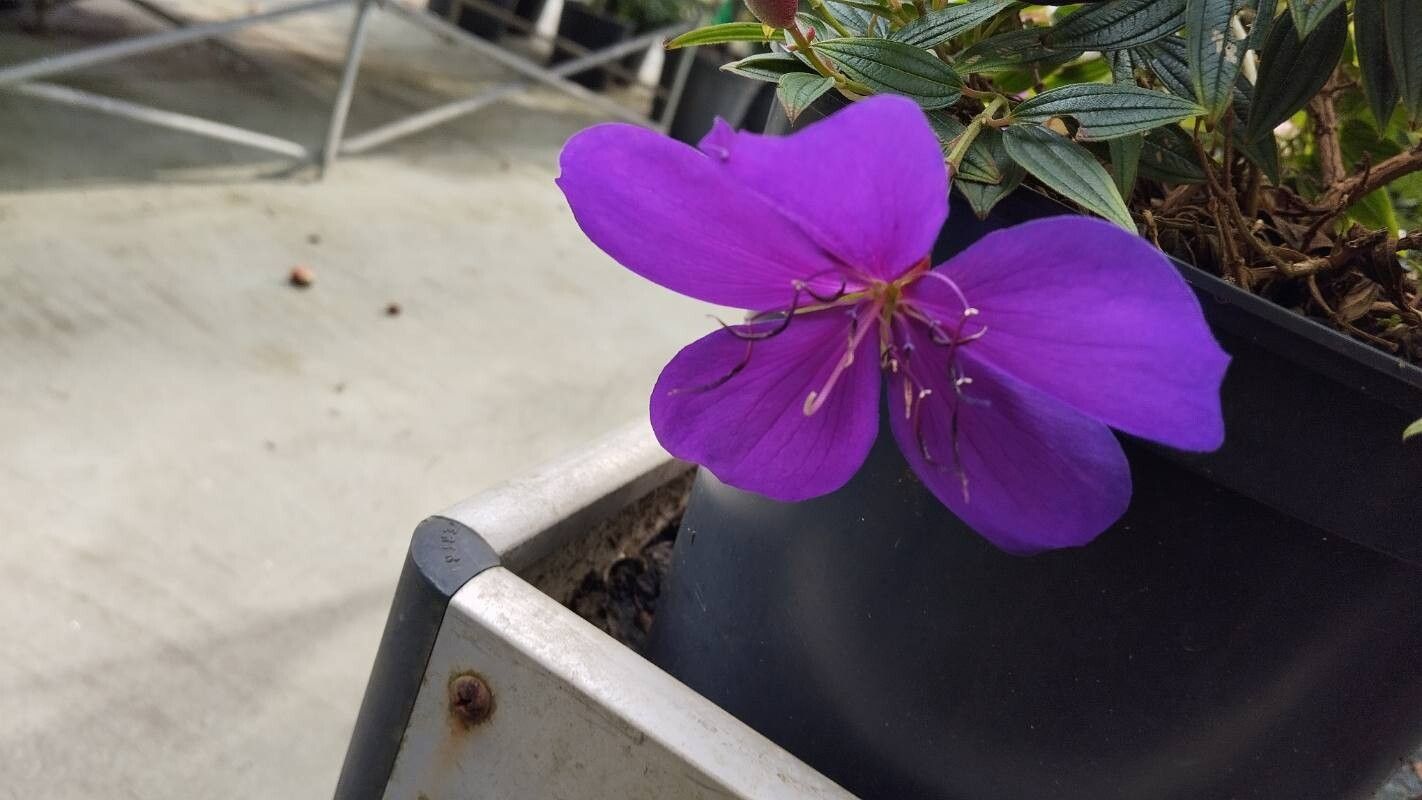
Oh, Pleroma mutabile! If you’ve ever seen one of these stunning beauties in full bloom, you know what I’m talking about. Those vibrant, often violet-blue flowers just pop, and the glossy green leaves provide a lovely backdrop. Plus, they often boast a wonderfully sweet fragrance. Growing them from scratch? It’s incredibly rewarding. You get to witness that miracle of new life unfold right before your eyes, and soon you’ll have more of these beauties to share or fill your own garden. For beginners, I’d say Pleroma mutabile falls into the “moderately easy” category. With a little patience and the right approach, you’ll be handsomely rewarded.
The Best Time to Start
Generally, the spring is your golden window for propagating Pleroma mutabile. After the plant has finished its major flush of growth, or even during active growth but before it gets too hot, is ideal. This allows those new cuttings to establish themselves in cooler temperatures and less intense sun, giving them a real head start. Think late spring into early summer.
Supplies You’ll Need
Gathering your supplies before you begin makes the whole process much smoother. Here’s what I find most helpful:
- Sharp pruning shears or a clean knife: For taking clean cuts.
- A rooting hormone powder or gel: This isn’t strictly necessary for all plants, but it can significantly boost your success rate, especially with Pleroma.
- A well-draining potting mix: A good blend of perlite, peat moss, and a bit of compost works wonders. You can also buy specialized cuttings mixes.
- Small pots or seed trays: With drainage holes, of course!
- A plastic bag or propagation dome: To create a humid environment.
- Watering can or mister: For gentle watering.
Propagation Methods
While Pleroma mutabile can be grown from seed, stem cuttings are my preferred and most reliable method for home gardeners.
Stem Cuttings:
- Choose your parent plant wisely: Select a healthy, vigorous Pleroma that’s free from pests and diseases.
- Take the cuttings: Using your clean pruners, select non-flowering, semi-hardwood stems – those that are a little woody but still a bit flexible. Look for stems that are about 4-6 inches long. Make a clean, angled cut just below a leaf node (where a leaf attaches to the stem). This is where roots are most likely to form.
- Prepare the cuttings: Gently remove the lower leaves from the cutting, leaving just a couple of sets of leaves at the top. If the remaining leaves are very large, you can even cut them in half to reduce water loss.
- Apply rooting hormone: Dip the cut end of the stem into your rooting hormone powder or gel. Tap off any excess.
- Plant the cuttings: Fill your pots or trays with your prepared potting mix. Make a hole in the center with your finger or a pencil and carefully insert the cutting, ensuring the hormone-treated end is covered by the soil. Gently firm the soil around the stem.
- Water them in: Water the soil thoroughly but gently, allowing excess water to drain away.
- Create a humid environment: Cover the pots with a plastic bag (propping it up with sticks so it doesn’t touch the leaves) or place them under a propagation dome. This traps humidity, which is crucial for cuttings to root.
- Find a good spot: Place the pots in a bright location but out of direct sunlight. Warmth is beneficial, so a sunny windowsill that doesn’t get too hot, or a spot near a heat mat, is perfect.
The “Secret Sauce” (Pro Tips)
- Don’t overcrowd: Give your cuttings a bit of space. Too many in one pot can increase the risk of mold and disease spreading if one goes bad.
- Bottom heat is your friend: If you have a seedling heat mat, placing your pots on top of it can make a world of difference. It encourages root development from the bottom up, speeding up the process.
- Watch for mist or condensation: If you’re using a plastic bag, you’ll see condensation. This is good! It means the humidity is right. If you see too much, open the bag for a little while to let it air out.
Aftercare & Troubleshooting
Once your cuttings have rooted – usually after 4-8 weeks, though it can take longer – you’ll start to see new leaf growth. You can gently tug on a cutting; if there’s resistance, roots are forming!
- Gradual acclimatization: Once roots appear, slowly start to reduce the humidity by opening the bag or dome a bit more each day. This helps the new plants adjust to normal conditions.
- Watering: Keep the soil consistently moist but not waterlogged. Overwatering is actually a more common mistake than underwatering at this stage.
- Transplanting: When your cuttings have a good root system and are showing healthy new growth, you can transplant them into individual pots.
If things aren’t going as planned, don’t despair! The most common issue I see is rot, which is usually caused by too much moisture and not enough air circulation. If a cutting turns black and mushy, it’s usually a goner. Don’t be afraid to toss it and try again! Sometimes, cuttings just don’t take, and that’s part of the gardening journey.
A Encouraging Closing
Propagating Pleroma mutabile is a wonderful way to expand your collection and share these gorgeous plants. Be patient with your new little babies, and trust your instincts. Enjoy watching them grow – that’s the best part of it all! Happy gardening!
Resource:
https://identify.plantnet.org/k-world-flora/species/Pleroma%20mutabile%20(Vell.)%20Triana/data