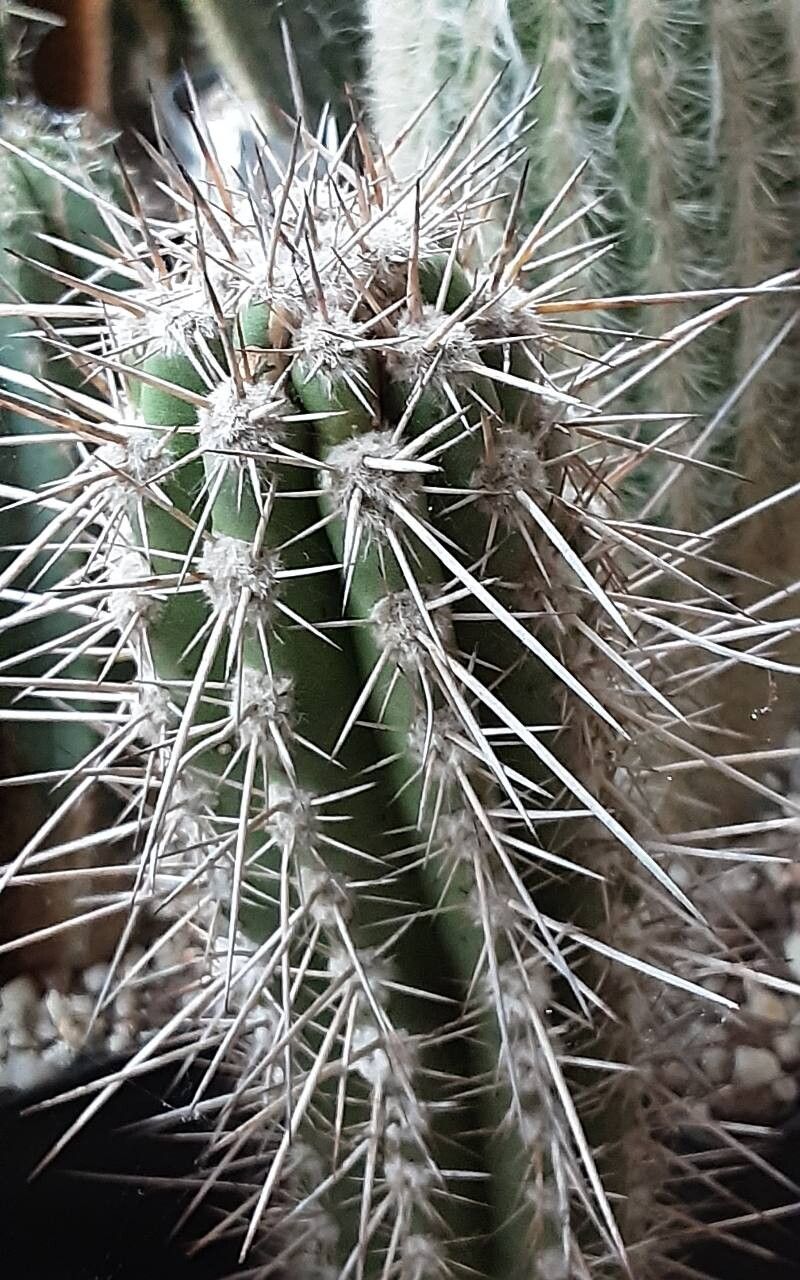
Hello, fellow plant lovers! It’s so wonderful to be sharing another gardening adventure with you. Today, we’re diving into the world of Eulychnia iquiquensis, a cactus that truly captivates with its unique segmented stems and architectural form. Growing these beauties from scratch is an incredibly rewarding experience, and I’m here to guide you every step of the way. If you’re looking for a bit of a challenge with a stunning payoff, this is the plant for you!
The Best Time to Start
For Eulychnia iquiquensis, the sweet spot for propagation is typically during its active growing season. This is usually in late spring to early summer. You’ll want to take cuttings when the plant is healthy and showing signs of new growth. Avoid propagating during the plant’s dormant period in winter, as it will be much less inclined to root.
Supplies You’ll Need
Gathering your tools beforehand makes the whole process so much smoother. Here’s what I recommend:
- Sharp, clean pruning shears or a sharp knife: Essential for making clean cuts to prevent disease.
- Gloves: Cacti can be prickly, so protect your hands!
- A well-draining propagation mix: I like a blend of perlite, coarse sand, and a little bit of cactus soil. Avoid heavy, water-retentive mixes.
- Small pots or seedling trays: Ensure they have drainage holes.
- Rooting hormone (optional but recommended): This provides a little boost to encourage root development.
- Small trowel or dibble stick: For making planting holes.
- Watering can with a fine rose or spray bottle: For gentle watering.
- Labels: To keep track of your new plant babies!
Propagation Methods
Let’s get our hands dirty! Eulychnia iquiquensis is most commonly propagated from stem cuttings.
- Taking the Cutting: Choose a healthy stem segment. Using your clean pruning shears or knife, make a firm, decisive cut. Aim for a segment that is at least 3-5 inches long. It’s usually best to take cuttings from the top portions of the plant, where growth is most vigorous.
- Callusing: This is a crucial step for cacti. Lay your cutting on a dry surface, away from direct sunlight, for several days to a week. The cut end needs to dry out and form a callus. This prevents rot when you plant it. You’ll see the cut surface become dry and hardened.
- Rooting Hormone (Optional): Once callused, you can dip the cut end of the stem into rooting hormone powder. Tap off any excess.
- Planting the Cutting: Fill your small pots or trays with your well-draining propagation mix. Using a dibble stick or your finger, create a hole in the soil deep enough to support the cutting. Gently insert the callused end of the cutting into the hole. Firm the soil gently around the base to keep it upright.
- Initial Watering: Wait a day or two after planting before giving it its first watering. When you do water, do so very sparingly. You can either gently pour water around the base of the cutting or use a spray bottle to mist the soil surface. The key here is not to overwater.
The “Secret Sauce” (Pro Tips!)
Here are a few little tricks I’ve learned over the years that can really make a difference:
- Give it a little warmth: Cacti love a bit of heat to get things going. Placing your pots on a seedling heat mat set to a low temperature (around 70-75°F) can significantly speed up root formation. You’ll want to keep the soil just slightly warm.
- Don’t rush the drying: I know it’s tempting to plant those cuttings as soon as you get them, but that callusing period is non-negotiable for cacti. Patience here will save you from a lot of heartache and rot.
- Air circulation is your friend: Once planted, ensure your cuttings have good air circulation. This helps prevent fungal issues. If you’re covering them loosely with a plastic bag (which I generally don’t recommend for cacti unless you have a very arid climate and are super careful with watering), make sure to vent it daily.
Aftercare & Troubleshooting
Once your cutting has started to develop roots – and you can usually tell by gently tugging on it and feeling resistance, or by seeing new growth – you can begin to water a little more regularly. Water only when the soil is completely dry to the touch. Continue to provide bright, indirect light.
The most common issue you’ll encounter is rot. If your cutting starts to look mushy, discolored, or collapses, it’s likely succumbed to rot. This is usually due to overwatering or insufficient callusing. If you catch it early, you might be able to cut away the rotted parts and re-callus. If your cutting simply refuses to root after several weeks or months, it might just not have been viable, or the conditions weren’t quite right. Don’t get discouraged; propagation is an experiment!
So there you have it! A journey into propagating your own Eulychnia iquiquensis. Remember, gardening is all about connection with nature and the joy of watching something grow. Be patient with your new charges, celebrate every tiny sign of progress, and most importantly, enjoy the process of bringing these magnificent cacti into being. Happy propagating!
Resource: