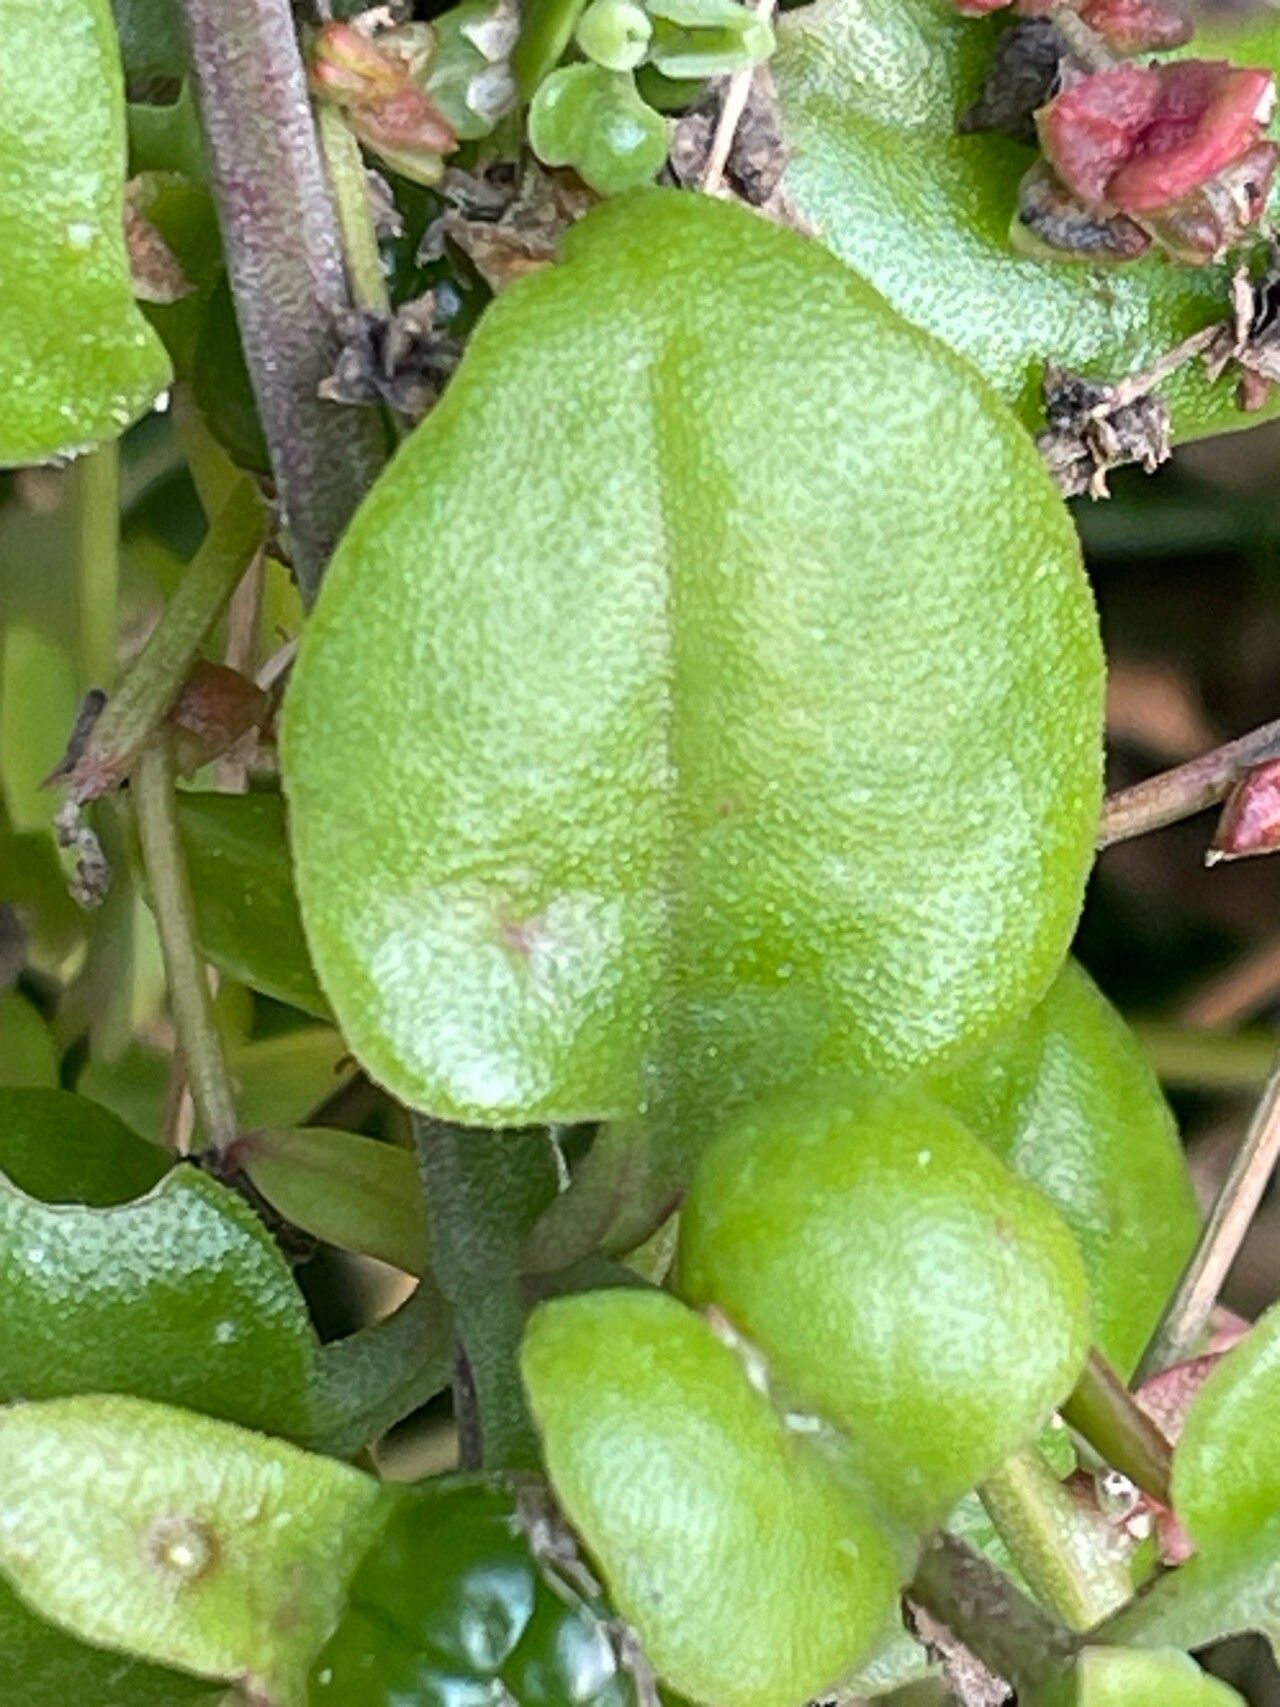
Hello, fellow plant enthusiasts! Today, we’re diving into the delightful world of propagation with a plant that brings a burst of color and cheerful charm to any garden or home: Mesembryanthemum cordifolium, often also called Heartleaf Ice Plant.
Why Propagate This Cheerful Fellow?
I’ve always had a soft spot for these ground cover darlings. With their trailing stems and masses of bright, daisy-like flowers in shades of pink, purple, and orange, they’re like a little piece of sunshine. Propagating them is a fantastic way to expand your collection for free, share them with friends, or even fill in those tricky bare spots in your landscape. And the best part? For beginners, this plant is wonderfully forgiving! You’ll likely have great success without pulling your hair out.
The Best Time to Start
My go-to season for propagating Mesembryanthemum cordifolium is late spring through early summer. This is when the plant is actively growing and has plenty of vigorous, healthy stems to work with. Starting during this growth spurt means your cuttings will have the best chance of rooting quickly and establishing themselves before cooler weather arrives.
Supplies You’ll Need
Before we get our hands dirty, let’s gather what we need:
- Sharp Pruning Shears or a Clean Knife: For making clean cuts.
- Well-Draining Potting Mix: A cactus or succulent mix is ideal, or you can create your own by mixing equal parts perlite and potting soil.
- Small Pots or Seedling Trays: With drainage holes, of course! About 3-4 inches in size works well.
- Rooting Hormone (Optional but Recommended): A powder or gel can speed up the process and improve success rates.
- Watering Can or Spray Bottle: For gentle watering.
- Labels and a Marker: To keep track of your new babies!
- A Small Shovel or Trowel: For filling pots.
Propagation Methods: Let’s Get Growing!
Mesembryanthemum cordifolium is a joy to propagate because it’s so accommodating. Here are my favorite ways:
1. Stem Cuttings: The Classic Choice
This is my absolute favorite, and it’s incredibly effective.
- Take Stem Cuttings: Gently bend a healthy stem away from the main plant. You’re looking for a section that’s about 3-4 inches long and has at least a few leaves. Use your sharp shears or knife to make a clean cut just below a leaf node (where a leaf attaches to the stem).
- Prepare the Cuttings: Carefully remove the lower leaves from the cutting, leaving just a few at the top. This prevents them from rotting when placed in soil or water.
- Apply Rooting Hormone (Optional): If you’re using rooting hormone, dip the cut end of the stem into the powder or gel. Tap off any excess.
- Plant Them Up: Fill your small pots with the well-draining potting mix. Make a small hole in the center of the soil with your finger or a pencil.
- Insert the Cuttings: Gently place the cut end of each prepared stem into the hole. Firm the soil gently around the base of the cutting to ensure good contact.
- Water Lightly: Water the soil thoroughly but gently. You want the soil to be moist, not waterlogged.
2. Water Propagation: For the Patient Watcher
This method lets you visually track your progress, which I find quite satisfying.
- Prepare Cuttings: Follow steps 1 and 2 from the stem cutting method above.
- Place in Water: Fill a small vase or jar with fresh water. Place the prepared cuttings into the water, ensuring that no leaves are submerged. This is crucial to prevent rot!
- Find a Bright Spot: Set the container in a location that receives bright, indirect light.
- Change Water Regularly: Change the water every few days to keep it fresh and prevent bacterial growth. You’ll start to see tiny roots emerge from the nodes within a couple of weeks.
- Pot Them Up: Once the roots are about an inch long, gently transplant them into pots filled with your well-draining potting mix.
The “Secret Sauce” (Pro Tips)
Here are a few tricks I’ve learned over the years that can really help your cuttings thrive:
- “Air Dry” Your Cuttings: After making your stem cuttings and removing the lower leaves, I like to let them sit for a day or two in a cool, dry place. This allows the cut end to callus over, which can significantly reduce the risk of rot once you plant them.
- Bottom Heat is Your Friend: If you have a propagation mat or can place your pots on a warm windowsill (not direct hot sun!), gentle bottom heat can absolutely speed up root development. It mimics ideal growing conditions.
- Don’t Overwater! This is the most common mistake beginners make. These plants are succulents, and they hate soggy feet. Allow the soil to dry out slightly between waterings.
Aftercare & Troubleshooting
Once your cuttings have rooted – you’ll see new growth appearing, or feel a gentle tug when you lightly pull on a stem – it’s time for slightly more involved care.
- Gradual Acclimation: If you water-propagated, gently transition your rooted cuttings to soil. If you soil-propagated, continue to water sparingly. The goal is consistently moist but not wet soil.
- Light Levels: Once rooted, they appreciate plenty of bright light, but avoid scorching direct sun for the first few weeks.
- Watch for Rot: The biggest enemy here is overwatering, which leads to stem rot. If you see your cuttings turning mushy or black at the base, it’s a sign of too much moisture and often too little airflow. Sadly, if rot sets in, it’s difficult to save them.
- Patience is Key: Some cuttings may take longer than others. Don’t give up too soon!
Keep Growing!
Propagating Mesembryanthemum cordifolium is such a rewarding little project. It’s a chance to connect with nature, learn a new skill, and soon you’ll have a garden bursting with these delightful blooms. Be patient, enjoy the process, and celebrate every little success. Happy gardening!
Resource:
https://identify.plantnet.org/k-world-flora/species/Mesembryanthemum%20cordifolium%20L.f./data