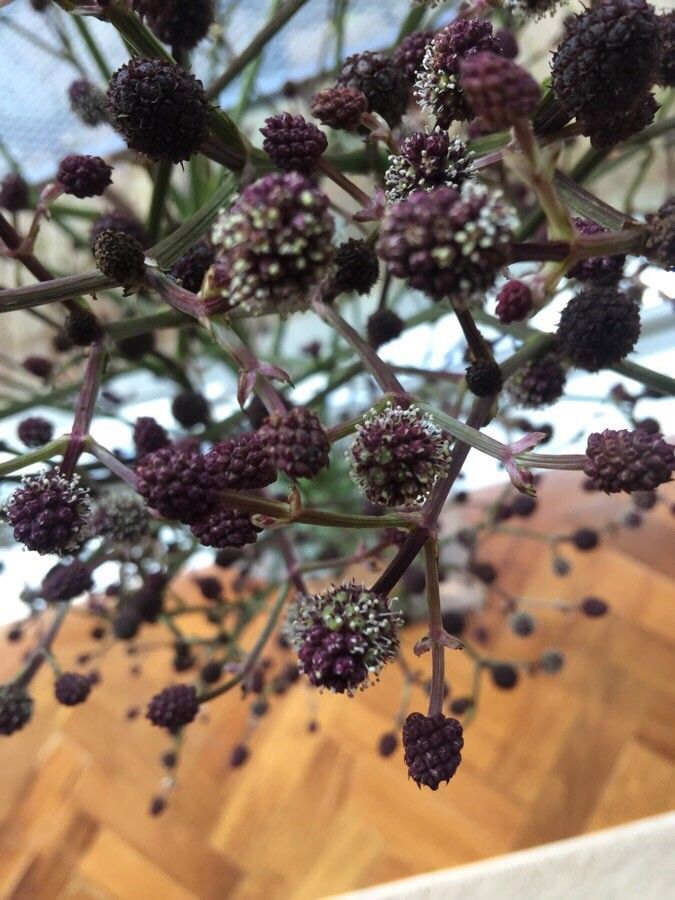
Hello, fellow garden enthusiasts! Today, I want to talk about a plant that has truly captured my heart over the years: Sanicula bipinnatifida. You might know it by its common name, Pacific Sanicle, or perhaps the Buttercup Sanicle, for its cheerful yellow blooms. This native beauty, with its deeply cut, almost fern-like foliage and bright little flowers, adds such a charming wildness to any garden. Propagating it, I’ve found, is not only deeply satisfying but also a wonderful way to share its beauty with others. Now, I won’t lie; it’s not the absolute easiest plant for a complete beginner, but with a little patience and these tips, you’ll be well on your way to success!
The Best Time to Start
For Sanicula bipinnatifida, I’ve found the late spring to early summer is your golden window. This is when the plant is in its active growth phase after flowering and before the intense heat of midsummer. You want to catch it while it’s full of energy, ready to root and establish itself. Waiting until the plant has finished blooming is key.
Supplies You’ll Need
Gathering your supplies beforehand makes the whole process so much smoother. Here’s what you’ll want to have on hand:
- Sharp pruning shears or a clean sharp knife: For making clean cuts.
- Well-draining potting mix: A good blend for herbaceous perennials works wonders. I often use a mix of equal parts peat moss, perlite, and compost.
- Small pots or seedling trays: Ensure they have drainage holes.
- Rooting hormone (optional but recommended): This can give your cuttings a helpful boost.
- Watering can or spray bottle: For gentle watering.
- Labels and a permanent marker: To keep track of what you’ve potted.
- A sheltered spot: This could be a shaded greenhouse bench, a cool bright windowsill, or a protected outdoor area.
Propagation Methods
Sanicula bipinnatifida is best propagated by division or seed, though I’ve had some success with stem cuttings. Let’s dive into the most reliable methods.
Division (My Favorite for Sanicle!)
This is my go-to method for Sanicle. It’s like giving your existing plant a little haircut and creating new babies at the same time!
- Gently dig up the parent plant: Do this carefully in late spring or early summer, while the soil is moist. You want to disturb the root ball as little as possible.
- Inspect the root structure: Look for natural divisions where the plant has clumped and spread. You’ll often see where new shoots are emerging from the main root mass.
- Separate the divisions: Using your hands or a trowel, gently tease apart the root ball. Ideally, each division should have at least one healthy bud or shoot and a good portion of roots. If you encounter thick, woody roots, you might need to use your clean knife or shears to make the cut.
- Pot up the new divisions: Plant each division in its own pot filled with your well-draining mix. Make sure the base of the plant is at soil level.
- Water thoroughly: Give them a good drink to settle the soil around the roots.
Stem Cuttings
This method requires a bit more finesse but is rewarding when it works.
- Take cuttings: In late spring or early summer, select healthy, non-flowering shoots that are about 3-4 inches long. Using your sharp shears, make a clean cut just below a leaf node (where a leaf attaches to the stem).
- Prepare the cuttings: Remove the lower leaves, leaving just a couple at the top. If you’re using rooting hormone, dip the cut end into the powder, tapping off any excess.
- Plant the cuttings: Make a small hole in your prepared potting mix with a pencil or your finger. Insert the cut end of the stem into the hole, ensuring the nodes are buried. Gently firm the soil around it.
- Water lightly: Mist the cuttings or water very gently. You want the soil to be consistently moist but not soggy.
- Provide humidity: Covering the pot loosely with a plastic bag or placing it in a propagator will help maintain humidity, which is crucial for cuttings to root.
The “Secret Sauce” (Pro Tips)
Here are a couple of things I’ve learned over the years that really help boost your Sanicle propagation success:
- Don’t let the leaves touch the water when water propagating (if you choose that route): While I mostly advocate for division and cuttings in soil, if you experiment with water, ensure the leaves are above the water line. Any submerged foliage will quickly rot, taking your cutting with it.
- Bottom heat is a game-changer for cuttings: Sanicle roots are a bit slow to get going. Placing your pots of cuttings on a heated propagator mat can significantly speed up the rooting process by providing gentle warmth from below. It mimics the natural environment where new growth often thrives on warmer soil temperatures.
- Think about air circulation for divisions: When you pot up your divisions, ensure they aren’t crammed too tightly. Good air flow around the newly planted divisions helps prevent fungal issues, especially in humid conditions.
Aftercare & Troubleshooting
Once your divisions are planted or your cuttings show signs of rooting (usually new leaf growth), you’re on the home stretch!
- Continue to keep the soil consistently moist but not waterlogged. For divisions, this means regular watering, while for cuttings, aim for that light misting or gentle watering to maintain humidity.
- Gradually introduce them to more light. Start them in a shaded or indirectly lit spot. As they establish, you can slowly move them to a location that receives a bit more filtered sunlight, mimicking their natural habitat.
- Watch for rot: The most common issue is root rot, appearing as wilting, yellowing leaves, and a mushy stem base. This is almost always due to overwatering or poor drainage. If you see this, act fast! Try gently removing the plant, trimming away any rotten parts, and repotting in fresh, dry, well-draining soil. Sometimes, it’s unfortunately too late, but it’s a good lesson for next time.
- Patience is key! Sanicle isn’t a fast grower. It can take several weeks, sometimes even a couple of months, for cuttings to root or divisions to show robust new growth. Don’t be tempted to over-fuss them!
Happy Propagating!
There you have it! Propagating Sanicula bipinnatifida is a joy, a wonderful way to deepen your connection with this lovely plant and spread its cheer. Don’t get discouraged if your first attempt isn’t perfect. Gardening is all about learning and experimenting. Be patient, observe your plants, and most importantly, enjoy the process. Happy gardening!
Resource:
https://identify.plantnet.org/k-world-flora/species/Sanicula%20bipinnatifida%20Douglas/data