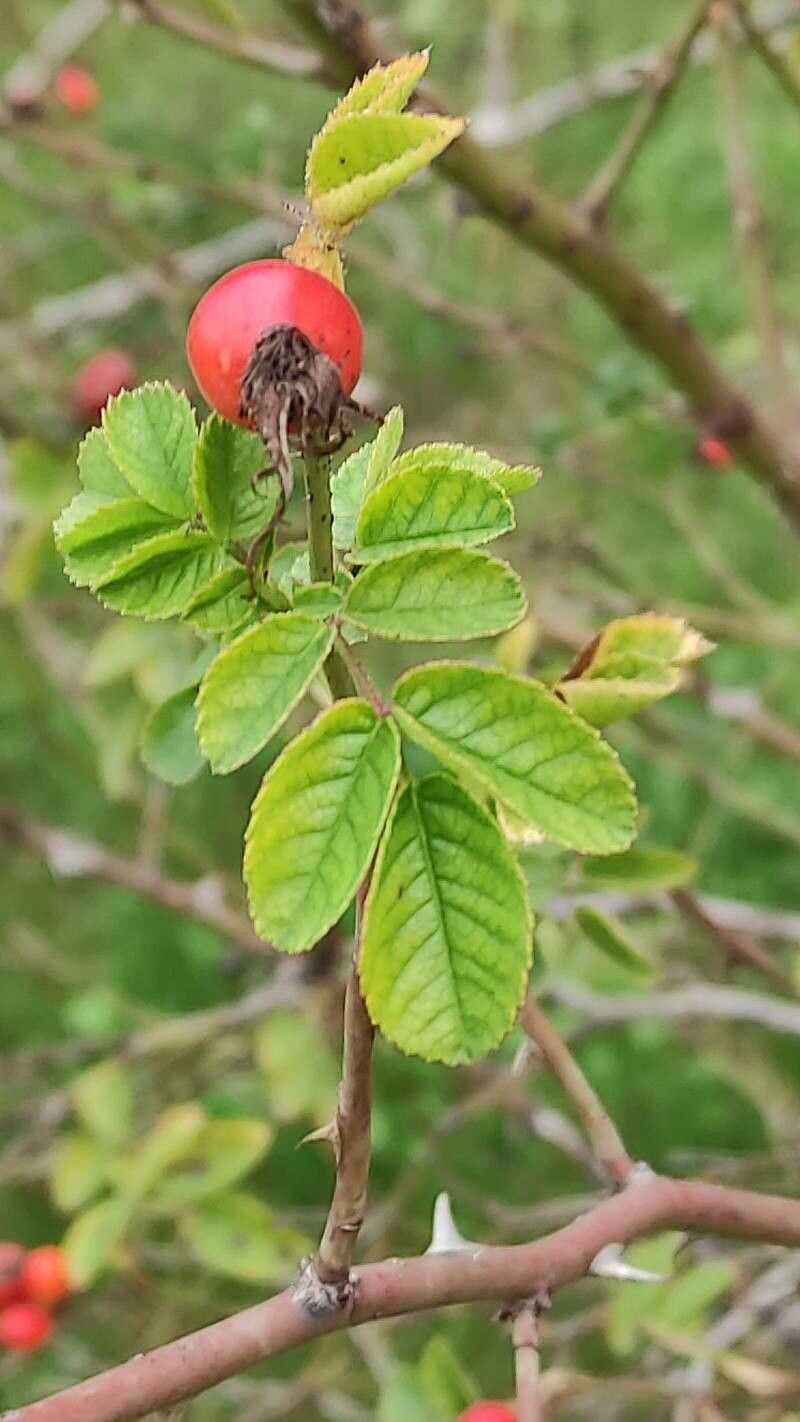
Oh, hello there! Come on in and pull up a chair. I’ve got a fresh pot of coffee brewing. Today, we’re going to chat about a truly special rose: Rosa caryophyllacea. You know, the one with those lovely, delicate, almost clove-scented blooms? It’s a real charmer, and if you’ve ever swooned over its beauty, you might be wondering how you can bring more of it into your garden. Well, I’m here to tell you that propagating this beauty is surprisingly rewarding, and while it has its own little quirks, it’s definitely achievable, even for those of you just starting to dip your toes into the wonderful world of plant propagation.
The Best Time to Start
For Rosa caryophyllacea, just like many woody-stemmed plants, the sweet spot for taking cuttings is late spring to early summer. You’re looking for what we call “semi-hardwood” cuttings. This means the stems are starting to firm up but are still flexible. Avoid the very new, soft, floppy green shoots, and definitely steer clear of those old, woody stems. Think of it as Goldilocks – you want it just right.
Supplies You’ll Need
Gathering your tools beforehand makes the whole process so much smoother. Here’s what I like to have on hand:
- Sharp Pruning Shears or a Craft Knife: Clean cuts are crucial to prevent disease.
- Rooting Hormone: This isn’t strictly essential, but it really boosts your success rate. I prefer the powder or gel forms.
- A Well-Draining Potting Mix: A blend of equal parts peat moss or coco coir, perlite or vermiculite, and a bit of sterilized potting soil works wonders.
- Small Pots or a Propagation Tray: Clean pots are a must!
- Plastic Bags or a Clear Cover: To create a humid environment.
- A Watering Can with a Fine Rose: For gentle watering.
- Labels and a Permanent Marker: To keep track of what you’ve rooted and when.
Propagation Methods
I find the most reliable way to propagate Rosa caryophyllacea is through stem cuttings. It’s straightforward and yields great results.
Stem Cuttings:
- Take Your Cuttings: On a day when it’s not too hot, select healthy, non-flowering stems. Aim for pieces about 6-8 inches long. Using your sharp shears or knife, make a clean cut just below a leaf node (the little bump where a leaf attaches to the stem). Remove any flowers or developing buds, as these take energy away from root formation.
- Prepare the Cuttings: Gently strip off the leaves from the bottom half of the cutting. You want to keep just a few leaves at the top to help with photosynthesis. If the remaining leaves are very large, I like to cut them in half horizontally to reduce water loss.
- Dip in Rooting Hormone: Lightly moisten the cut end of the stem and then dip it into your chosen rooting hormone. Tap off any excess.
- Plant Your Cuttings: Fill your small pots or propagation tray with your prepared well-draining potting mix. Make a small hole in the center of the mix with a pencil or your finger. Insert the treated end of the cutting into the hole, ensuring the rooting hormone-treated part is in contact with the soil. Gently firm the soil around the stem.
- Water and Cover: Water the soil thoroughly until it drains from the bottom of the pot. Then, cover the pot or tray with a clear plastic bag or a propagation dome to create a humid environment. You can support the bag with sticks or wires so it doesn’t touch the leaves.
The “Secret Sauce” (Pro Tips)
Now, for a couple of little tricks I’ve learned over the years that can really make a difference with your Rosa caryophyllacea cuttings:
- Bottom Heat is Your Friend: If you have access to a seedling heat mat, placing your pots on top of it can significantly speed up root development. A consistent, gentle warmth from below encourages those roots to get going.
- The “Air Gap” Trick: When you’re first rooting cuttings, especially in a propagator, I find it’s good practice to “air out” the cuttings daily for a few minutes. This prevents fungal issues from developing in the consistently damp environment. Just lift the lid or open the bag for a short spell.
Aftercare & Troubleshooting
Once your cuttings are planted, give them a spot in bright, indirect light. Avoid direct sun, which can scorch those delicate leaves or overheat the propagation house. Keep the soil consistently moist but not waterlogged. You’ll know your cuttings have taken root when you see new leaf growth, or if you gently tug on the cutting and feel resistance. This usually takes anywhere from 4 to 8 weeks, sometimes longer.
The most common problem you’ll encounter is rot. If a cutting turns black and mushy, it’s a sign of too much moisture and not enough air circulation. Unfortunately, these are usually lost, but don’t get discouraged. Just clean up the pot and try again. Seeing a cutting wither and dry out completely is usually a sign that it didn’t root and lost too much moisture.
A Encouraging Closing
Propagating plants is a journey, and with Rosa caryophyllacea, it’s a particularly delightful one. Be patient with your little green charges. Not every cutting will make it, and that’s perfectly okay. Celebrate the successes, learn from the challenges, and most importantly, enjoy the process of bringing new life into your garden. Happy propagating!
Resource:
https://identify.plantnet.org/k-world-flora/species/Rosa%20caryophyllacea%20Besser/data