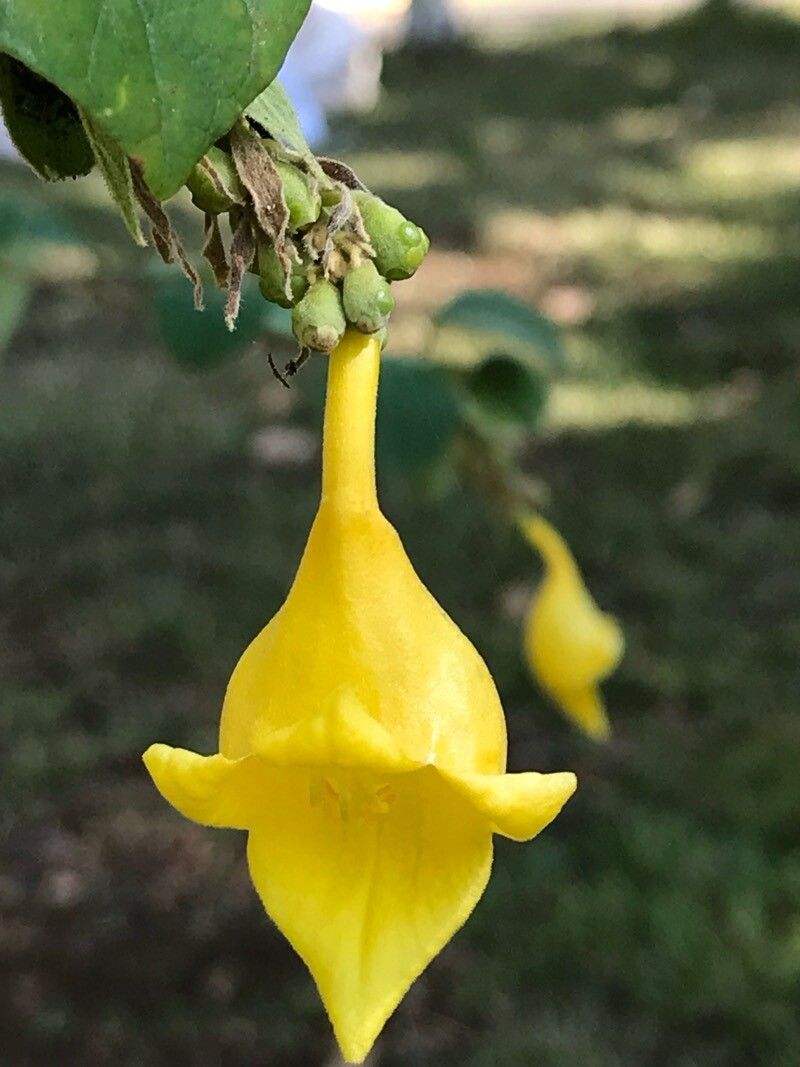
Hey there, fellow garden enthusiasts! I’m so excited to talk to you today about a plant that truly brightens up any space: Gmelina asiatica, also known as the Asian Gmelina or Bush China-wood. Its delicate, bell-shaped flowers in shades of white and pale yellow are just enchanting, and the way it grows… well, it just has a certain charm. For novice gardeners, don’t shy away! Propagating this beauty is surprisingly accessible, and there’s a deep satisfaction in watching a new plant emerge from a tiny piece of the parent. It’s like a little gardening magic.
When to Get Your Hands Dirty: The Best Time to Start
Timing is everything in the garden, and with Gmelina asiatica, you’ll find the best success when you take cuttings during its active growing season. Spring and early summer are usually prime time. This is when the plant is full of vigor, with plenty of new growth that’s more inclined to root. Avoid trying to propagate during dormancy or extreme heat spells; patience here will pay off in strong, healthy new plants.
Your Propagation Toolkit: Supplies You’ll Need
To make sure your propagation efforts are successful, gather these essential bits and bobs:
- Sharp Pruning Shears or a Clean Knife: For making clean cuts.
- Rooting Hormone (Optional but Recommended): Especially for stem cuttings, this can give them a real boost.
- Well-Draining Potting Mix: A good blend of potting soil, perlite, and a bit of coarse sand works wonders.
- Small Pots or Trays: With drainage holes, of course.
- Clear Plastic Bags or a Humidity Dome: To maintain moisture around your cuttings.
- Water Reservoir: For stem cuttings you might choose to root in water.
- Labels and a Marker: To keep track of what you’ve planted and when.
Bringing New Life: Propagation Methods
Gmelina asiatica is quite forgiving when it comes to propagation. Here are a couple of my go-to methods:
Stem Cuttings: The Workhorse Method
This is probably the most popular way to get more Gmelinas.
- Select Your Cuttings: Look for healthy, semi-hardwood stems from the current season’s growth. You want stems that are firm but still have a bit of flexibility. Cut a piece about 4-6 inches long.
- Prepare the Cutting: Remove the leaves from the bottom half of the cutting. This prevents them from rotting in the soil or water. If the remaining leaves are very large, you can cut them in half horizontally to reduce water loss.
- Apply Rooting Hormone: Dip the cut end of the stem into rooting hormone powder. Tap off any excess.
- Plant the Cutting: Gently insert the treated end into your prepared potting mix, making sure it’s firm enough to stand upright. You can plant several cuttings in one pot, giving them a little space.
- Create a Greenhouse Effect: Water the soil gently, then cover the pot with a clear plastic bag or place it under a humidity dome. Prop the bag up with small stakes if needed, so it doesn’t touch the leaves.
- Find a Good Spot: Place the pot in a bright location out of direct sunlight.
Water Propagation: A Visual Treat
This is a more visual method, and you get to see the roots develop!
- Prepare the Cutting: Follow steps 1 and 2 from the Stem Cuttings method.
- Place in Water: Put the cutting in a clean glass or jar filled with fresh water.
- The “No Leaf in Water” Rule: This is crucial! Ensure no leaves are submerged in the water. Any foliage below the water line will rot and can kill your cutting.
- Change Water Regularly: Change the water every few days to keep it fresh and prevent bacterial growth.
- Placement: Just like with soil cuttings, keep it in bright, indirect light.
- Transplanting: Once you see substantial roots developing (about an inch or more long), it’s time to carefully transplant it into well-draining potting mix.
The “Secret Sauce” (Pro Tips from My Garden)
Over the years, I’ve learned a few little tricks that really seem to make a difference:
- Bottom Heat is Your Friend: If you can, placing your potted cuttings on a gentle heat mat can significantly speed up root formation. It mimics the warmth of the soil in spring and encourages those roots to get going. Just make sure it’s only gentle warmth, not hot!
- Don’t Rush the Transplant: For water propagation, I wait until the roots are at least an inch long and look robust. Sometimes, slightly longer roots are even better before you risk them with the shock of soil.
- Mist, Mist, Mist (Initially): Even with a plastic bag, I sometimes give the leaves a light misting of water the first few days, just to boost that humidity. It’s a little extra insurance policy.
Nurturing New Growth: Aftercare & Troubleshooting
Once you start seeing new leaf buds or a noticeable increase in growth, you know your cuttings have rooted!
- Acclimatize Gradually: If you used a plastic bag, slowly introduce your new plant to normal humidity by opening the bag a little more each day for a week.
- Watering: Water when the top inch of soil feels dry. Don’t let it sit in soggy conditions; good drainage is key.
- Light: Continue to provide bright, indirect light. As the plant gets stronger, you can gradually move it to a spot with a little more direct sun.
Now, what if things don’t go as planned? The most common culprit is rot. If your cutting turns black and mushy, it’s usually a sign of too much moisture and not enough air circulation. Unfortunately, if rot sets in, it’s often too late to save that particular cutting. The key here is to adjust your watering and ensure good airflow next time. Sometimes, a cutting just doesn’t take, and that’s okay! It’s part of the learning process.
Keep Growing!
Gardening is a journey of patience and discovery, and propagating new plants is one of the most rewarding aspects of it. Don’t be discouraged if your first attempt isn’t a roaring success. Each one is a learning opportunity. So go ahead, grab your shears, and get some Gmelina asiatica cuttings started. Enjoy the process, and happy growing!
Resource:
https://identify.plantnet.org/k-world-flora/species/Gmelina%20asiatica%20L./data