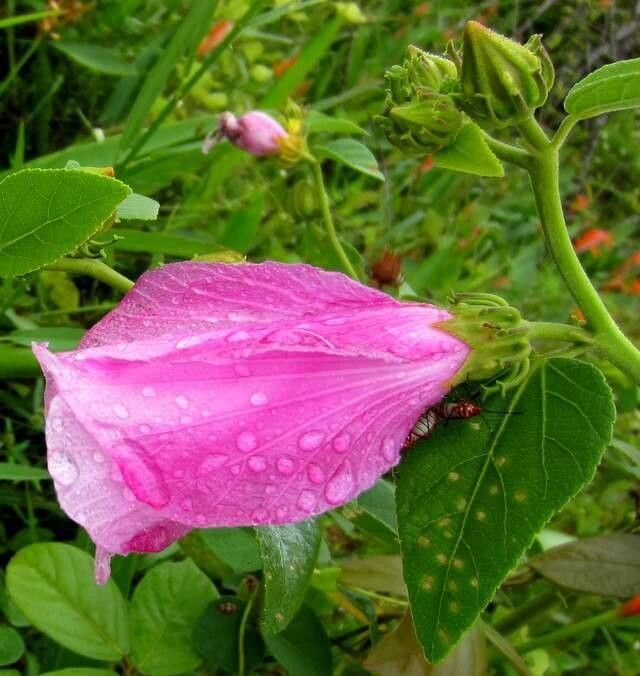
Oh, hello there! Pull up a chair and let’s talk hibiscus. You know, I’ve always had a soft spot for Hibiscus furcellatus. Its vibrant blooms just have a way of brightening any corner, don’t they? And the best part? It’s surprisingly rewarding to grow more of these beauties from your very own plants. If you’re just starting out, don’t fret. While propagation always takes a little patience, I’ve found Hibiscus furcellatus to be quite amenable, especially with cuttings. It’s a lovely way to share that splash of color with friends or just increase your own personal hibiscus paradise.
The Best Time to Start
For the highest success rate, I always recommend taking cuttings in late spring or early summer. This is when the plant is in its active growing phase. The stems are developing new growth, making them plumper and more responsive to rooting. You want to select stems that are firm but not woody – think of it as semi-hardwood. They have enough energy to root, but they aren’t so hard that they’ve stopped growing.
Supplies You’ll Need
Gathering your supplies ahead of time makes the whole process so much smoother. Here’s what I like to have on hand:
- Sharp Pruning Shears or a Clean Knife: For making clean cuts.
- Rooting Hormone: This is optional, but it can really give your cuttings a boost.
- Potting Mix: A well-draining mix is crucial. I often use a blend of peat moss and perlite, or even a special seedling mix.
- Small Pots or Propagation Trays: Clean and with drainage holes!
- Plastic Bags or a Clear Cover: To create a mini-greenhouse effect.
- Water (preferably filtered or rainwater): For keeping things moist.
- Labels: So you don’t forget what you planted where!
Propagation Methods
Stem cuttings are my go-to for Hibiscus furcellatus. They’re straightforward and usually give me great results.
Stem Cuttings:
- Select Your Cuttings: Find healthy, non-flowering stems on your established plant. Look for pieces that are about 4-6 inches long.
- Make the Cut: Using your clean shears or knife, make a clean, angled cut just below a leaf node (where the leaf joins the stem). This is where the roots will typically emerge.
- Prepare the Cuttings: Gently remove the lower leaves from the cutting, leaving just the top few leaves. If the remaining leaves are very large, I’ll often snip them in half to reduce water loss.
- Apply Rooting Hormone (Optional): Dip the cut end of the stem into rooting hormone, tapping off any excess.
- Plant Your Cuttings: Fill your small pots or trays with your prepared potting mix. Make a small hole in the center with your finger or a pencil.
- Insert the Cuttings: Place the prepared cutting into the hole, ensuring the leaf nodes where you removed the leaves are below the soil surface. Gently firm the soil around the stem.
- Water Gently: Water the potting mix thoroughly but gently. You want it to be moist, not soggy.
- Create a Humid Environment: Cover the pot or tray with a clear plastic bag, or use a propagator lid. Make sure the plastic isn’t touching the leaves too much, if possible. Place it in a bright spot out of direct sunlight.
Water Propagation (for those who like to watch!):
- Follow steps 1-3 above.
- Place Cuttings in Water: Fill a clean jar or glass with water. Place the prepared cuttings into the water, ensuring that no leaves are submerged.
- Change Water Regularly: Change the water every 2-3 days to keep it fresh and prevent rot.
- Watch for Roots: You should start to see tiny roots appearing in a few weeks. Once the roots are about an inch long, you can pot them into soil, treating them like the cuttings above.
The “Secret Sauce” (Pro Tips)
Here are a couple of things I’ve learned over the years that can make a big difference:
- Bottom Heat is Your Friend: If you have a seedling heat mat, using it under your propagation tray can significantly speed up root development. It mimics a warmer soil temperature, which encourages roots to form. Just place the tray directly on the mat.
- Don’t Be Afraid of Airflow: While you want humidity, you also don’t want stagnant air, which can lead to fungal issues. If you’re using a plastic bag, lift it to air out the cuttings for a few minutes daily. This helps prevent rot and encourages stronger growth.
Aftercare & Troubleshooting
Once you start seeing new leaf growth, that’s a great sign! It usually means roots have formed. You can gently tug on a cutting to feel for resistance, or you might even see roots peeking out of the drainage holes.
- Gradual Acclimation: Once new growth appears, slowly start to acclimate your new plants to drier air. Gradually open the plastic bag over a few days, or lift the lid for longer periods.
- First Watering: Water them well when the top inch of soil feels dry.
- Potting Up: When they’ve grown a bit more and are looking sturdy, you can transplant them into slightly larger pots with fresh potting mix.
Now, what if things go wrong? The most common problem is rot. If your cutting turns mushy, black, or just wilts dramatically and doesn’t recover, it’s likely rotted. This is usually due to too much moisture combined with poor air circulation. If you see this, sadly, that cutting is probably lost. The best approach is to remove it immediately to prevent it from affecting others and reassess your watering and ventilation. Don’t get discouraged; it happens to the best of us!
A Encouraging Closing
Propagating Hibiscus furcellatus is a beautiful dance with nature. It might take a little patience, and not every cutting will be a success story right away, but that’s all part of the learning curve. Enjoy the process, celebrate the little signs of life, and soon you’ll have even more of these stunning blooms to fill your garden or share with loved ones. Happy gardening!
Resource:
https://identify.plantnet.org/k-world-flora/species/Hibiscus%20furcellatus%20Desr./data