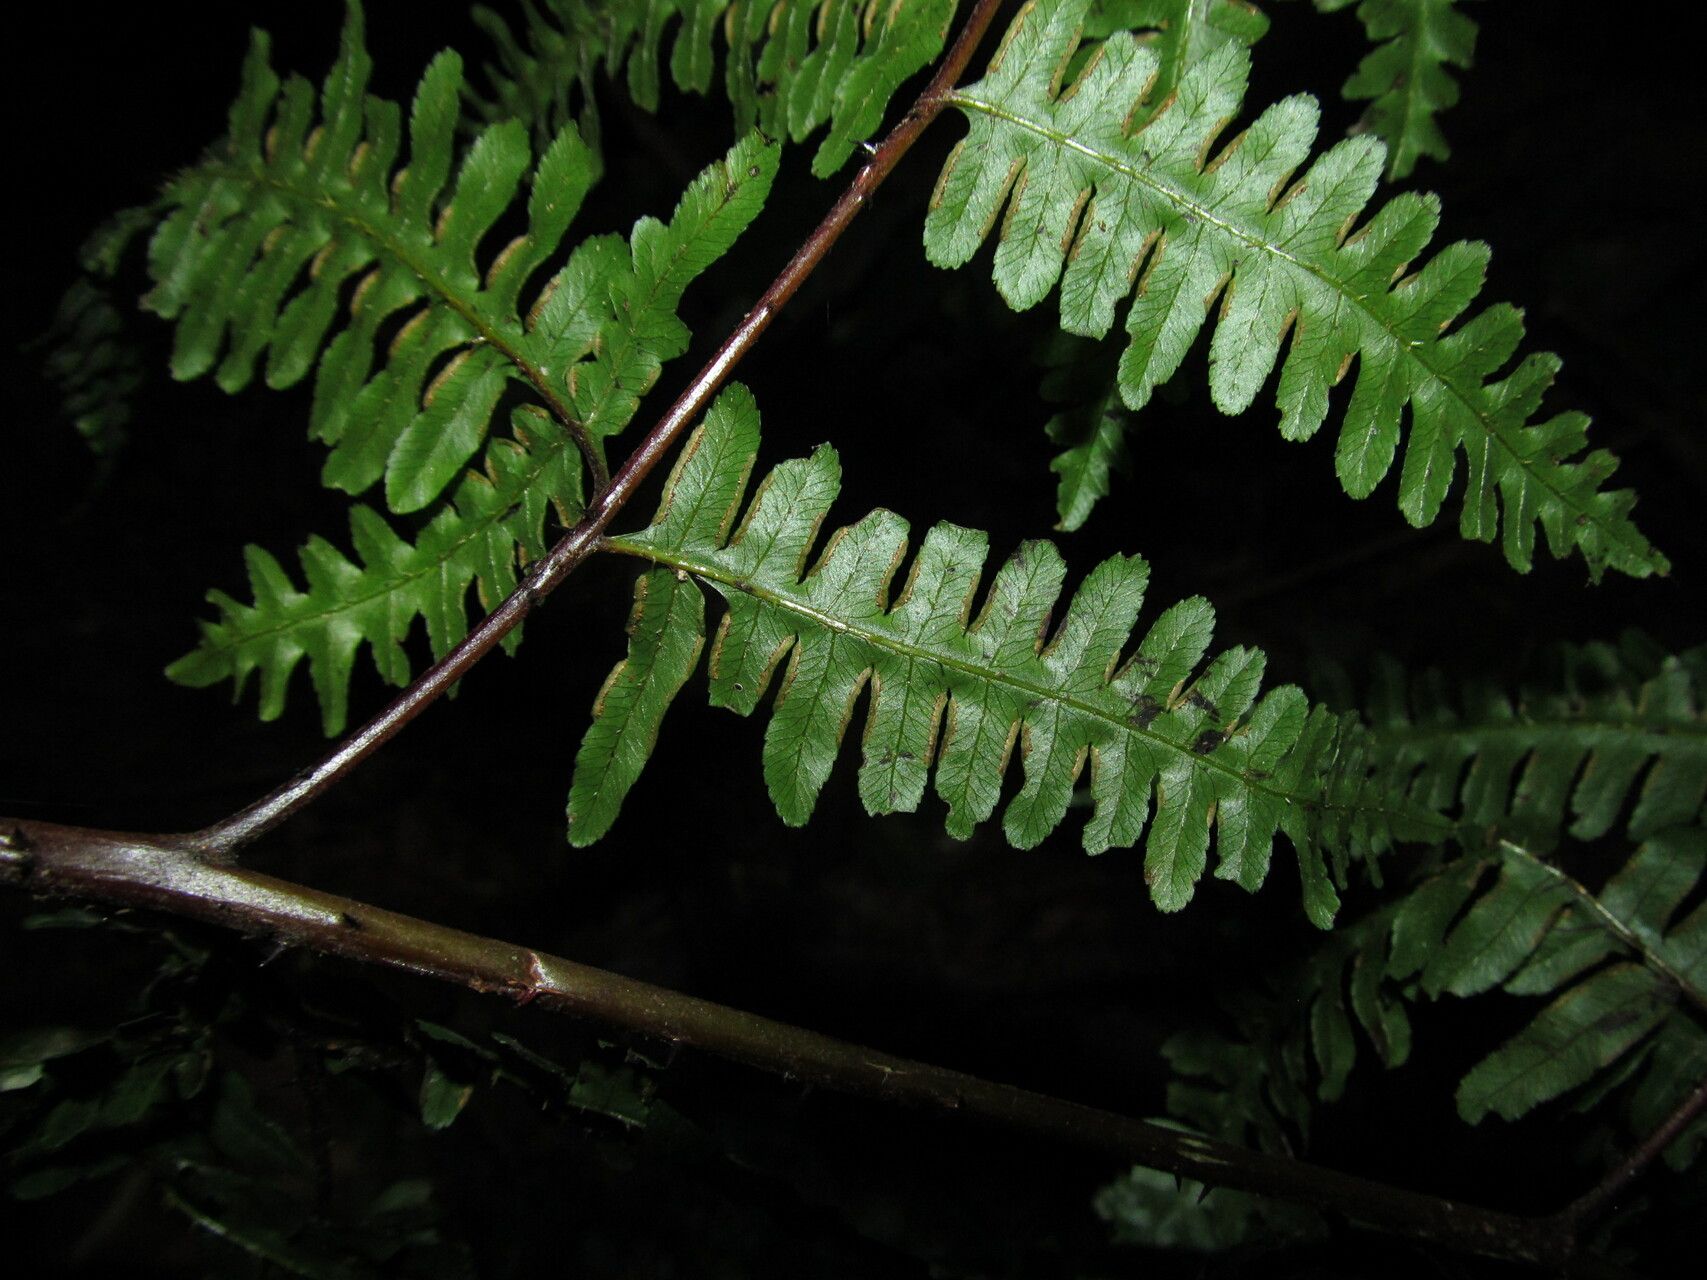
Hello, fellow plant enthusiasts! Today, we’re diving into the wonderfully intricate world of Pteris intricata, also known as the “Net Fern.” If you’re drawn to delicate fronds, an almost lace-like appearance, and a touch of the exotic for your indoor jungle, you’re in for a treat. Propagating this beauty is a truly rewarding experience. While it might seem a little daunting at first glance due to its finely textured nature, I find it to be quite manageable, even for those just starting their propagation journey. Watching a tiny frond unfurl into a new, independent plant is just pure magic!
The Best Time to Start
Honestly, much like many of our leafy friends, spring is your best bet for propagating Pteris intricata. As the days get longer and warmer, growth really kicks into high gear. You’ll find that cuttings taken during this period have the most vigor and energy to establish themselves quickly. I usually aim to propagate just as I see new growth appearing on my established plants.
Supplies You’ll Need
Gathering your tools beforehand makes the whole process smoother. Here’s what I always have on hand:
- Sharp, clean pruning shears or a sterile knife: For taking clean cuts.
- Well-draining potting mix: I like a blend of peat moss, perlite, and a little bit of orchid bark.
- Small pots or propagation trays: With drainage holes, of course!
- Clear plastic bags or a propagation dome: To create a humid environment.
- Optional: Rooting hormone: This can give a little boost, but Pteris intricata often roots without it.
- Watering can or spray bottle: For gentle watering.
Propagation Methods
For Pteris intricata, I find division to be the most straightforward and reliable method. While stem cuttings are possible, the delicate nature of this fern makes division much easier to manage.
Division Method:
- Gently remove the parent plant from its pot. Turn it on its side and carefully slide the plant out. If it’s a bit snug, a gentle tap on the sides of the pot can help.
- Inspect the root ball. You’re looking for distinct sections, or “pups,” that have their own roots and developing fronds.
- Carefully tease the sections apart. You can use your fingers for this, gently pulling the plant into smaller clumps. If the roots are tightly bound, a clean, sharp knife can help you make a cut through any stubborn roots. Your goal is to get a section that has a good amount of healthy roots and at least a few fronds.
- Pot up the divisions. Fill your small pots with your well-draining potting mix. Make a little well in the center and place your divided section in, ensuring the roots are spread out nicely.
- Bury the roots with more potting mix, firming gently around the base of the plant.
- Water thoroughly until water drains from the bottom of the pot.
- Create a humid environment. This is crucial for ferns! You can do this by placing the potted division inside a clear plastic bag, making sure the leaves don’t touch the sides, or by covering it with a propagation dome. Place it in bright, indirect light.
The “Secret Sauce” (Pro Tips)
Here’s a little something extra I’ve learned over the years that can really make a difference:
- Don’t overwater the divisions initially. While they need humidity, soggy soil is the fastest way to rot developing roots. Let the top inch of soil dry out slightly before watering again.
- Think about warmth. While not strictly necessary for division, a little gentle bottom heat can encourage root development. I’ve found placing propagation trays on a heat mat set to a low temperature (around 70-75°F) really speeds things along.
- Observe your new plants daily. This might sound obvious, but spending a few moments each day really lets you catch potential issues early. Are the fronds looking perky? Is there any sign of stress?
Aftercare & Troubleshooting
Once your new Pteris intricata divisions start showing signs of new growth and look stable (usually after a few weeks), you can gradually acclimate them to normal room humidity by opening the plastic bag or propagation dome a little each day. Keep them in bright, indirect light and continue watering as needed.
The most common sign of trouble is root rot, which often manifests as yellowing, wilting fronds that feel mushy. If you see this, it’s usually a sign of too much moisture and poor air circulation. Unfortunately, if root rot is advanced, it’s hard to save. Prevent it by ensuring good drainage and not letting the plant sit in water. Another issue can be crispy, brown edges, which means the surrounding air is too dry. Mist regularly or place near a humidifier.
A Encouraging Closing
Propagating Pteris intricata is a journey, and like any journey, there will be little bumps along the way. Be patient with your new plants, observe them closely, and don’t be discouraged if your first attempt isn’t perfect. The joy of seeing those delicate fronds unfurl in their own little pots is absolutely worth the effort. Happy propagating, and may your home be filled with beautiful ferns!
Resource:
https://identify.plantnet.org/k-world-flora/species/Pteris%20intricata%20C.H.Wright/data