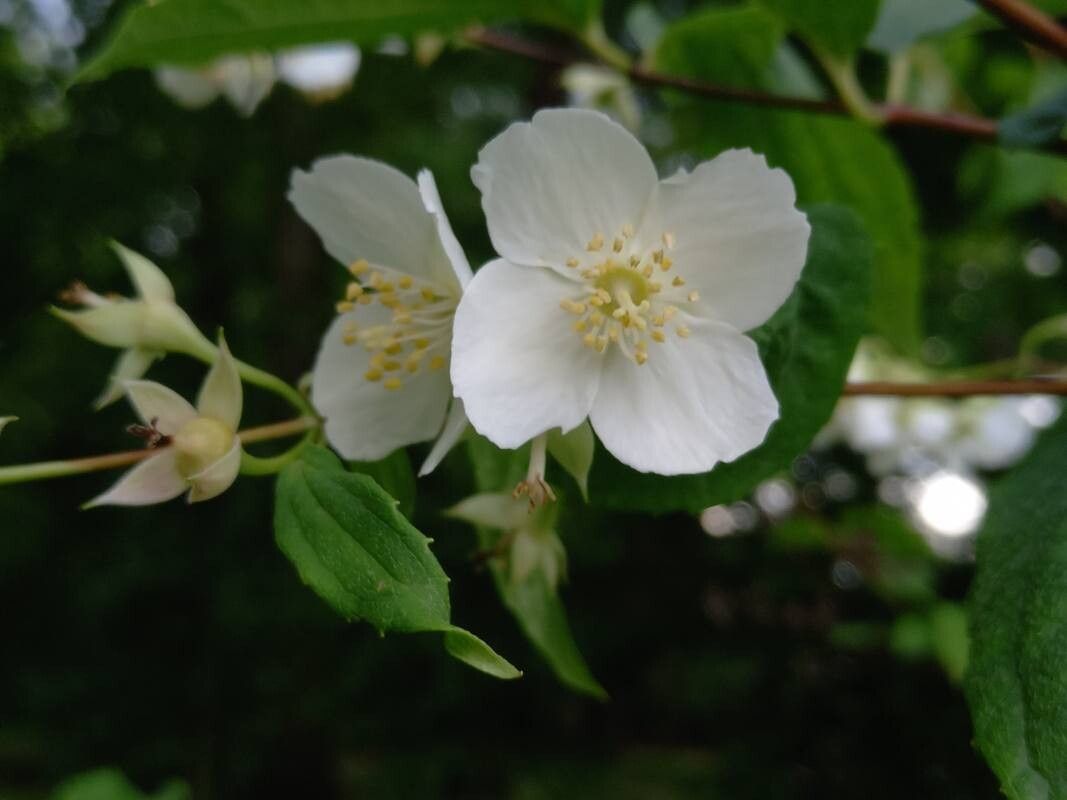
Hello, fellow plant lovers! I’m so happy you’re here today because we’re diving into a really charming shrub: Philadelphus zhejiangensis. This less common mock orange boasts beautiful, often fragrant white flowers that are a true delight in late spring and early summer. If you’ve ever admired its delicate blooms or its lovely scent, you might be wondering if you can grow more of them. The wonderful news is, yes, you absolutely can! Propagating Philadelphus zhejiangensis is a very rewarding way to expand your garden and share these beauties with friends. Happily, for those of you just dipping your toes into propagation, this one is quite forgiving – a great plant to start with!
The Best Time to Start
When it comes to getting cuttings to root successfully, timing is everything. For Philadelphus zhejiangensis, the sweet spot is late spring to early summer, right after the plant has finished flowering. This is when the new growth is semi-hardwood. It’s firm enough to hold its shape but still flexible and full of life. Trying to propagate from very soft, new growth or old, woody stems can be trickier, so aim for that perfect “snap” when you bend a stem – it should bend before it breaks.
Supplies You’ll Need
Gathering your tools beforehand makes the whole process so much smoother. Here’s what you’ll want to have on hand:
- Sharp Pruning Shears or a Knife: Cleanliness is paramount to prevent diseases.
- Rooting Hormone: A powder or gel will significantly boost your success rate.
- A Well-Draining Potting Mix: A good blend is roughly 50% peat moss or coco coir and 50% perlite or coarse sand. You can also use a dedicated seed-starting mix.
- Small Pots or Trays with Drainage Holes: I often use 4-inch pots.
- Plastic Bags or a Clear Dome: This creates a humid environment for your cuttings.
- Watering Can or Spray Bottle: For gentle watering.
- Labeling Stakes: You’ll thank yourself later!
Propagation Methods
There are a couple of ways to go about this, but for Philadelphus zhejiangensis, taking stem cuttings is my go-to method. It’s reliable and gives you a high success rate.
Stem Cuttings:
- Take Your Cuttings: After the plant has finished blooming, select healthy, upright stems that are about pencil-thick. Using your clean pruning shears, take cuttings that are 6 to 8 inches long.
- Prepare the Cuttings: At the base of each cutting, remove the leaves from the bottom 2-3 inches. Make a clean, angled cut just below a leaf node (where a leaf attaches to the stem). This node is where roots typically form.
- Apply Rooting Hormone: Dip the cut end of the stem into your rooting hormone, tapping off any excess. Make sure the bottom inch or so is coated.
- Plant the Cuttings: Fill your pots with your prepared potting mix and moisten it thoroughly. Make a hole in the center of each pot with your finger or a pencil. Gently insert the cutting into the hole, ensuring the base is well-covered and that no leaves are touching the soil surface. Firm the soil gently around the stem. You can usually fit 2-3 cuttings per pot, spaced a few inches apart.
- Create Humidity: Water the cuttings lightly again. Then, cover the pots loosely with a clear plastic bag or a propagation dome. If using a bag, you can use stakes to keep it from touching the leaves. This traps moisture and keeps the cuttings from drying out.
- Give Them Light and Warmth: Place the pots in a bright location that receives indirect sunlight. Avoid direct sun, which can scorch the delicate cuttings. A spot on a windowsill is often perfect.
The “Secret Sauce” (Pro Tips)
Now, for a couple of little tricks I’ve picked up over the years that can make a real difference:
- Think “Wiggle Test”: When you’re checking for roots, don’t just yank on the cutting! Give it a very gentle wiggle. If you feel resistance, that’s a good sign roots are forming. If it pulls out easily, it hasn’t rooted yet.
- Bottom Heat is Your Friend: While not strictly necessary, placing your pots on a heating mat specifically designed for propagation can vastly speed up the rooting process. The warmth encourages root development from below. Just make sure it’s not too hot – you don’t want to cook them!
Aftercare & Troubleshooting
Once you start seeing a bit of new growth on your cuttings – usually after 4 to 8 weeks – it’s a very encouraging sign! This means roots are likely forming.
- Acclimatize: Once new leaves appear, you’ll need to gradually introduce them to less humid conditions. Every few days, open the plastic bag or dome for a longer period. Eventually, you can remove the cover entirely.
- Watering: Continue to water when the top inch of soil feels dry. Avoid letting the pots sit in water, as this can lead to root rot.
- Transplanting: When the cuttings have a well-developed root system (you might see roots peeking from the drainage holes), they are ready to be transplanted into their own small pots with regular potting soil.
- Common Problems: The most frequent issue you’ll encounter is rot, which looks like mushy, black stems. This is usually caused by overwatering and poor drainage. If you see this, sadly, that cutting is usually a goner. Prevention is key here: good drainage and watering only when needed. Another sign of trouble is wilting that doesn’t improve, which can also indicate issues with root development or dehydration.
A Little Patience Goes a Long Way
Propagating plants is a journey, and sometimes it takes a little patience. Don’t get discouraged if every single cutting doesn’t make it – that’s perfectly normal, even for seasoned gardeners! Celebrate the successes, learn from any setbacks, and most importantly, enjoy the process of coaxing new life from your favorite shrubs. Happy propagating!
Resource:
https://identify.plantnet.org/k-world-flora/species/Philadelphus%20zhejiangensis%20S.M.Hwang/data