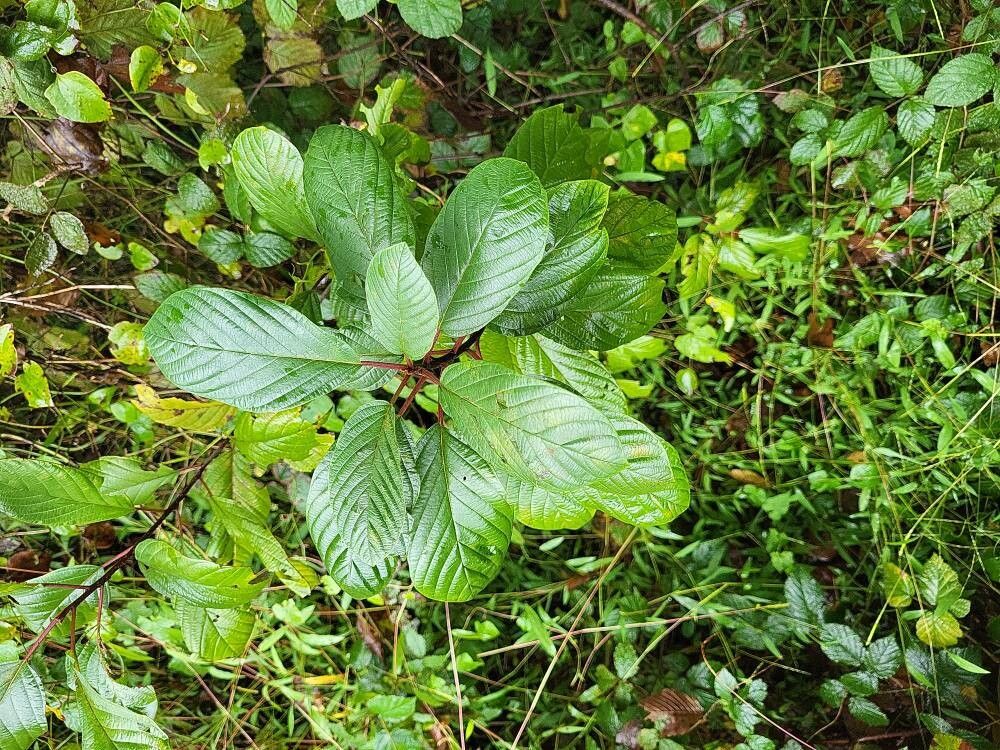
Oh, hello there! Grab a mug of your favorite brew, and let’s chat about a truly lovely plant: Rhamnus fallax. If you’ve seen this gem in a garden, you know it’s got this understated elegance, hasn’t it? Its glossy leaves and often attractive habit make it a standout. And the best part? Propagating it yourself is incredibly rewarding. You get to witness that miracle of new life firsthand, and soon you’ll have more of these beauties to gift or to fill your own spaces. Now, is it a walk in the park for absolute beginners? I’d say it’s moderately easy, but with a little know-how, you’ll be well on your way to success.
The Best Time to Start
For Rhamnus fallax, your sweet spot is late spring to early summer. This is when the plant is actively growing, and the new shoots have begun to lignify (or “harden off”) just a little. You’re looking for stems that are flexible but not so soft they wilt instantly. Think of them as being in their “teenager” phase – no longer brand new and flimsy, but not yet fully mature and woody. This timing gives your cuttings the best chance to root before the heat of summer intensifies or the plant settles down for winter.
Supplies You’ll Need
Gathering your tools beforehand makes the whole process smoother. Here’s what I usually have on hand:
- Sharp Pruning Shears or a Craft Knife: For clean cuts, which are crucial.
- Rooting Hormone: A powdered or gel form can significantly boost your success rate.
- Potting Mix: A well-draining mix is key. I often use a 50/50 blend of seed-starting mix and perlite, or even a cacti/succulent mix.
- Small Pots or Trays: Clean pots with drainage holes are a must.
- Watering Can with a Fine Rose or Spray Bottle: For gentle watering.
- Plastic Bags or a Propagator: To create a humid environment.
- Labels and a Pen: Because trust me, you will forget which cutting is which!
Propagation Methods
I find stem cuttings to be the most reliable method for Rhamnus fallax. Here’s how I do it:
- Take the Cuttings: On a pleasant morning, after the dew has dried, select healthy, vigorous stems. Using your sharp shears, take cuttings that are about 4-6 inches long. Make the cut just below a leaf node (where a leaf attaches to the stem). This is where the magic happens for rooting.
- Prepare the Cuttings: Gently remove the lower leaves from your cuttings, leaving only a few at the very top. This prevents them from rotting in the soil. If you’re using a rooting hormone, dip the cut end of each stem into the powder or gel, tapping off any excess.
- Plant Your Cuttings: Fill your clean pots with your prepared, moist potting mix. Make a hole with a pencil or your finger deep enough for the cutting. Insert the prepared cutting into the hole, firming the soil gently around it. You can plant several cuttings per pot, giving them a little space.
- Create Humidity: Water the soil gently. Then, cover the pot with a clear plastic bag or place it in a propagator. You want to create a mini-greenhouse effect to keep the humidity high, which helps prevent the cuttings from drying out before they can form roots. You can prop the bag up with sticks so it doesn’t touch the leaves.
- Provide the Right Conditions: Place your pots in a bright spot, but out of direct sunlight. A warm location is ideal. If you have a heat mat, placing the pots on it can really speed things up.
The “Secret Sauce” (Pro Tips)
Here are a few little tricks I’ve learned over the years that make a difference:
- Don’t Drown Your Dreams: When you water, aim for evenly moist, not soggy, soil. Overwatering is a fast track to rot. Let the top inch of soil dry out slightly between waterings.
- Bottom Heat is Your Friend: As I mentioned, a bit of gentle warmth from below (a propagator or a heat mat) really encourages root development. It mimics the conditions a parent plant experiences in its prime growing season.
- Patience is a Virtue (Especially with Woodies): Don’t be tempted to tug on your cuttings too soon! It can take several weeks, sometimes even a couple of months, for Rhamnus fallax to establish a good root system. Resist the urge to peek constantly.
Aftercare & Troubleshooting
Once you start to see new leaf growth, that’s a good sign that roots are forming! You can slowly acclimate your propagated plants to lower humidity by opening the bag a little each day over a week or so. Continue to keep them out of direct sun and water when the top soil feels dry.
The most common sign of failure is rotting, where the cutting turns mushy and black. This usually points to too much moisture and not enough air circulation. If you see this, sadly, that cutting is likely lost. Another sign is wilting that doesn’t improve even with adequate watering – this can indicate that the cutting simply didn’t take and has dried out internally. Don’t get discouraged if you have some failures; it happens to all of us!
A Encouraging Closing
So there you have it! Propagating Rhamnus fallax is a journey worth taking. Don’t rush the process, trust your instincts, and most importantly, enjoy watching those tiny roots take hold. Every successful cutting is a little victory, and soon you’ll be surrounded by these beautiful plants, all thanks to a little bit of your own green-thumb magic. Happy gardening!
Resource:
https://identify.plantnet.org/k-world-flora/species/Rhamnus%20fallax%20Boiss./data