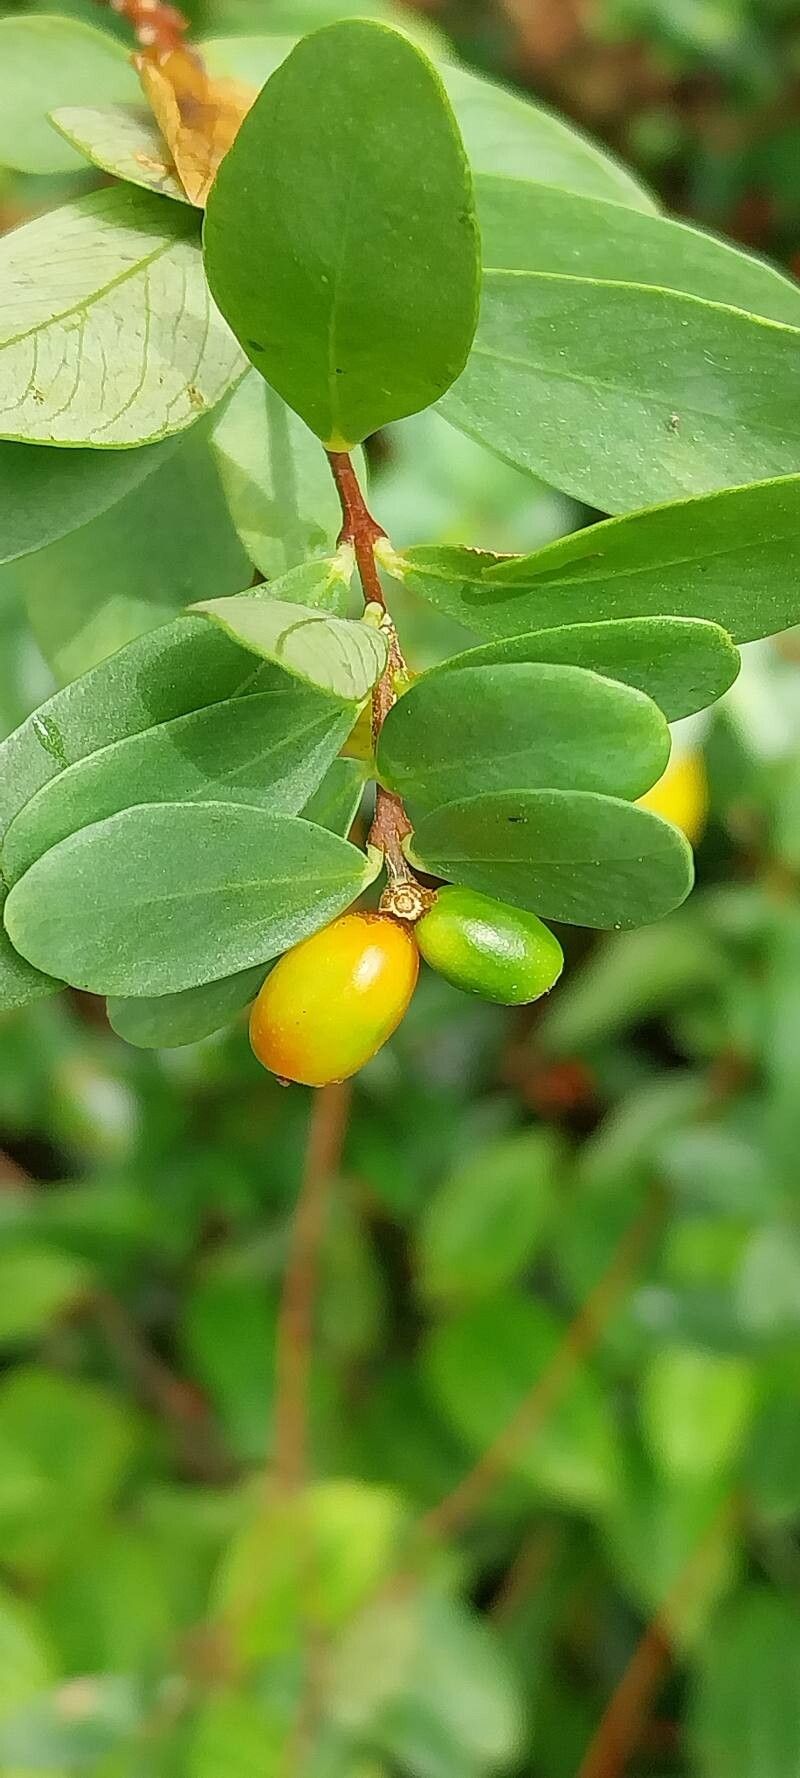
Hello, fellow garden lovers! It’s so wonderful to have you join me today. We’re going to dive into the delightful world of propagating Wikstroemia indica, or as it’s often called, Indian Daphne. This lovely shrub is an absolute gem, with its fragrant, waxy blossoms that perfume the air, particularly in the evening. Plus, its glossy, dark green leaves provide year-round beauty. Watching a tiny cutting transform into a thriving new plant is one of the most satisfying experiences a gardener can have. And the good news? For those of you who might be a bit hesitant, Wikstroemia indica is quite a forgiving plant, making it a great candidate for propagation, even for beginners.
The Best Time to Start
When it comes to getting the best results, timing is everything. I’ve found that the sweet spot for propagating Wikstroemia indica is during its active growing season, which for most of us means late spring to early summer. You want to take cuttings from healthy, semi-hardwood stems. These are stems that have started to firm up but are still somewhat flexible – not the brand-new, bright green, floppy bits, nor the old, woody ones.
Supplies You’ll Need
Gathering your supplies before you begin makes the whole process so much smoother. Here’s what I usually have on hand:
- Sharp Pruning Shears or a Craft Knife: Cleanliness is key here to prevent disease.
- Rooting Hormone (Optional but Recommended): A good quality rooting powder can give your cuttings a real boost.
- Well-Draining Potting Mix: I love a mix of equal parts peat moss, perlite, and coarse sand. This ensures good aeration and prevents waterlogged roots.
- Small Pots or Propagation Trays: Clean pots are essential!
- Clear Plastic Bags or a Propagator: This helps maintain humidity around your cuttings.
- Soft Water or Distilled Water: For keeping things moist without introducing unwanted minerals.
- Labels and a Marker: So you don’t forget what’s what!
Propagation Methods
There are a few ways to go about this, but my go-to method for Wikstroemia indica is through stem cuttings. It’s reliable and gives you a good chance of success.
Here’s how I do it:
- Select Your Stems: Head out on a bright morning after the dew has dried. Look for those semi-hardwood stems I mentioned earlier. You want pieces that are about 4 to 6 inches long and have at least two sets of leaves.
- Make Your Cuts: Using your clean shears or knife, make a clean cut just below a leaf node. A leaf node is where a leaf attaches to the stem; this is where roots are most likely to form. Remove the lower leaves, leaving just the top two or three. This reduces water loss and makes it easier to insert the cutting into the soil.
- Apply Rooting Hormone (Optional): If you’re using rooting hormone, dip the cut end of the stem into the powder. Tap off any excess.
- Plant Your Cuttings: Fill your small pots or trays with your prepared, moist potting mix. Gently make a hole in the center with a pencil or dowel. Carefully insert the cut end of your Wikstroemia cutting into the hole, pushing it down so that the lower leaf nodes are buried. Firm the soil gently around the stem.
- Water Gently: Water your newly planted cuttings lightly. You want the soil to be moist, but not soggy.
The “Secret Sauce” (Pro Tips)
Now, for a couple of things I’ve learned over the years that can really make a difference.
- Don’t Let Those Leaves Touch the Water! If you decide to try a bit of water propagation for a few cuttings (just placing them in a jar of water), it’s absolutely crucial that the leaves don’t sit in the water. They’ll rot quickly and take your cutting with them. Hang the leaves just above the water line.
- Bottom Heat is Your Friend: If you have a heating mat designed for propagators, use it! For Wikstroemia, consistent warmth from below really encourages root development. It’s like giving your little plants a warm hug, coaxing those roots to grow faster.
Aftercare & Troubleshooting
Once your cuttings are planted, it’s time for a little TLC.
- Create a Humid Environment: Cover your pots loosely with a clear plastic bag or place them inside a propagator. This creates a mini greenhouse effect, keeping the humidity high, which is essential for preventing cuttings from drying out before they can root. Make sure the leaves aren’t touching the plastic directly if you can help it.
- Find the Right Spot: Place your cuttings in a bright location but out of direct, harsh sunlight. Too much sun can scorch them.
- Be Patient: Rooting can take time, often several weeks. You can gently tug on a cutting after a month or so. If you feel resistance, roots are forming!
- Watch for Rot: The most common sign of failure is rot. If your cutting turns black and mushy, it’s likely that it’s rotted. This usually happens due to too much moisture and not enough air circulation. If you see this, remove the affected cutting immediately to prevent it from spreading.
A Encouraging Closing
And there you have it! Propagating Wikstroemia indica is a journey, not a race. Be patient with your little cuttings. Celebrate each small success, like new leaf growth or a hint of roots. Gardening is all about perseverance and the joy of nurturing life. I hope you’ll give this a try. You might just be surprised at how well you do, and soon you’ll have a whole garden full of these delightful plants! Happy gardening!
Resource:
https://identify.plantnet.org/k-world-flora/species/Wikstroemia%20indica%20(L.)%20C.A.Mey./data