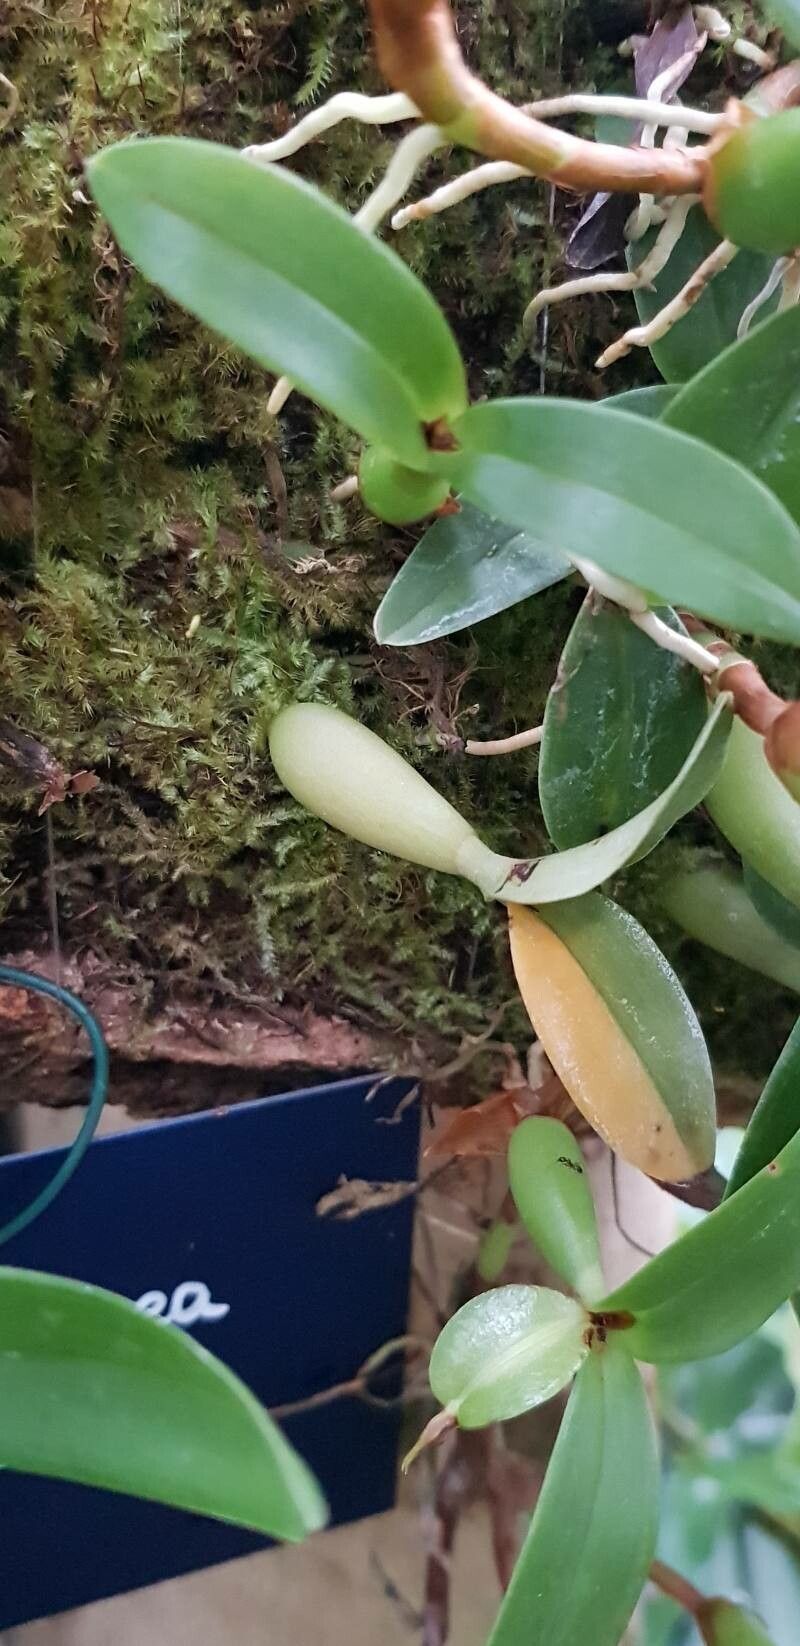
Hey there, fellow plant lovers! It’s wonderful to be sharing my passion with you today. I want to talk about a tiny gem that has captured my heart over the years: Prosthechea pygmaea.
The Little Orchid That Could
This miniature orchid is an absolute charmer. It boasts delicate, often fragrant blooms that are a delightful surprise when you consider its small stature. For those who appreciate intricate beauty and the satisfaction of coaxing life from a small bit of plant, propagating Prosthechea pygmaea is incredibly rewarding. Now, I won’t lie to you – while not impossibly difficult, it’s a bit more involved than sticking a basil cutting in water. It requires a gentle touch and a keen eye, making it a fantastic challenge for the adventurous beginner or a delightful pastime for the seasoned grower.
When to Get Your Hands Dirty
The perfect time to begin propagating Prosthechea pygmaea is during its active growing season. For most orchids, this means spring and early summer. You’ll see new growth emerging, usually in the form of pseudobulbs or leaves. This tells you the plant has plenty of energy to dedicate to creating new roots and shoots. Trying to propagate when the plant is dormant or stressed is like asking someone to run a marathon without any breakfast – it’s just not going to go well!
Your Propagation Toolkit
Before you dive in, let’s make sure you have everything you need:
- Sharp, sterile pruning shears or a clean knife: For making clean cuts. Sterilize with rubbing alcohol between each cut to prevent disease.
- Orchid potting mix: A well-draining blend is crucial. I prefer a mix of bark chips, perlite, and a bit of sphagnum moss.
- Small plastic pots or seedling trays: For housing your new propagations. Make sure they have drainage holes.
- Sphagnum moss: High-quality, long-fibered sphagnum is excellent for retaining moisture while allowing airflow.
- Rooting hormone (optional but recommended): A gentle, powdered rooting hormone can give your cuttings a helpful boost.
- Spray bottle: For misting.
- Clear plastic bags or a propagation dome: To create a humid microclimate.
Bringing New Life Forth: Propagation Methods
Prosthechea pygmaea is most commonly and successfully propagated through division. This method involves carefully separating the plant into smaller sections, each with its own roots and at least a few healthy pseudobulbs and leaves.
- Gently Extract the Orchid: First, carefully remove your Prosthechea pygmaea from its pot. You might need to loosen the edges with a knife if it’s been in the pot for a while.
- Examine the Rhizome: Look at the rhizome, which is the thick, stem-like structure connecting the pseudobulbs. You’ll want to identify natural divisions where you can make a cut. Healthy divisions will have at least two to three pseudobulbs and a healthy root system attached.
- Make the Cut: Using your sterilized shears or knife, make a clean cut through the rhizome to separate the divisions. Be as gentle as possible to avoid damaging the existing roots.
- Inspect and Trim: Remove any dead or mushy roots or pseudobulbs. If any cuts feel particularly large, you can let them callus over for an hour or so before potting.
- Potting Up: Take your new divisions and pot them in your prepared orchid mix. Bury the roots gently, making sure the pseudobulbs are not completely submerged; they like a little air exposure.
- Hydrate Lightly: Water the new plantings very lightly. You don’t want to saturate them immediately. A gentle misting is often enough.
The “Secret Sauce” – My Insider Tips
Here are a few little tricks I’ve learned over the years that can make a big difference:
- Don’t Rush the Roots: When you pot up your divisions, don’t be tempted to overwater while waiting for roots. Too much moisture too soon is the quickest way to invite rot. Let the potting medium be slightly damp, not soggy.
- Humidity is Key: These little orchids love humidity. After potting, place each division in a clear plastic bag, but don’t seal it tightly. You want to create a mini-greenhouse effect. Alternatively, use a propagation dome. This helps prevent the leaves from drying out while new roots are forming. Make sure the leaves don’t touch the sides of the bag or the dome, as this can also lead to rot.
- Bottom Heat Helps: If you have a seedling heat mat, placing your pots on it can significantly speed up root development. The gentle warmth encourages root growth from the bottom up.
Life After the Cut: Aftercare and Troubleshooting
Once your new Prosthechea pygmaea divisions are potted, keep them in bright, indirect light and maintain that high humidity for the first few weeks. Resist the urge to repot or disturb them. You’ll know they’re settling in and growing roots when you see new leaf or pseudobulb growth.
The most common sign of failure is rot. If a pseudobulb starts to turn mushy and brown, or the leaves yellow and drop off rapidly, it’s usually a sign of too much moisture or a fungal issue. If you catch rot early, you might be able to cut away the affected area with a sterile knife and let the remaining healthy tissue dry. Sometimes, it’s just a matter of the plant not being strong enough from the start, and that’s okay. Gardening is always a learning process!
Go Forth and Propagate!
See? It’s not so daunting after all. Propagating Prosthechea pygmaea is a journey, and every little bit of new growth is a triumph. Be patient, observe your plant closely, and enjoy the quiet satisfaction of nurturing these miniature wonders into their own beautiful lives. Happy growing!
Resource: