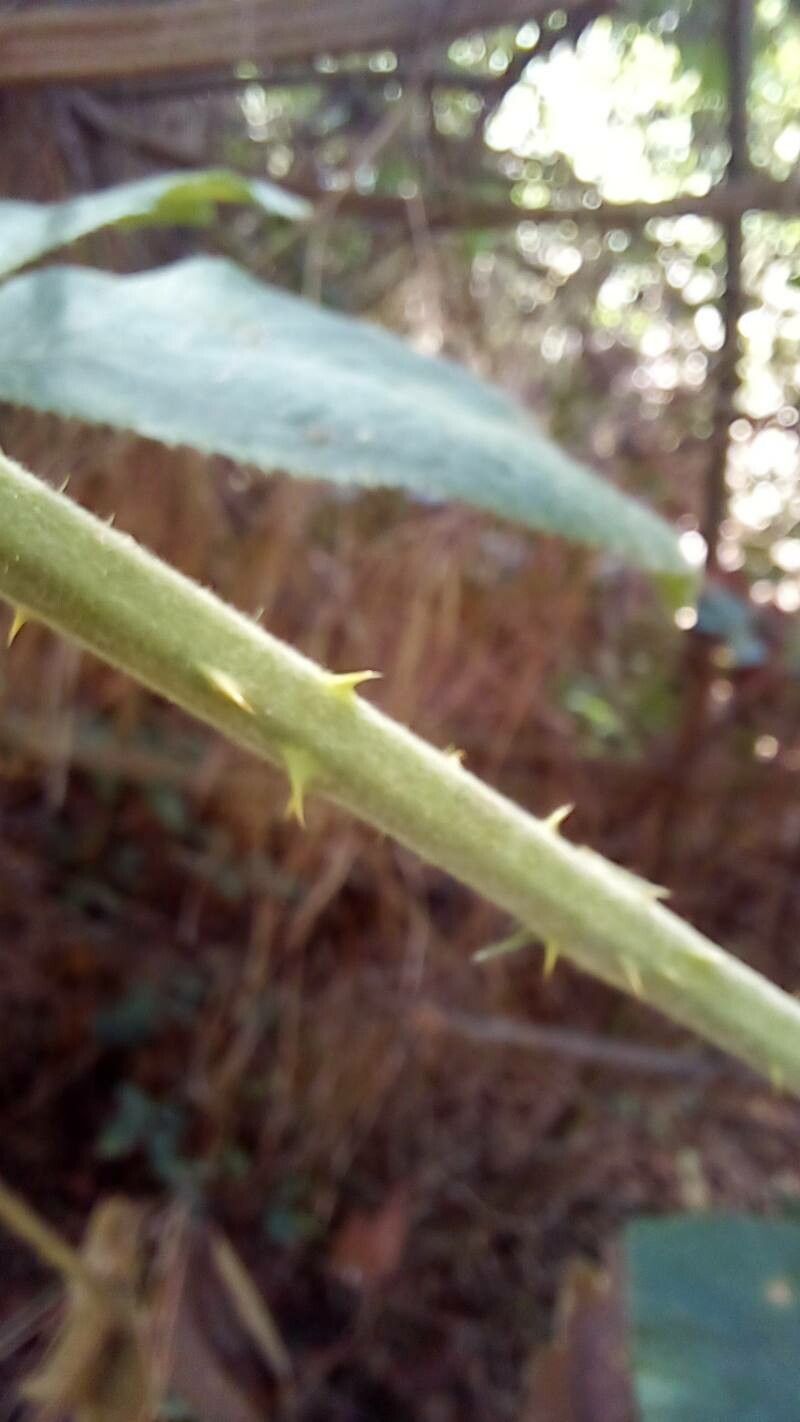
Hey there, fellow plant lovers! I’m so excited to chat with you today about a plant that’s really captured my heart: Rubus brasiliensis, or the Brazilian Bramble. It’s this gorgeous, sprawling vine with lovely foliage and, if you’re lucky, some delicious berries! Propagating it is such a satisfying way to share its beauty, and trust me, it’s not as daunting as you might think.
Why Grow and Propagate Rubus brasiliensis?
This plant is a stunner. It brings a lush, tropical feel to any garden with its glossy leaves and vining habit. Plus, those berries are a sweet reward for your efforts! Propagating it means you can expand your collection, share with friends, or fill in those bare spots in your landscape. For beginners, honestly, this plant is quite forgiving, which is always a win in my book!
The Best Time to Start
When it comes to getting new Rubus brasiliensis plants going, late spring to early summer is your golden window. This is when the plant is actively growing and has plenty of energy reserves. You want to work with stems that are still somewhat flexible but have started to harden off a bit – not brand new, floppy growth, but not woody, old stems either. Think of it as the prime of its life!
Supplies You’ll Need
Gathering your supplies ahead of time makes the whole process smoother. For propagating Rubus brasiliensis, you’ll want:
- Sharp Pruning Shears or a Clean Knife: Essential for making clean cuts that heal well.
- Potting Mix: A well-draining mix is key. I like a blend of peat moss, perlite, and a bit of compost. You can also buy specific seed starting or propagation mixes.
- Small Pots or Trays: For your new little plants to root in. Clean yogurt cups with drainage holes work in a pinch!
- Rooting Hormone (Optional but Recommended): This can significantly boost your success rate by encouraging faster root development. A powdered form is easy to use.
- Watering Can or Spray Bottle: For gentle watering.
- Plastic Bags or Domes: To create a humid environment for your cuttings.
- Labels: To keep track of what you’ve planted and when!
Propagation Methods: Let’s Get Our Hands Dirty!
Rubus brasiliensis is pretty adaptable, but my favorite methods for it are stem cuttings and division.
Stem Cuttings: The Classic Approach
- Take Your Cuttings: Select healthy, non-flowering stems from your established plant. Aim for sections about 6-8 inches long. Make your cut just below a leaf node (where a leaf attaches to the stem). You’ll want at least two or three nodes on each cutting.
- Prep the Cuttings: Gently remove the lower leaves from the cutting, leaving just one or two at the very top. This prevents them from rotting in the soil.
- Apply Rooting Hormone (If Using): Dip the cut end of the stem into your rooting hormone, tapping off any excess.
- Plant Your Cuttings: Fill your small pots with your prepared potting mix. Make a small hole in the center with your finger or a pencil. Insert the bottom end of the cutting into the hole, ensuring the nodes (where you removed leaves) are below the soil surface. Gently firm the soil around the stem.
- Water Gently: Water the pot thoroughly but gently. You don’t want to blast the soil away.
- Create Humidity: Cover the pot with a clear plastic bag or a propagation dome. This creates a mini-greenhouse effect, keeping the humidity high, which is crucial for cuttings to root. Make sure the leaves don’t touch the plastic if possible.
- Place in Indirect Light: Find a warm spot that receives bright, indirect light. Avoid direct sun, which can scorch your delicate cuttings.
Division: For Established Plants
If you have a mature Rubus brasiliensis that’s gotten a bit wild, it might be time for division.
- Dig Up the Plant: In spring, before it puts on a lot of new growth, carefully dig up the entire plant. Try to retain as much of the root ball as possible.
- Assess the Roots: Gently shake off excess soil and look for natural divisions. You’ll often see where one plant has grown into two or more distinct sections, each with its own roots and stems.
- Divide the Plant: Use your clean knife or spade to carefully separate the plant into smaller sections. Each section should have a good amount of roots and at least one or two healthy stems.
- Replant Immediately: Replant the divided sections into their new homes – either back into the garden or into pots with fresh potting mix. Water them in well.
The “Secret Sauce” (Pro Tips)
After years of getting my hands dirty, I’ve learned a few tricks:
- Bottom Heat is Your Friend: For stem cuttings, placing your pots on a heating mat can make a huge difference. The warmth encourages root development much faster than just ambient room temperature. It mimics the soil warming up in spring.
- Don’t Overwater! This is probably the most common mistake I see. While cuttings need humidity, soggy soil is a recipe for rot. Let the top inch of soil dry out slightly between waterings. If you’re using a plastic bag, you can usually tell if it’s too wet by condensation – if it’s dripping, there’s too much moisture and you might need to air it out.
- Snip and Sniff: When you think your cuttings might be rooted, give them a gentle tug. If you feel resistance, roots are forming! You can also gently unpot a cutting to check. If you’re unsure, trust your plant – it will show you signs of life.
Aftercare & Troubleshooting
Once you see roots forming (usually after a few weeks to a couple of months), it’s time to nurture your new plant.
- Acclimatize Gradually: If you’ve used a plastic bag or dome, start by opening it for a few hours each day, gradually increasing the time until the plant is used to the ambient humidity.
- Water Wisely: Continue to water consistently, allowing the soil to dry slightly between waterings.
- Fertilize Lightly: Once your new plants have a good root system and are showing new growth, you can start feeding them with a diluted liquid fertilizer, maybe once a month.
The most common sign of failure is rot. If your cutting looks mushy, discolored, or smells bad, it’s likely rotted. This is usually due to overwatering or poor drainage. If you catch it early, you might be able to salvage a healthy part, but often it’s best to start fresh. Wilting can also be a sign of stress, either too much sun, not enough water, or poor root development.
Happy Growing!
Propagating plants, no matter what they are, is a journey. There will be successes, and there might be a few failures along the way – that’s just part of the learning process! Don’t get discouraged. Be patient with your little Rubus brasiliensis cuttings, enjoy the magic of watching them grow, and soon you’ll have plenty to share. Happy gardening!
Resource:
https://identify.plantnet.org/k-world-flora/species/Rubus%20brasiliensis%20Mart./data