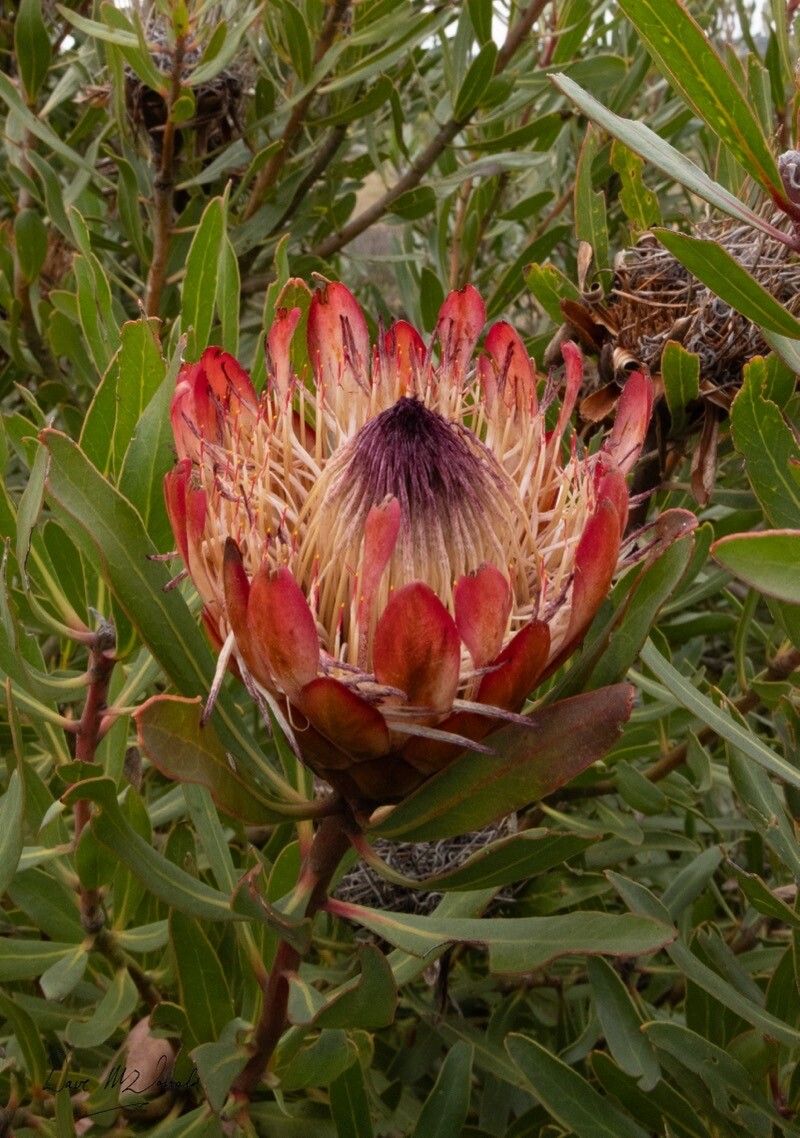
Oh, Proteas! Aren’t they just magnificent? With their sculptural blooms and slightly wild, architectural charm, it’s no wonder gardeners are drawn to them. And propagating Protea susannae? That’s a journey that can bring you so much satisfaction. It’s a little bit of a challenge, I’ll be honest. They’re not your everyday houseplant to whip up a new one from, but the reward of seeing those first tiny roots emerge, knowing you’ve coaxed life from a bit of stem, is truly something special.
The Best Time to Start
For Protea susannae, the sweet spot for taking cuttings is usually in late spring to early summer. This is when the plant is actively growing, but the new shoots have started to firm up a bit – not woody, but not entirely soft and floppy either. Think of it as that moment when a teenager is just settling into their grown-up stride. This gives the cuttings the best chance to establish themselves before the heat of summer really kicks in or the cooler weather arrives.
Supplies You’ll Need
Before we get our hands dirty, let’s gather our tools:
- Sharp, clean pruning shears or a sharp knife: For making clean cuts.
- Rooting hormone: A powdered or gel form specifically designed for cuttings. This is a real game-changer.
- Well-draining propagation mix: A common recipe is a 50/50 blend of perlite and peat moss or coco coir. You want something airy that won’t hold too much moisture.
- Small pots or trays: With drainage holes, of course!
- Plastic bags or a propagation dome: To create a humid environment.
- Water spray bottle: For misting.
- Optional: Heated propagation mat: This can really speed things up.
Propagation Methods: Stem Cuttings
This is generally the most successful method for Protea susannae.
- Taking the Cuttings: On a cool, overcast morning (or in the evening), select healthy, semi-hardwood stems that are about 4-6 inches long. Look for new growth that has started to harden off. Using your clean shears or knife, make a clean cut just below a leaf node. This is the point where a leaf attaches to the stem, and it’s where roots are most likely to form.
- Preparing the Cuttings: Gently strip off the lower leaves. You want to leave just a few leaves at the top to help with photosynthesis. If the remaining leaves are very large, you can cut them in half to reduce water loss.
- Applying Rooting Hormone: Dip the cut end of the stem into your rooting hormone, tapping off any excess. Make sure the bottom inch or so is well-coated.
- Planting the Cuttings: Fill your small pots or trays with the propagation mix. Make a small hole with your finger or a pencil. Carefully insert the cutting into the hole, ensuring the rooting hormone stays in place. Gently firm the mix around the base of the stem.
- Creating Humidity: Water the mix thoroughly until it drains from the bottom. Then, place the pots inside a plastic bag or cover them with a propagation dome. Make sure the leaves aren’t touching the plastic. This creates a mini-greenhouse effect, keeping the humidity high, which is crucial for cuttings that can’t yet absorb water through roots.
The “Secret Sauce”
Now for a couple of things I’ve learned over the years that can really make a difference:
- Don’t Be Afraid to Be Ruthless (with leaves): I know we want our little cuttings to look lush, but honestly, removing those lower leaves is vital. They’re just asking for trouble if they sit in damp soil and can encourage rot. Keep it minimal at the top – just enough to keep them photosynthesizing.
- Bottom Heat is Your Best Friend: If you can manage it, a heated propagation mat is a game-changer for Proteas. It keeps the soil temperature consistent and encourages root development from below, giving your cuttings a real head start. Aim for a temperature of around 70-75°F (21-24°C).
Aftercare & Troubleshooting
Once your cuttings are planted, keep them in a bright location, but out of direct, harsh sunlight. Mist the leaves or the inside of the humidity dome occasionally to maintain moisture.
Be patient! It can take several weeks, sometimes even a couple of months, for roots to form. You can gently tug on a cutting to feel for resistance – that’s a good sign of root development.
The most common enemy here is rot. If you see your cuttings looking limp, discolored, or mushy, it’s a sign of too much moisture and not enough airflow. Unfortunately, once rot sets in, it’s hard to recover. Make sure your soil mix is as well-draining as possible and that you’re not overwatering. If you notice a bit of fuzz or mold, try to increase airflow by opening the dome slightly or removing the plastic bag for a few hours a day.
When you see good root growth and the plant feels sturdy when gently tugged, it’s time to gradually acclimate your new Protea to less humid conditions. You can do this by slowly opening the dome or the plastic bag over a week or two. Once they’re ready for their own pot, use a well-draining, sandy potting mix, similar to what you’d use for succulents or fynbos plants.
Propagating Protea susannae is a delightful challenge, but with a little care and attention, you’ll soon be rewarded with your own beautiful blooms. Don’t get discouraged if not every cutting succeeds – that’s part of the learning curve! Enjoy the process, watch them grow, and savor the satisfaction of bringing a new life into your garden. Happy propagating!
Resource:
https://identify.plantnet.org/k-world-flora/species/Protea%20susannae%20E.Phillips/data