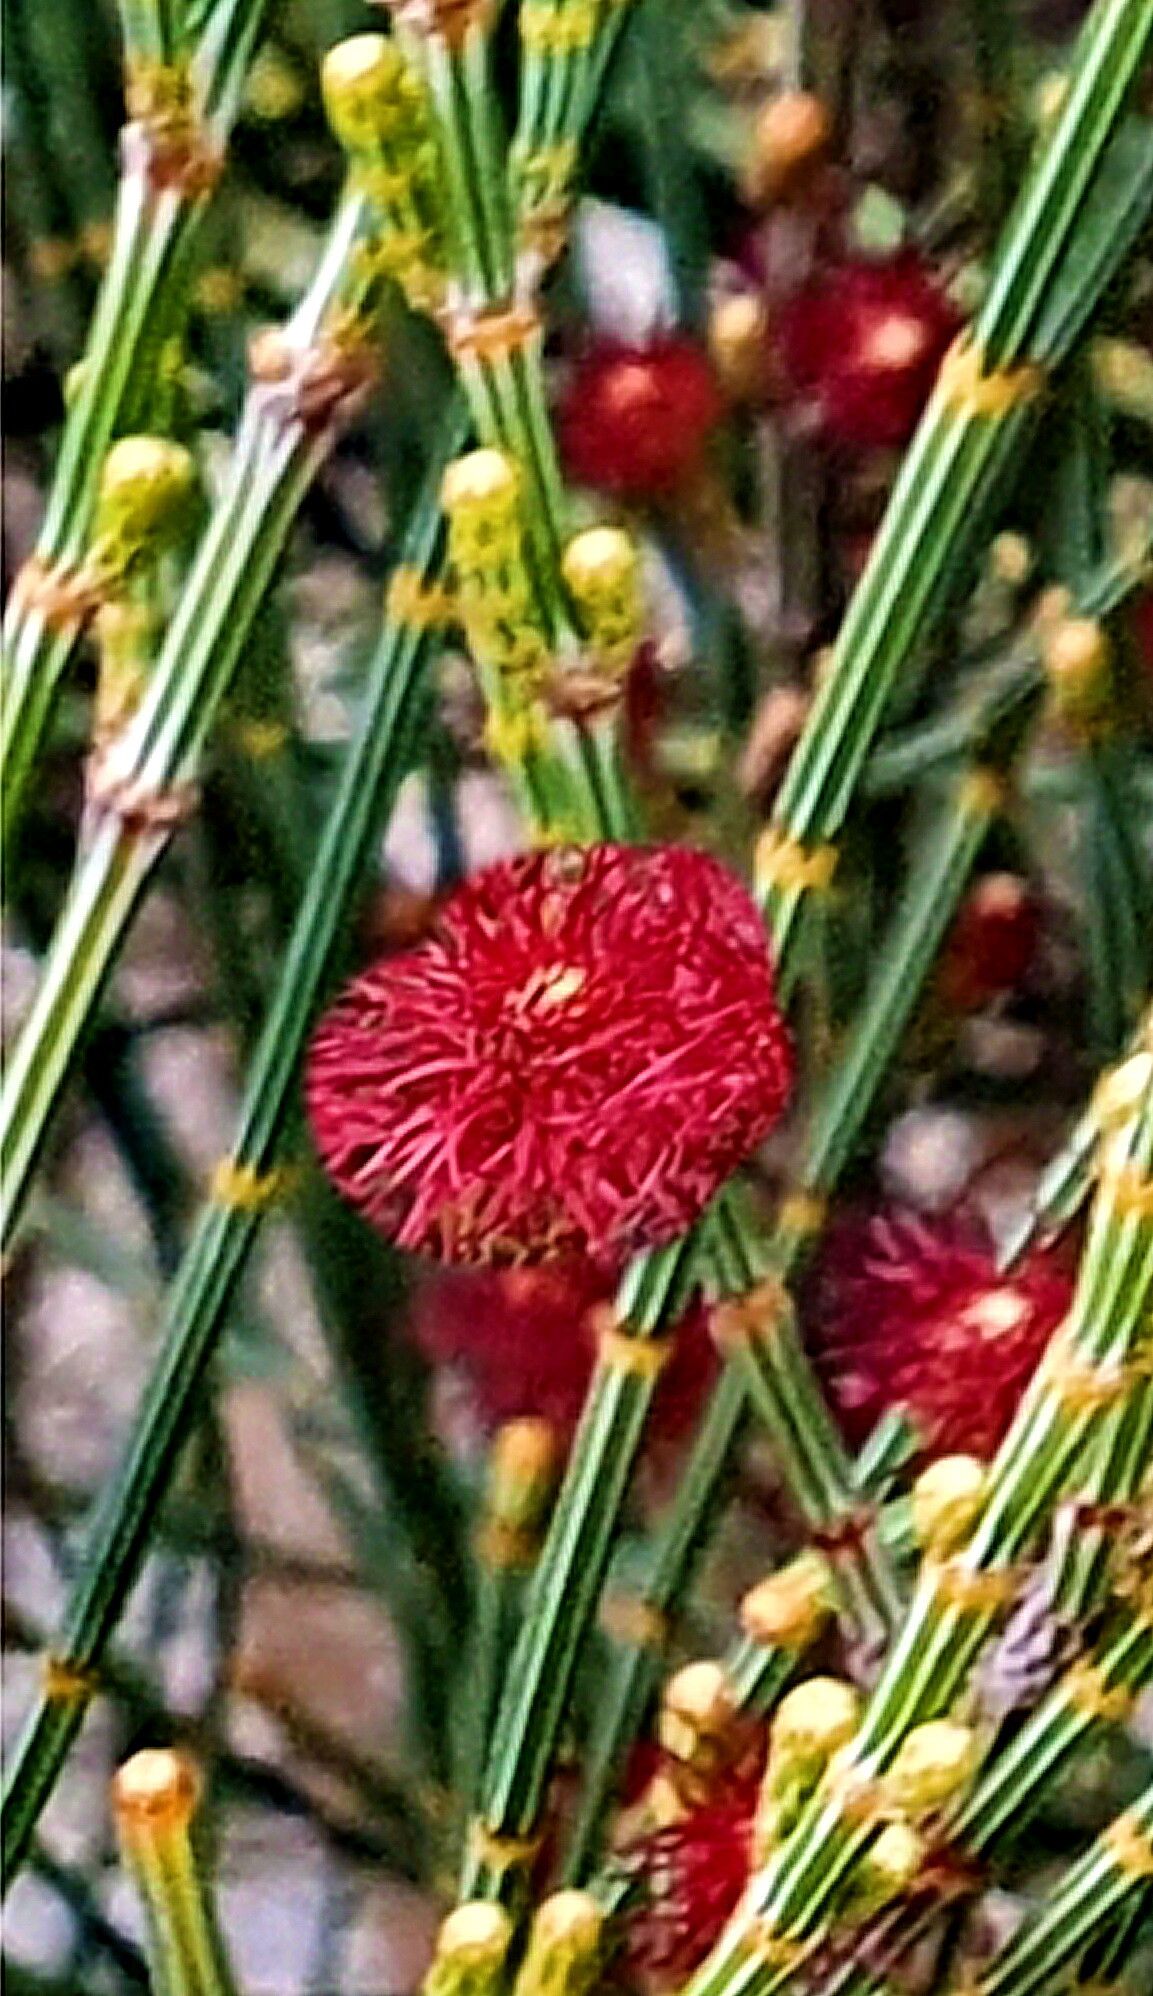
Hello there, fellow plant enthusiasts! It’s so lovely to have you join me today. We’re going to dive into the wonderful world of propagating Allocasuarina distyla, also known as the graceful Drooping Sheoak. If you’ve ever admired its elegant, weeping foliage and soft, pine-like needles, you’re in for a treat. There’s something truly special about taking a cutting from a beloved plant and watching it grow into its own. It’s an act of nurturing, a little bit of magic, really. Now, if you’re new to plant propagation, I’ll be honest, Allocasuarina distyla might present a slight challenge. But don’t let that deter you one bit! With a little patience and a few key steps, you’ll be rewarded with beautiful new plants.
The Best Time to Start
My favorite time to take cuttings from Allocasuarina distyla is in late spring to early summer. This is when the plant is actively growing, pushing out new shoots. These soft, new stems have a better chance of developing roots than older, tougher wood. Aim for stems that are flexible, not yet woody, and a good 4 to 6 inches long.
Supplies You’ll Need
Gathering your supplies beforehand makes the whole process smoother. Here’s what I usually have on hand:
- Rooting hormone powder: This is a booster for your cuttings.
- Sharp, clean pruning shears or a sharp knife: Cleanliness is crucial to prevent disease.
- Small pots or seedling trays: Ensure they have drainage holes.
- A well-draining potting mix: I like a blend of perlite, coarse sand, and a good quality potting soil. Some people swear by coco coir mixed with perlite, too.
- A plastic bag or propagation dome: To create a humid environment.
- A spray bottle filled with water: For misting.
- Labels or plant tags: To keep track of your projects!
Propagation Methods: Stem Cuttings
For Allocasuarina distyla, taking stem cuttings is generally the most successful method. It’s straightforward and gives you multiple chances to get new plants going.
- Select Your Cuttings: Head out to your Drooping Sheoak and look for those vibrant, new, semi-hardwood stems. Gently bend one – if it snaps cleanly, it’s a good candidate. If it just bends, it’s likely too soft.
- Make the Cut: Using your clean shears or knife, take a cutting about 4 to 6 inches long. Make the cut just below a leaf node (where a leaf joins the stem). This is where a lot of root-forming activity happens.
- Prepare the Cutting: Carefully remove the lower leaves. You want to expose a few leaf nodes along the bottom of the stem. If any of the remaining leaves are very large, you can trim them in half to reduce water loss.
- Apply Rooting Hormone: Dip the cut end of the stem into your rooting hormone powder. Tap off any excess. This helps stimulate root development.
- Plant Your Cuttings: Fill your pots or trays with your prepared potting mix. Make a hole with your finger or a pencil, and gently insert the cutting about 1 to 2 inches deep. Firm the soil gently around it.
- Water and Cover: Water the soil lightly, just enough to moisten it. Then, tent the pot with a plastic bag or place it under a propagation dome. This traps humidity, which is essential for the cuttings.
The “Secret Sauce” (Pro Tips)
Oh, a few little tricks I’ve picked up over the years!
- Bottom Heat is Your Friend: If you can, place your pots on a heat mat designed for seedlings. This provides gentle warmth to the base of the cuttings, encouraging root growth from below. It makes a noticeable difference!
- Don’t Let Leaves Touch the Soil: When you’re preparing your cuttings, make sure no leaves are touching the soil surface in the pot. Once moisture sits on leaves in a humid environment, it can quickly lead to rot.
- Mist, Don’t Drench: While humidity is key, misting the leaves with your spray bottle every day or two is usually sufficient. You don’t want the soil to become waterlogged, as that’s a fast track to disappointment.
Aftercare & Troubleshooting
Once your cuttings are in their cozy, humid home, give them patience. I typically leave them undisturbed for 4 to 8 weeks. You can check for roots gently by giving a cutting a very light tug. If you feel resistance, you’ve got roots!
When roots have formed, it’s time to transition them to their own pots. Continue to keep them in a bright, indirect light spot and maintain consistent moisture, but avoid soggy soil.
Now, what if things go wrong? The most common culprit is rot. If your cutting turns mushy or black, it’s usually a sign of too much moisture and not enough air circulation. If you see this, sadly, that cutting is likely lost. You might need to adjust your watering or ensure your potting mix is free-draining. Sometimes, a cutting just doesn’t take, and that’s okay too! Gardening is definitely a journey of learning from every experience.
A Little Encouragement
Propagating plants is a rewarding endeavor, and with Allocasuarina distyla, it’s a chance to connect more deeply with this beautiful tree. Be patient, keep those cuttings happy, and celebrate every little sign of progress. Happy growing!
Resource: