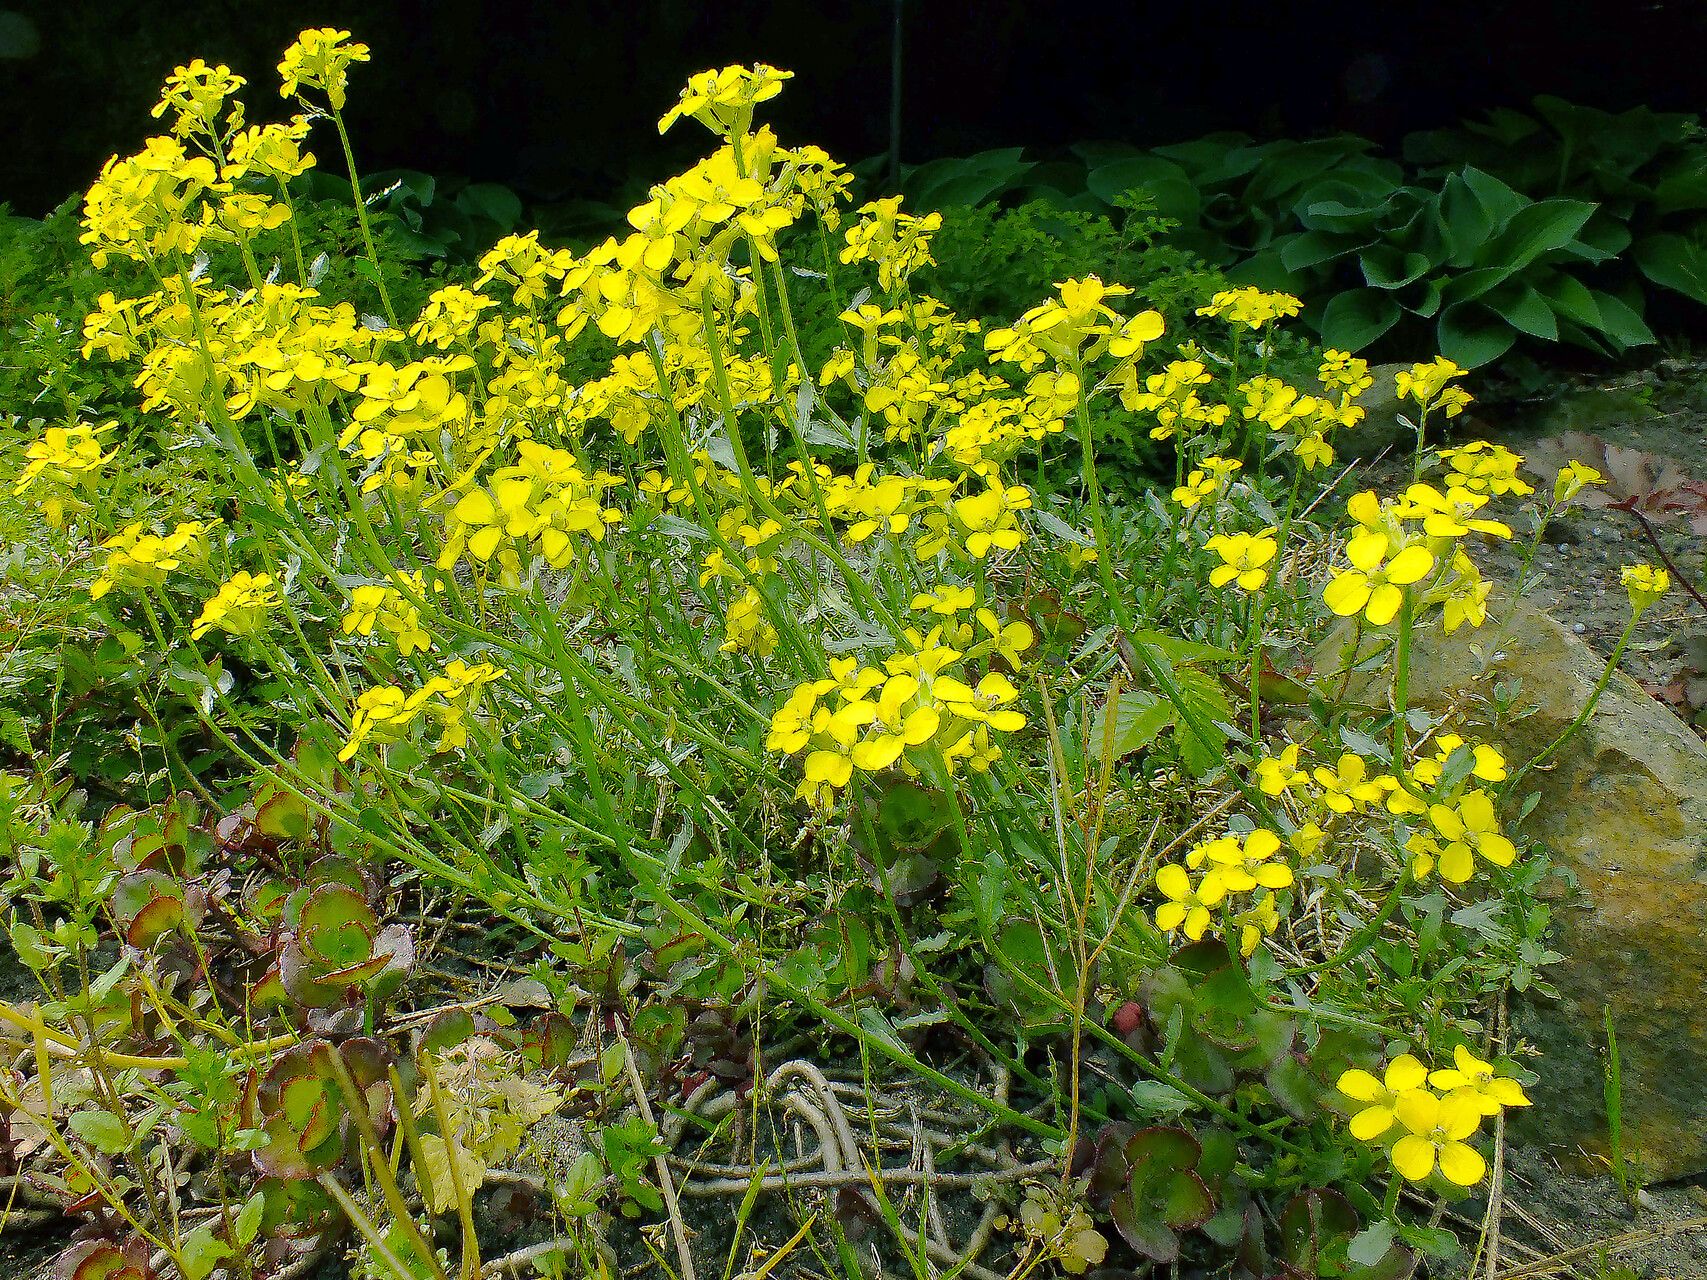
Ah, Erysimum rhaeticum! Doesn’t that name just sound delightful? I’ve always been captivated by its delicate, yet surprisingly long-lasting, blooms. It brings such a cheerful splash of color and a lovely subtle fragrance to the garden, especially in the shoulder seasons when so much else is winding down. And the best part? You can easily multiply this beauty yourself! Propagating it is incredibly rewarding, and I find it surprisingly accessible, even for those just starting their gardening journey. Don’t be intimidated; we’ll get you growing more of these gems in no time.
The Best Time to Start
Generally, early spring is your golden ticket for propagating Erysimum rhaeticum. Think March or April, when the plant is just waking up from its winter slumber. This is when the new growth is vigorous and full of life, bursting with the energy needed to put down roots. You can also have some success with semi-ripe cuttings in mid-summer, but spring always offers the highest success rate for me.
Supplies You’ll Need
Gathering your tools beforehand makes the whole process much smoother. Here’s what I always have on hand:
- Sharp pruning shears or a clean knife: For making clean cuts.
- Rooting hormone (optional but recommended): Helps speed up root development. Look for one containing IBA.
- A well-draining potting mix: A 50/50 blend of perlite and peat moss or a commercial seed-starting mix works beautifully.
- Small pots or propagation trays: Clean ones are essential to prevent fungal issues.
- A watering can with a fine rose head: Gentle watering is key.
- A clear plastic bag or propagator lid: To create a humid environment.
- Labels: So you don’t forget what you’ve planted where!
Propagation Methods
Let’s get our hands dirty! For Erysimum rhaeticum, stem cuttings are my go-to method. They’re straightforward and yield excellent results.
Stem Cuttings:
- Take Your Cuttings: On a cool morning, select healthy, non-flowering stems from your mature plant. You want stems that are about 4-6 inches long. Make a clean cut just below a leaf node (where a leaf joins the stem).
- Prepare the Cuttings: Gently remove the lower leaves from about half of the cutting. This prevents them from rotting once planted. If you’re using rooting hormone, dip the cut end of the stem into it, tapping off any excess.
- Plant the Cuttings: Fill your pots or trays with your well-draining mix. Make a small hole with a pencil or your finger. Insert the prepared cutting into the hole, ensuring at least one leaf node is below the soil surface. Gently firm the soil around the base of the cutting.
- Provide Humidity: Water the cuttings lightly. Then, cover the pots with a clear plastic bag or place them in a propagator. This traps humidity, which is crucial for cuttings while they develop roots. Ensure the leaves don’t touch the sides of the bag if possible.
- Location, Location, Location: Place the pots in a bright spot, but out of direct, harsh sunlight. A greenhouse or a sunny windowsill is usually perfect.
The “Secret Sauce” (Pro Tips)
Now for a few little tricks I’ve picked up over the years that really make a difference:
- Bottom Heat is Your Friend: If you can, place your propagating pots on a heat mat set to a gentle temperature (around 20-24°C). This encourages root formation much faster and more reliably than ambient room temperature alone.
- “Wiggle Test”: Don’t pull on the cuttings to check for roots too early! Instead, give them a gentle wiggle. If you feel resistance, it means roots have formed. This is usually after 4-6 weeks, but can sometimes take longer.
- Cleanliness is Next to Godliness: I can’t stress this enough. Sterilize your tools between each cut. This goes a long way in preventing diseases from spreading from one cutting to another.
Aftercare & Troubleshooting
Once you’ve successfully rooted your cuttings (hooray!), it’s time for the next phase.
- Acclimatize: When you see good root development (usually evidenced by new leaf growth or that wiggle test resistance), it’s time to gradually acclimate them to less humid conditions. Open the plastic bag or propagator lid a little each day for a week.
- Potting Up: Once they’re used to normal humidity, carefully transplant the rooted cuttings into individual pots filled with a good quality potting mix. Water them in gently and keep them in bright, indirect light.
- Signs of Trouble: The most common culprit is rot. If your cuttings turn mushy or black at the base, or if the leaves are wilting despite being watered, it’s often a sign of too much moisture and not enough air circulation. Ensure your soil is draining well and adjust your watering frequency. Sometimes, despite our best efforts, a cutting just won’t take – and that’s perfectly okay. Don’t get discouraged!
A Encouraging Closing
Growing new plants from cuttings is a wonderful way to connect with your garden and gain a deeper understanding of its life cycle. Be patient with your Erysimum rhaeticum cuttings; they work at their own pace. Enjoy the process, celebrate the small victories, and soon you’ll have a beautiful collection of your own gorgeous plants to share or simply to fill your garden with more of that delightful color! Happy propagating!
Resource: